Chapter 2 - installation, Rack installation, Ac power connection – Adtec digital RD-30 (version 2.1.1) Manual User Manual
Page 14: Chapter, Installation, Rack, Power, Connection
Chapter
2 -
Installation
Rack Installation
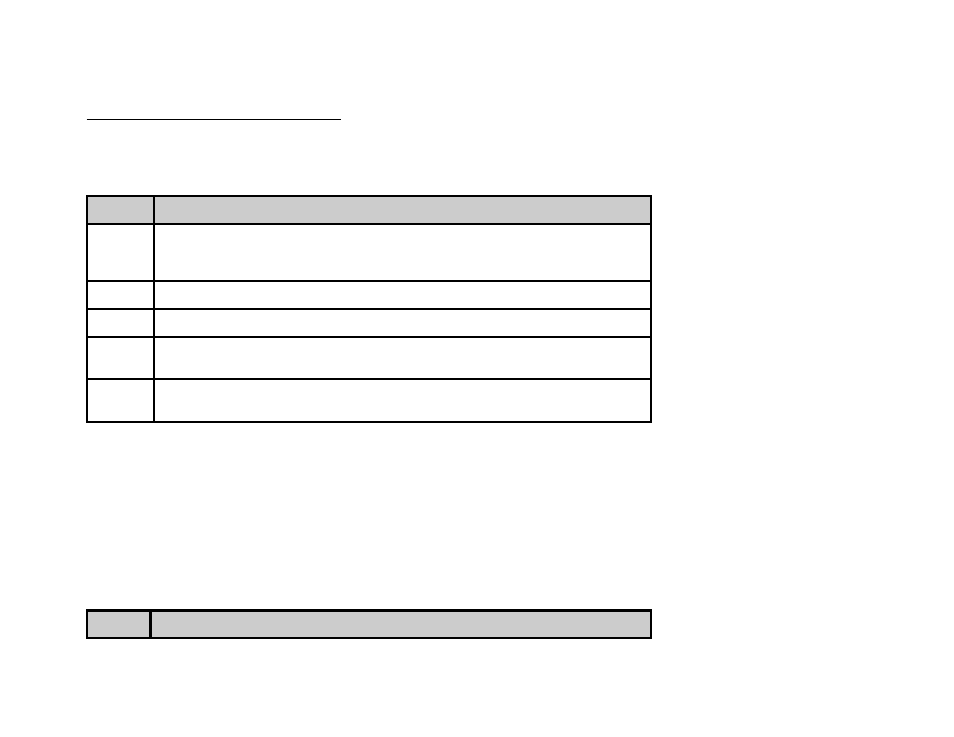
To install the RD-30 into a rack use the following steps:
Step
Description
1
Determine the desired position in the rack for the RD-30 making sure that the
air intake on the front of the unit and the exhausts on the sides of the unit will
not be obstructed.
2
Insert the rack mount clips into place over the mounting holes in the rack.
3
Slide the RD-30 into position in the rack.
4
Secure the RD-30 to the rack by installing the four supplied screws through the
front mounting holes and tightening.
5
If needed, secure a grounding wire use the grounding location on the rear
panel of the RD-30. See Section 1.3 for grounding location.
AC Power Connection
Using the proper power connections is vital to the safe operation of the RD-30. Only use the supplied 3-prong power connector
or one with equal specifications. NEVER tamper with or remove the 3rd – prong grounding pin. This could cause damage to the
RD-30, personnel, or property.
The RD-30 is intended for use on either 120V or 240V systems. The power supply will automatically detect the system it is
connected to. To hook up the power use the following steps:
Step
Description
10.29.14- v2.1.1