8 operating system setup – NEXCOM NEX 611 User Manual
Page 31
Copyright © 2011 NEXCOM International Co., Ltd. All Rights Reserved.
20
Chapter 2: Installation
NEX 611 User Manual
2.8 Operating System Setup
This motherboard supports various Microsoft
®
Windows
®
operating
systems: 8/ 8 64-bit/ 7/ 7 64-bit/ Vista
TM
/ Vista
TM
64-bit/ XP/ XP 64-bit.
Because motherboard settings and hardware options vary, use the setup
procedures in this chapter for general reference only. Refer your OS
documentation for more information.
2.8.1 Installing Windows
®
8/ 8 64-bit/ 7/ 7 64-bit/ Vista
TM
/
Vista
TM
64-bit/ XP/ XP 64-bit without RAID
Using AHCI Mode
AHCI mode is not supported under Windows
®
XP.
STEP 1: Set Up UEFI.
Press
Utility > Advanced > Storage Configuration > SATA Mode.
STEP 2: Install Windows
®
8/ 8 64-bit/ 7/ 7 64-bit/ VistaTM / VistaTM
64-bit on your system.
Using IDE Mode
STEP 1: Set Up UEFI.
Press
> Advanced > Storage Configuration > SATA Mode.
STEP 2: Install Windows
®
8/ 8 64-bit/ 7/ 7 64-bit/ Vista
TM
/
Vista
TM
64-bit/ XP/ XP 64-bit on your system.
2.8.2 Installing Windows
®
8 64-bit/ 7 64-bit/ VistaTM 64-
bit on a HDD Larger than 2 terabytes (2TB) without RAID
This motherboard adopts UEFI BIOS that allows Windows
®
OS to be
installed on a large size HDD (>2TB). Please make sure to use Windows
®
VistaTM 64-bit (with SP2 or above), 7 64-bit or 8 64-bit and follow the
procedures below to install the operating system.
Using AHCI Mode
STEP 1: Set Up UEFI.
Press
Utility > Advanced > Storage Configuration > SATA Mode.
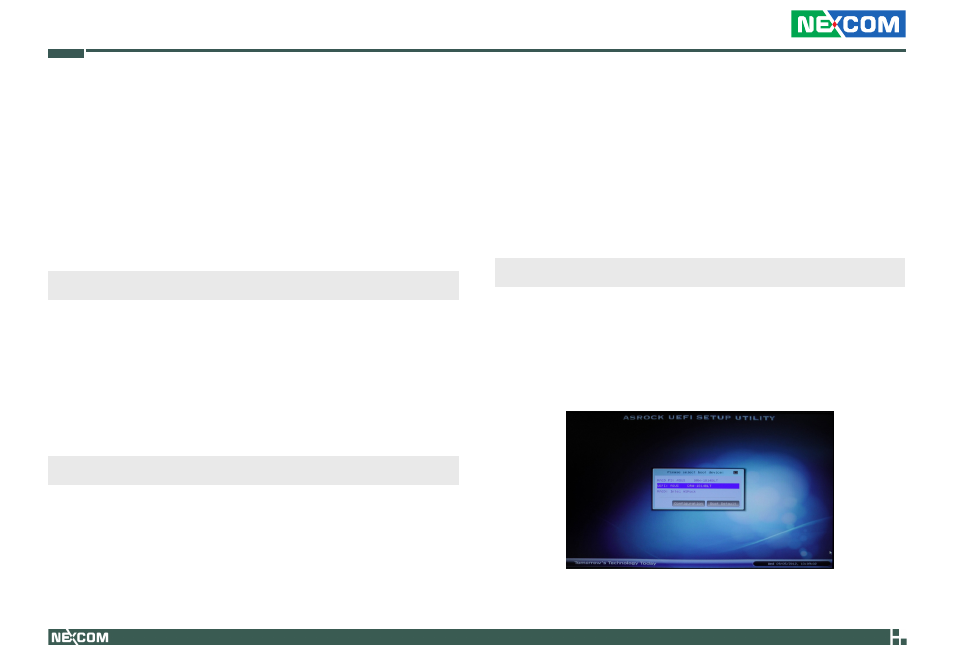
STEP 2: Press
choose the item “UEFI:
STEP 3: Start Windows
®
installation.