NEXCOM NEX 611 User Manual
Page 19
Copyright © 2011 NEXCOM International Co., Ltd. All Rights Reserved.
8
Chapter 2: Installation
NEX 611 User Manual
2.2 Expansion Slots (PCI Express Slots)
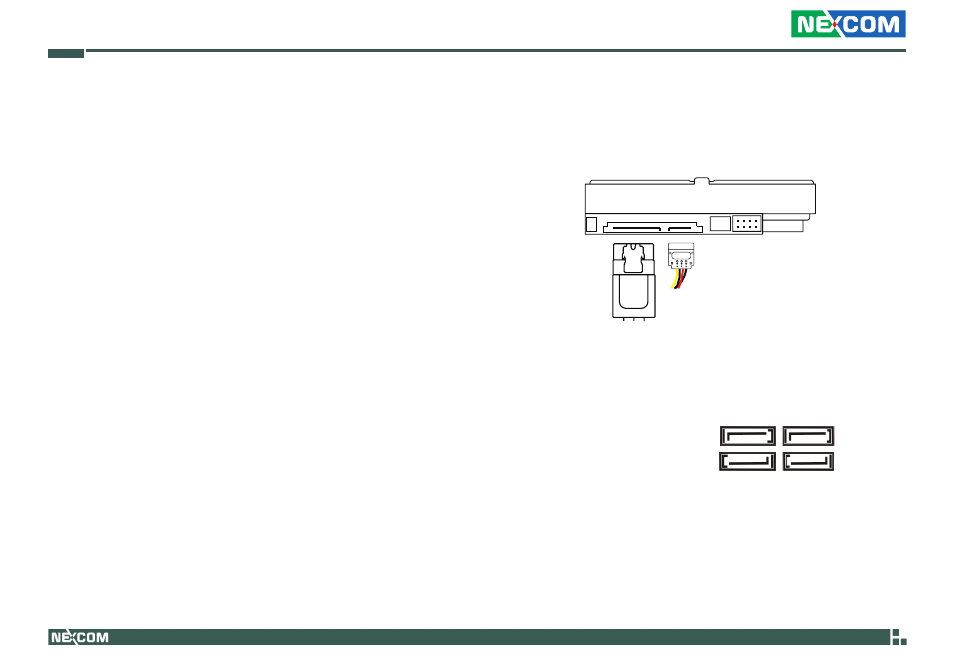
2.3 Installing SATA Hard Disks
These four Serial ATA3 (SATA3) connectors support SATA data cables for
internal storage devices. The current SATA3 interface allows up to 6.0 Gb/s
data transfer rate.
Step 1. Connect the SATA power cable to the hard disk.
Step 2. Connect one end of the SATA data cable to the hard disk.
Serial ATA3 Connectors
(SATA3_1: see p.10, No. 17)
(SATA3_2: see p.10, No. 15)
(SATA3_3: see p.10, No. 16)
(SATA3_4: see p.10, No. 14)
SATA3_4
SATA3_3
SATA3_2
SATA3_1
There is 1 PCI Express slot and 1 mini PCI Express slot on this motherboard.
mini-PCIE Slots: mini_PCIE1 is used for mini PCIE cards.
PCIE slots: The x4 lane width PCIE1 (PCIE 2.0 x4 slot) is used for PCI Ex-
press expansion cards.
Installing an expansion card
Step 1. Before installing an expansion card, please make sure that the
power supply is switched off or the power cord is unplugged.
Please read the documentation of the expansion card and make
necessary hardware settings for the card before you start the
installation.
Step 2.
Remove the bracket facing the slot that you intend to use.
Keep the screws for later use.
Step 3.
Align the card connector with the slot and press firmly until the
card is completely seated on the slot.
Step 4. Fasten the card to the chassis with screws.
Step 3.
Align the card connector with the slot and press firmly until the
card is completely seated on the slot.