Preset, Channel groups – Dan Dugan Sound Design E-2 User Manual
Page 42
Dugan Model E-2 User Guide
42
Preset
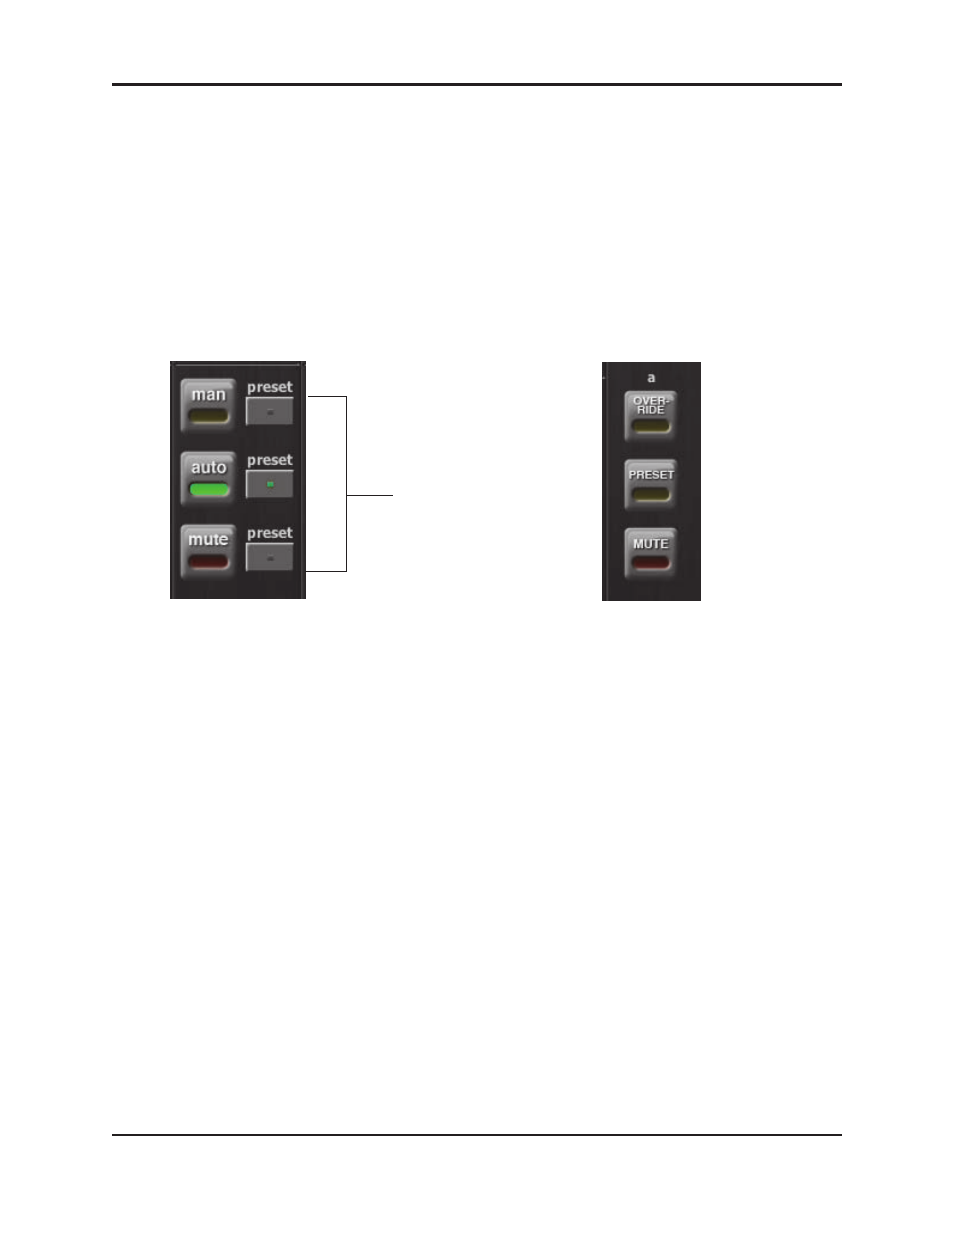
Use the Preset function to store your favorite channel mode settings, which may be
restored by pressing the Master
PRESET
button. When the unit powers up, the chan-
nels default to their preset modes.
To set channel presets:
1. Click the channel preset button next to the desired channel mode button.
2. For all unused channels, click the preset button next to the mute button.
Figure 5-6 Channel
preset
(left) and Master
PRESET
(right) buttons
The preset indicators should mirror your normal working combination of input
modes. The normal condition can then be restored by pressing the Master
PRESET
button.
Channel Groups
Each channel can be assigned to one group: a, b, or c. Each group functions as a sep-
arate, independent automatic mixer that can span multiple linked Dugans. Channels
assigned to groups need not be contiguous.
Applications where groups are helpful include:
•
Separate Rooms: Assign the mics in each room to different groups so they func-
tion as separate automatic mixers.
•
Stereo Panning: Assign the mics panned left, right, and center to groups a, b, and
c, respectively, to maintain a stable stereo ambience.
To assign a channel to a group, click the
group
button until the desired group letter
appears. The channel strip background is tinted green (
group b
) or blue (
group c
);
group
a
is not tinted (Figure 5-7). A set of
OVERRIDE
,
PRESET
, and
MUTE
buttons appears in the
Master Pane for each group.
channel
preset
buttons
Master
PRESET
button