Recording from an analogue source – Datavideo MP6000MD User Manual
Page 27
26
Recording from an Analogue Source
If you are recording from a tape start the tape playing, the video image should appear on the TV monitor
connected to the MP6000MD output. If you are recording a live image from a camera you should be able
to see the image from the camera on the TV monitor connected to the MP6000MD output.
If necessary you can adjust the Brightness, Contrast, Color and Tint (Tint is NTSC only) of the video image,
this is covered in the chapter “Color Correction”. We will first look at recording from an analogue video
input (Composite Video, SVideo, Y U V); recording from DV is a little different, so we will look at that, in
more detail in another chapter.
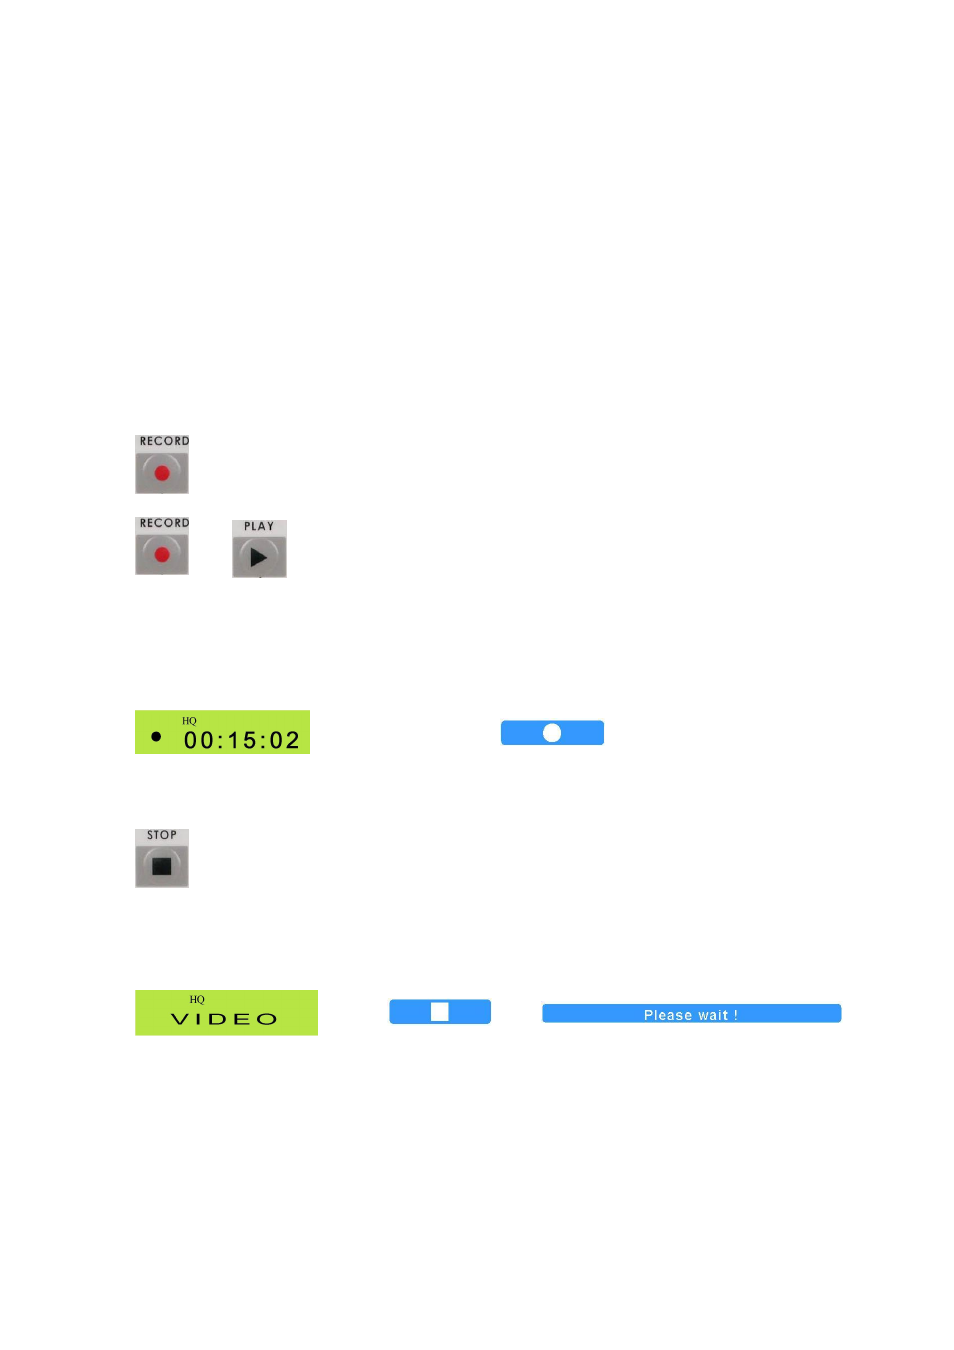
To start recording press and hold the Rec button, then while still holding it down press the Play button
+
The LCD should go to the Record Display and OnScreen there should be a Rec indicator, such as this:
LCD Display
OnScreen Indicator – In upper left corner of screen
To stop recording press, the Stop button.
The LCD will return to general display and the OnScreen display will show the Stop Message.
LCD Display
OnScreen Display
+
The first track of the disc is now completed. You can record more tracks by following the same routine; up
to 99 tracks can be recorded on a disc.