SINGER 610U User Manual
Page 5
Attention! The text in this document has been recognized automatically. To view the original document, you can use the "Original mode".
T. iLi€TRÍ^AI. CONTROLLER
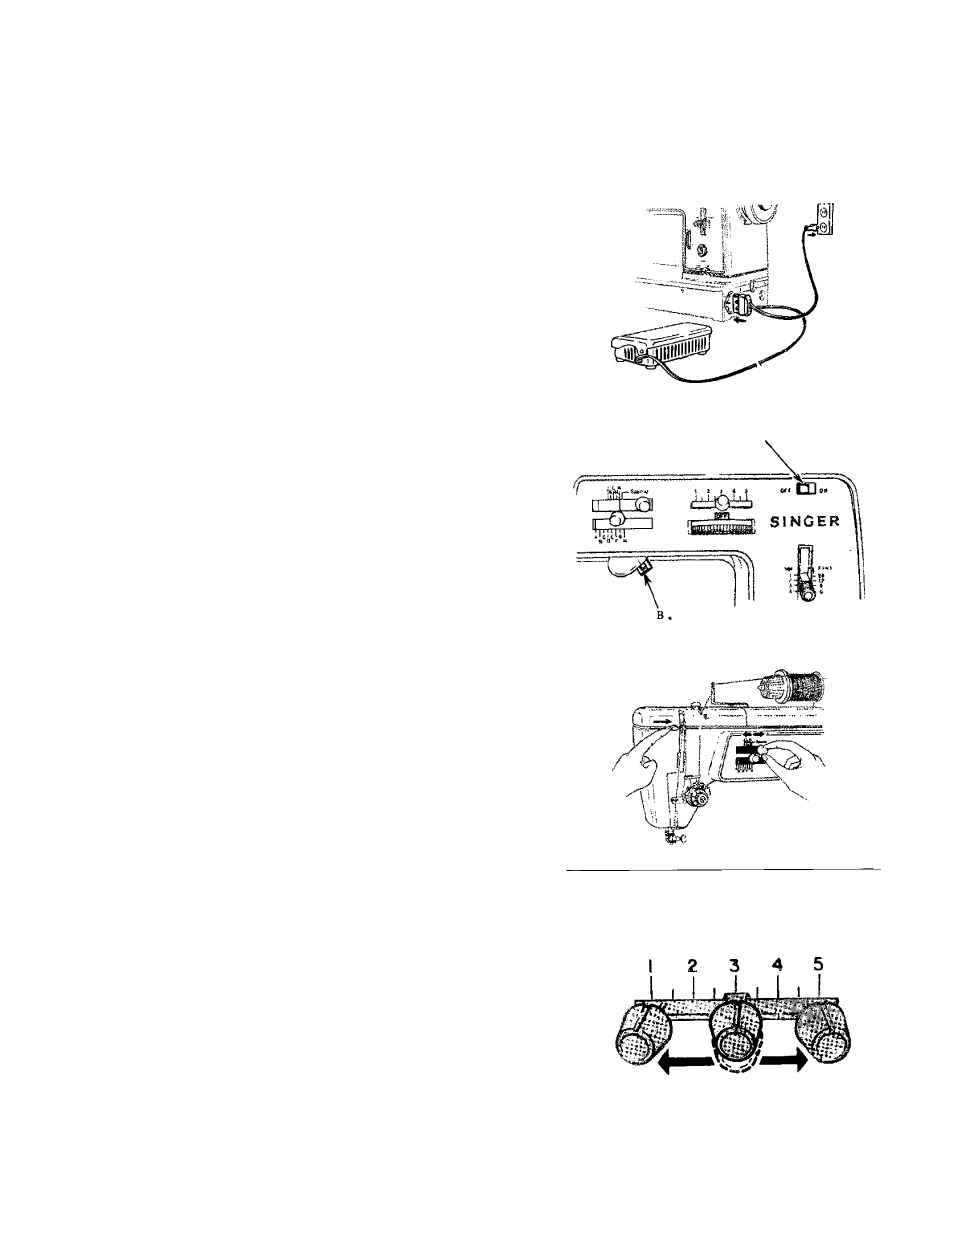
Plug in the machine as shown at right. Before plug
ging in your machine, be sure that the voltage and
number of cycles stamped on the controller nameplate
are within the range marked on the electric meter in
stalled by your power company.
To start the machine, press the pedal of the foot
controller.
2 .
SEWING LIGHT
The built-in sewing light located beneath the control
panel pours light on the sewing area.
The light is turned on or off by means of the light
switch
A.
To change the bulb, pull down on tab a of light
socket and lower the light bracket. Then, unscrew the
bulb by turning it counterclockwise.
3^ STITCH PATTERN SELECTORS
These buttons control the pattern of your stitches
and must be set before starting the machine.
When moving these selectors, be sure to follow the
instructions below.
(
1
) Raise needle to its highest point.
(2)
Move disc follower releasing lever as far to the
Tight
as it will go, and adjust stitch pattern selec
tor to desired position.
4. STITCH WIDTH SELECTORS
(1)
This selector positions your needle for straight
stitching.
Normally,
you
will
use
setting
3.
But
if you wish to stitch at left or right of center, press
down on the lever and slide it to the left
(1
or
2
)
or right (4 or 5).
(2)
This selector controls stitch width in zigzag stitch
ing. For wide stitches, slide lever to right of center
(
3’/2
to 3). For narrow, slide to left (
2'/3
or
2
only).
(3)
This selector varies the design in combination pat
terns, (See page 16)