SINGER 610U User Manual
Page 34
Attention! The text in this document has been recognized automatically. To view the original document, you can use the "Original mode".
BUTTONHOLES (Continued)
PREPARATION
Upper Stitch Pattern Selector:
Special
Lower Stitch Pattern Selector :
B
Stitch Width Selector:
3~5
Stitch Length Regulator :
6
Presser Foot:
Buttonhole Foot
Pressure Regulating Dial:
2~3
Throat Plate :
General Purpose
J L M
Special
• Position buttonhole cam correctly in place as described
above.
• Attach Buttonhole Foot.
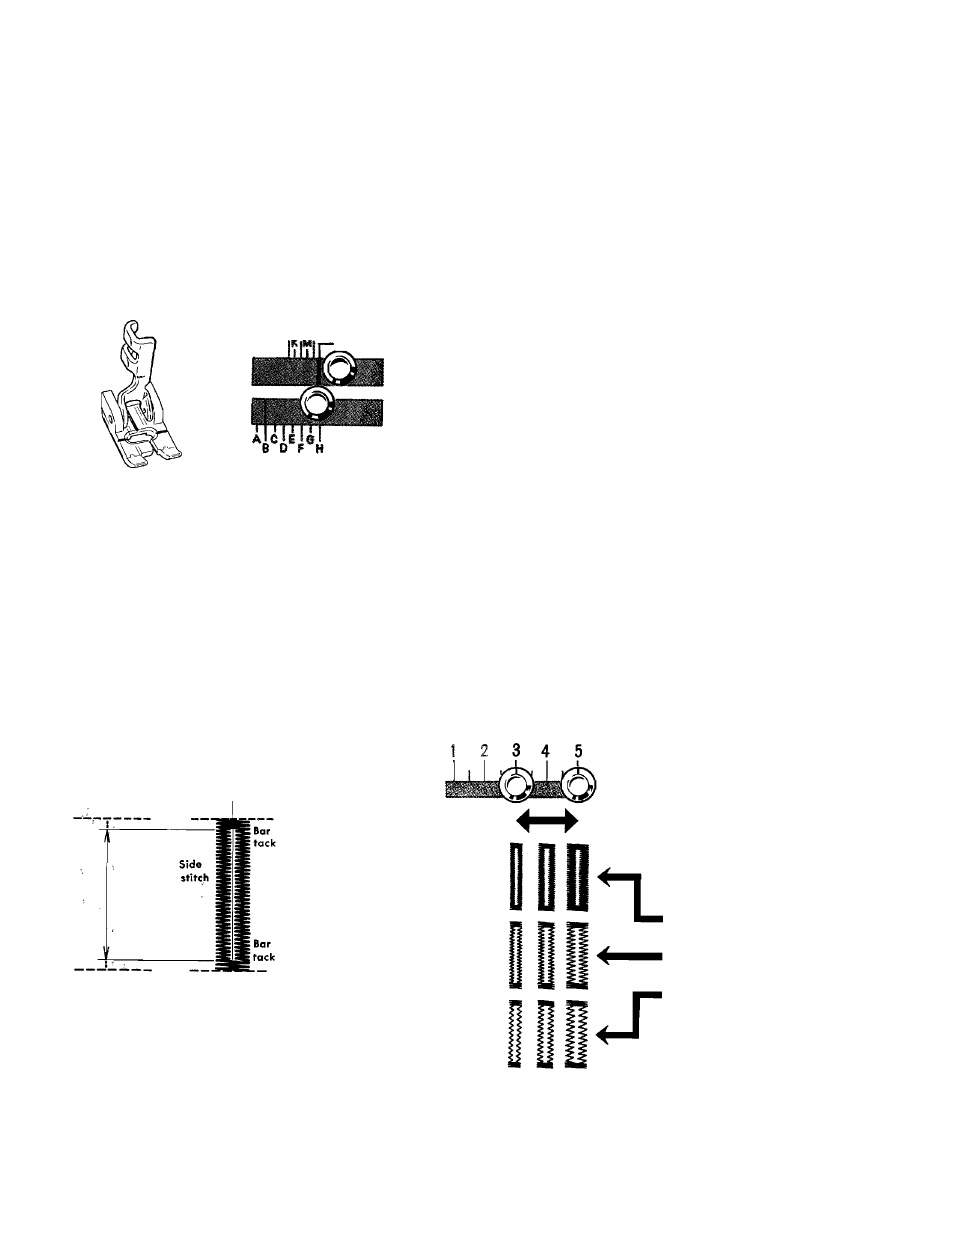
• First, decide how long the opening needs to be. This
will depend on the diameter and thickness of the
button. Then, add approximately V
b
inch (about Vie
inch for each bar-tack) and mark the fabric as shown
in Fig. 2.
• Decide stitch width and stitch density according to
thickness of fabric and button. (See Fig. 3)
Always make a test buttonhole on a sample of your fabric. Be sure to duplicate the thickness of the
garment and include interfacing if appropriate.
Stitch Width and Stitch Density Table
Cutting
length
Closely Packed Stitches
Medium Spaced Stitches
Open Stitches
1
Fig. 2
Fig. 3
32