SINGER 610U User Manual
Page 36
Attention! The text in this document has been recognized automatically. To view the original document, you can use the "Original mode".
BUTTONHOLES (Continued)
DOUBLE BUTTONHOLE STITCHES
To make buttonhole stitches stronger, sew over the
entire buttonholes once again. (See Fig. 10)
Fig. 10
CAUTION
1.
In case right side stitch density is not uniform with
the left side stitch density when making a test but
tonhole,
move
the
magic
pattern
stitch
adjusting
lever toward you or away from you as required.
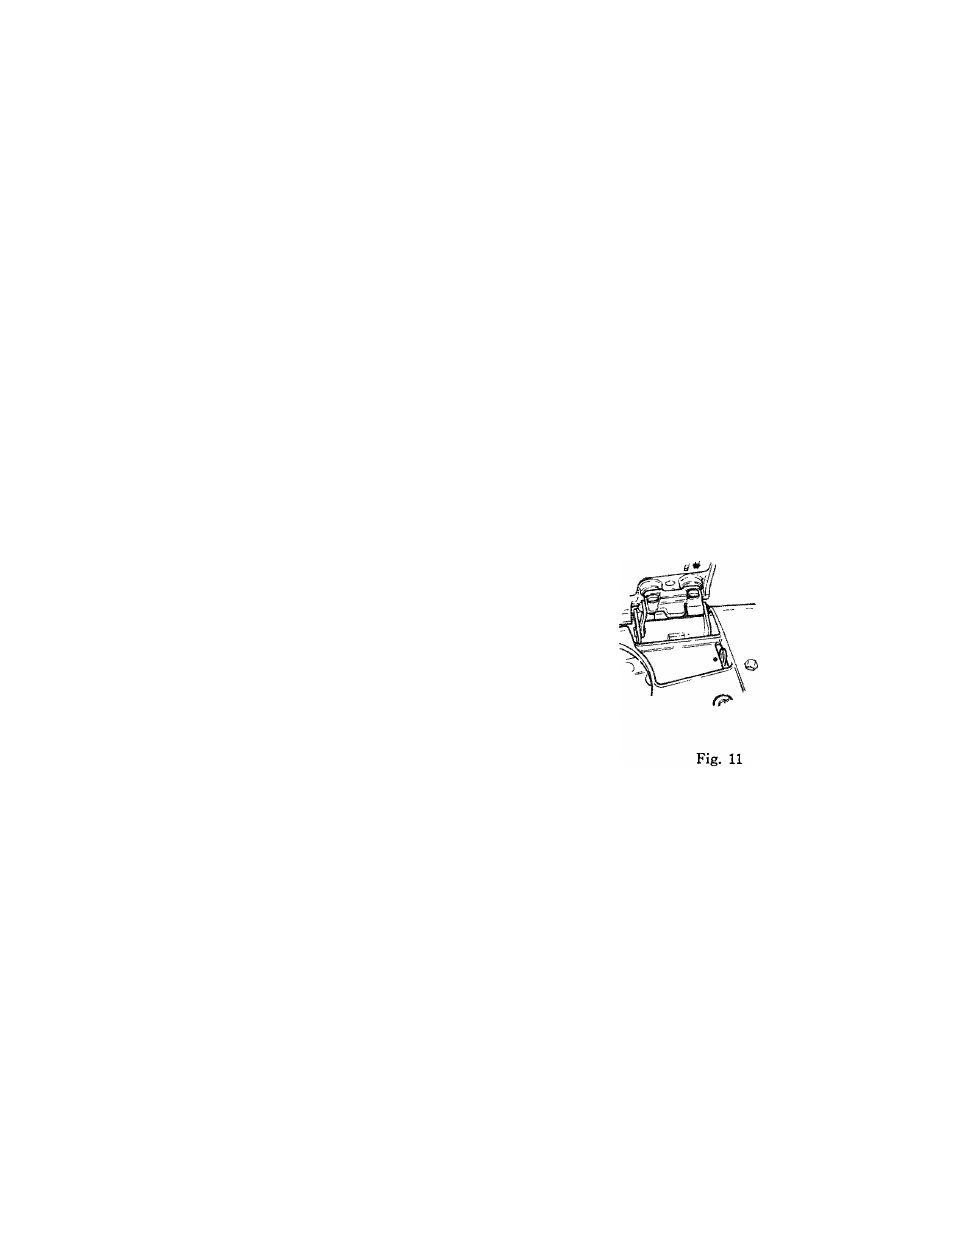
• If the lever is moved toward you, stitches will
become closely spaced.
• If the lever is moved away from you, stitches will
become open. (See Fig. 11)
2.
With a little practice, you will be able to sew button
holes continuously without stopping the machine as
instructed in page 33.
3.
When you stop half way through the buttonhole and
wish to start over again, be sure to follow the in
structions below.
(a) Push disc follower releasing lever to the right
and set buttonhole stitch selecting dial to “OFF”.
(b) Turn buttonhole cam clockwise and align white
mark “
0
” with red mark “
0
” on the top cover.
(c) Set buttonhole stitch selecting dial to “Bl” and
continue to stitch.
4.
Needle thread tension should be made slightly stronger
when
making
buttonholes.
This
will
give
neatly
finished buttonholes.
Open
Q stitches
t
0
Q
Closely
spaced
stitches
34