Free-motion stitching – SINGER 610U User Manual
Page 29
Attention! The text in this document has been recognized automatically. To view the original document, you can use the "Original mode".
FREE-MOTION STITCHING
In. free-motion stitching, you sew without a
prass»r foot
and instead control fabric movement
(and hence stitch length) yourself, by means of an
ombroldory hoop.
Either a straight or a zigzag
stitch setting can be used. Because you can move the hoop in any direction—forward or backward,
from side to side, and even diagonally—free-motion stitching is extremely useful for intricate em
broidery designs,
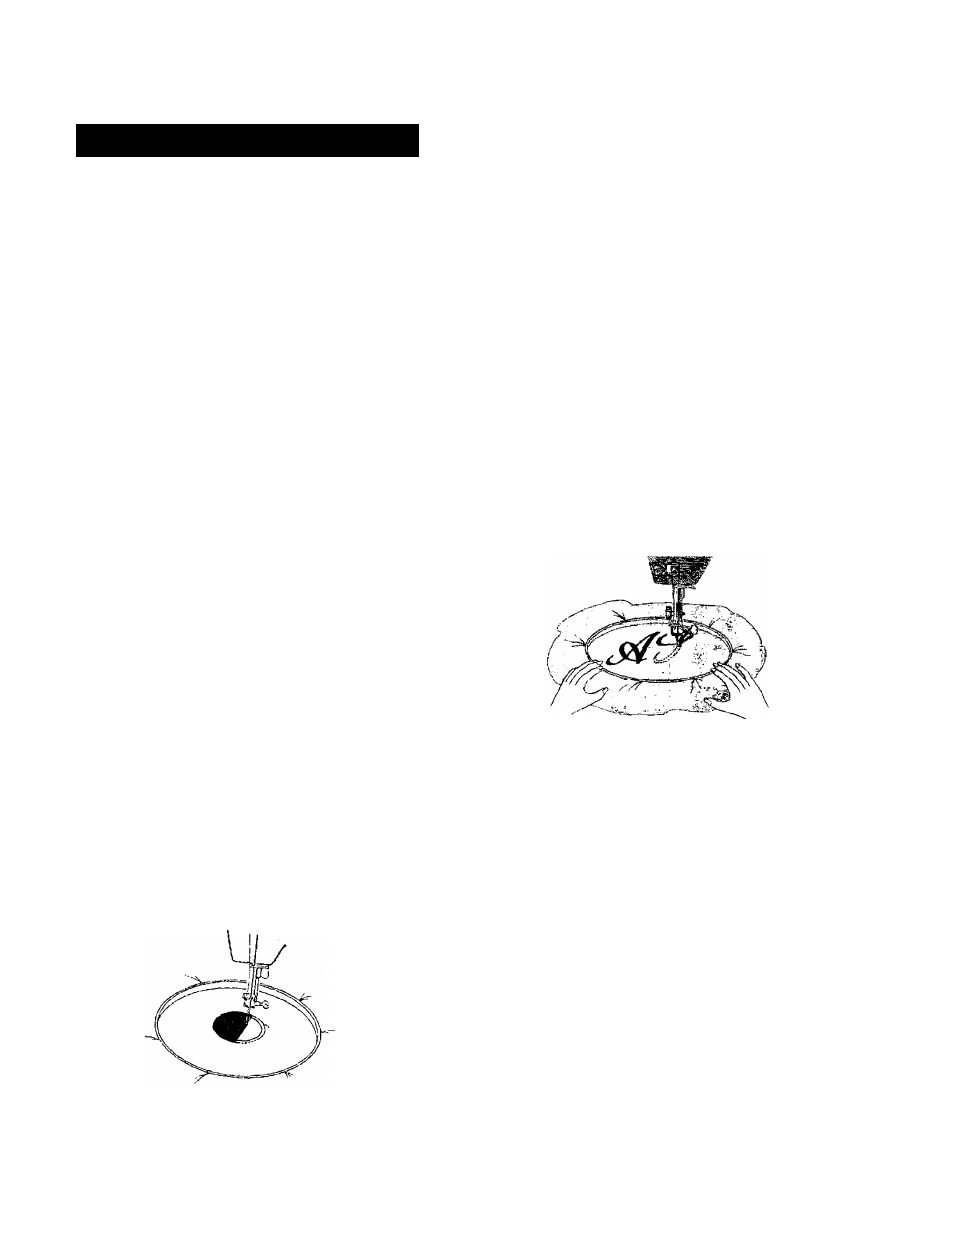
SCRIPT LETTERING
1.
Transfer the design (by tracing, usually) to the right
side of fabric.
2.
If the fabric is soft or loosely woven, baste a back
ing of lawn or organdy onto the wrong side.
3.
Place work in embroidery hoop. Be sure fabric is
held taut.
4.
Position work under needle and lower presser bar
to engage tension.
5.
Turn hand wheel toward you to bring bobbin thread
up through fabric at start of design and hold both
threads as you start stitching,
6.
Stitch, following the outline of the lettering. Move
the hoop slowly and maintain an even rate of speed
so that stitches are uniformly spaced.
7.
After
stitching,
trim
the
backing
close
to
the
stitching.
Straight
Stitchirg
* Stitch Pattern Selectors;
AN
♦ Stitch Width Selector)
3
♦ Throat Plate; General Purpose
• Presser Foot: None
* Pressure Dial>
D
* Feed Throw-out Lever;
DOWN
ZlgTog
Stitching
BJ
Darning With Embroidery Hoop
♦ Stitch Pattern
Selectors;
AN
♦ Stitch Width
Selector:
3
1.
♦ Stitch Length
; FINE
(above
20)
2.
♦ Throat Plate i
Straight Stitch
3.
* Presser Foot:
None
♦ Pressure Dial
t D
4.
• Feed Throw-out Lever;
DOWN
Trim ragged edges from area to be darned.
Center worn section in embroidery hoop.
Position work under needle and lower pres;
to engage tension.
wheel over and draw bobbin thread up through
fabric. Hold both thread ends and lower needle into
fabric.
5.
Outline area to be darned with running stitches for
reinforcement.
6.
Stitch across opening, moving hoop under needle at
a slight angle from lower left to upper right. Keep
lines of stitching closely spaced and even in length.
7.
When opening is filled, cover area with crosswise
lines of stitching.
27