Needle position for straight stitching, Aguja posicionada para hacer una puntada recta, Position d’aiguille – SINGER 118 FEATHERWEIGHT II User Manual
Page 23
Attention! The text in this document has been recognized automatically. To view the original document, you can use the "Original mode".
5. a. Start to sew stepping on the foot
control.
b. Guide the fabric gently with your
hand.
0
. When you reach the end of the fabric,
stop the machine by releasing the
foot control.
6. a. Turn the hand wheel to raise the
needle.
b. Raise the presser foot by pushing
the lever up.
0
. Use the thread cutter above the
presser foot to cut off excess threads.
d. Pull both threads under and to the
back of the presser foot, leaving 4
inches (10 cm) clear.
5. a. Empezar a coser.
b.
Guiar
el
material
suavemente
con la mano.
0
. Cuando llega el borde del material,
parar la máquina.
6. a. Girar el volante para levantar la
aguja.
b. Levantar el prénsatelas empujando
la palanca hacia arriba.
c. Usar el cortador del hilo que está
cerca del prénsatelas para cortar el
hilo de exceso.
d. Tirar ambos hilos hacia abajo y
hacia el posterior de prénsatelas
dejando 10 cm .
5. a.Tourner le volant pour relever
l’aiguille.
b. Guider le tissu légèrement avec la
main.
0
. Lorsque l’extrémité du tissu est
atteinte, arrêtez en enlevent le pied
du rhéostat.
6. a.Tourner le volant pour relever
l’aiguille.
b. Soulever le pied presseur en tirant
le levier vers le haut.
0
. Utiliser le coupe-fil au- dessus du
pied presseur pour couper les fils.
d. Tirer les deux fils sous le pied
presseur et vers l’arrière en laissant
environ 10 cm.
©
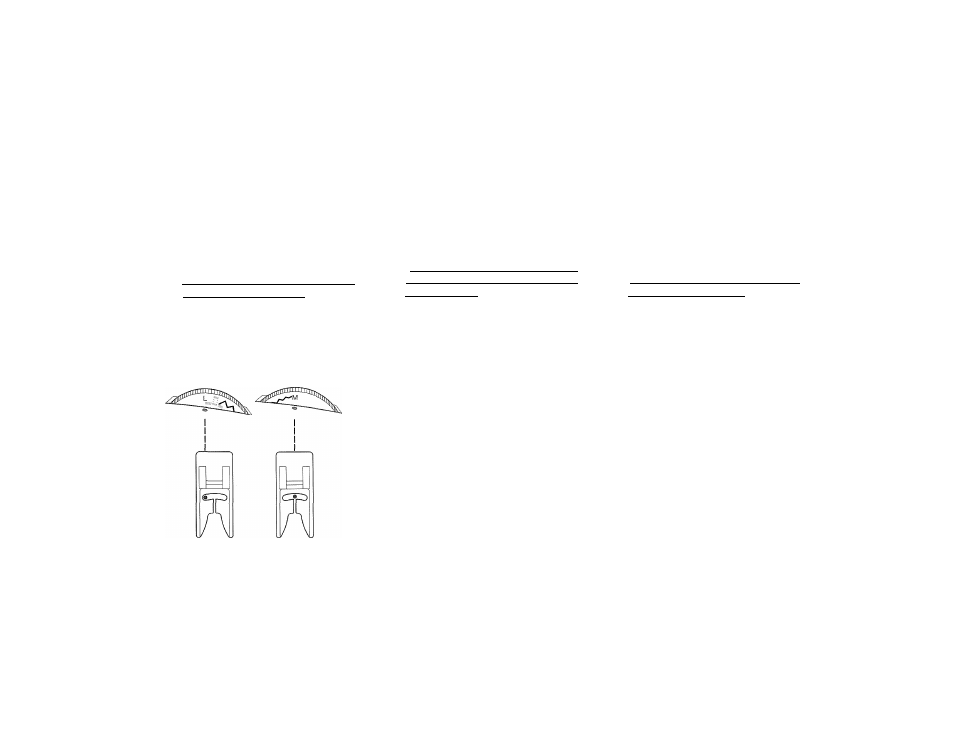
Needle position for
straight stitching
® Straight stitch at left
needle
position
with
needle position control at
L.
(D Straight stitch at middle
needle
position
with
needle position control
set at M.
Aguja posicionada para
hacer una puntada recta
0 Para hacer una puntada
recta
con
la
aguja
posicionada
a
la
izquierda, colocar hacia
abajo
la
palanca
de
bloqueo o el selector de
puntada en L.
(D Para hacer una puntada
recta
con
la
aguja
posicionada en el centro,
colocar el selector de
puntada al M.
Position d’aiguille
0 Point droit en position
d’aiguille gauche avec le
levier de sélecteur de
point placé sur L.
(0 Point droit en position
d’aiguille au centre avec
le sélecteur de point
placé sur M.