Motor specifications and eiectrical requirements, Conimecting to power supply outlet – Sears 113.22643 User Manual
Page 5
Attention! The text in this document has been recognized automatically. To view the original document, you can use the "Original mode".
motor specifications and eiectrical
requirements
This machine is designed to use, and is equipped with,
a 3450 RPM motor. It is wired for operation on 120voits,
60 Hz., alternating current.
WARNING: To avoid electrocution or fire, too! must
not be converted to operate on 240 volts.
For replacement motor, refer to parts list in this manual.
CONIMECTING TO POWER SUPPLY
OUTLET
This machine must be grounded while in use to protect
the operator from electric shock.
In the event of a malfunction or breakdown, grounding
provides a path of least resistance for electric current to
reduce the risk of electric shock.
Plug power cord into a 120V properly grounded type
outlet protected by a 15 amp fuse or circuit breaker,
WARNING: To avoid electrocution: Do not let fin
gers touch the terminals of plugs when installing or
removing the plug to or from the outlet.
WARNING: If not properly grounded, thispowertooi
can cause an electrical shock, particularly when
used in damp locations close to plumbing. If an
electrical shock occurs there is the potential of a
secondary hazard, such as your hands contacting
the sanding surface.
WARNING: To avoid electrocution or fire, if power
cord Is worn or cut, or damaged in any way, have it
replaced immediately.
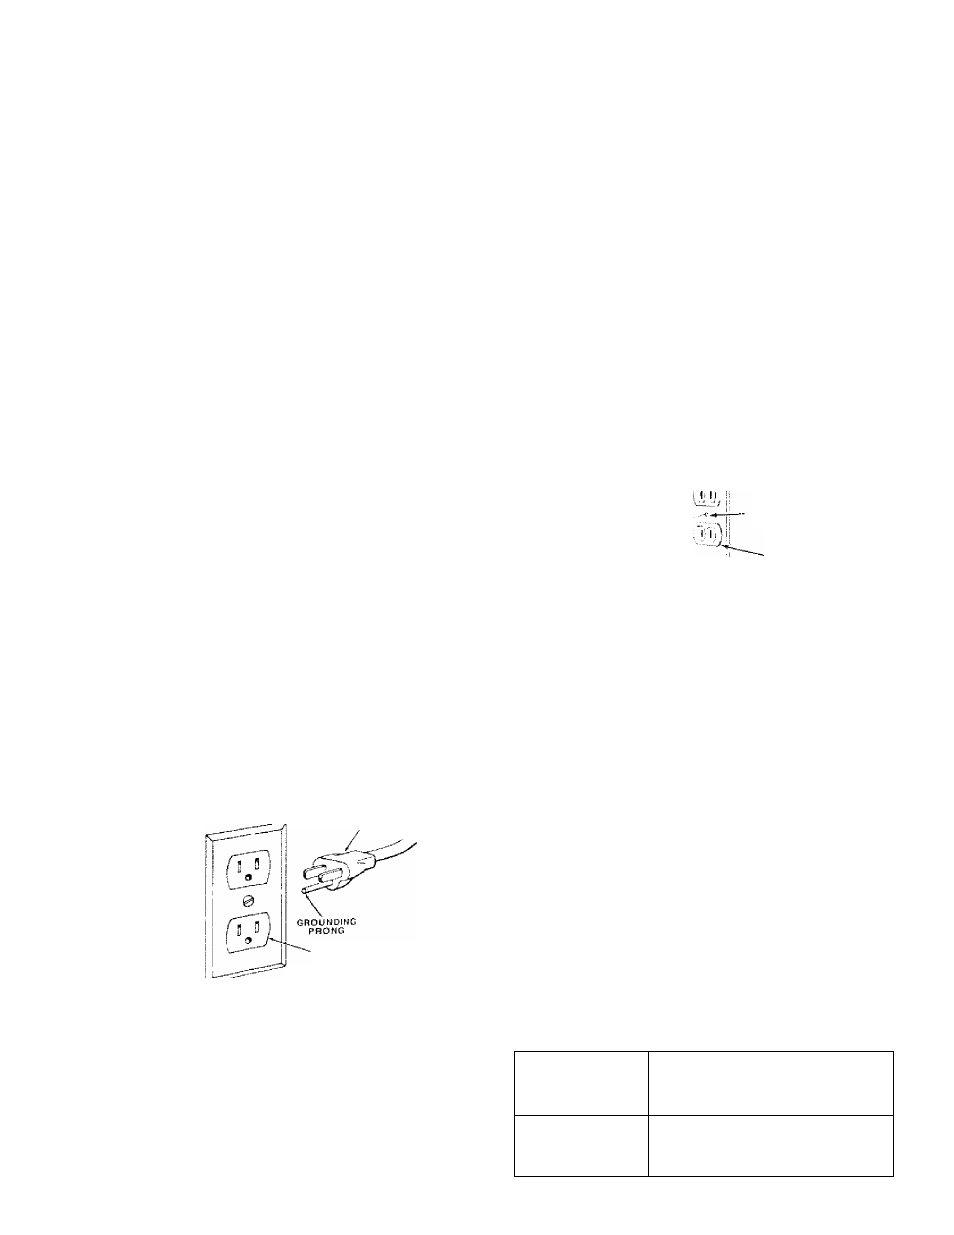
Yourunifisforuseonl20volts,andhasaptugthatiooks
like the one below. _
PROPERLY
grounded
3-PRONG OUTLET
This power too is equipped with a 3-conductor cord and
grounding type plug listed by Underwriters' Laborato
ries. The ground conductor has a green jacket and is
attached to the tool housing atone end and to the ground
prong in the attachment plug at the other end. If repair
or replacement of the electric cord or plug is necessary,
do not connect the equipment grounding conductor to a
live terminal.
This plug requires a mating
3-conductor grounding type
outlet as shown. This outlet must be installed and
grounded in accordance with all local codes and ordi-
nanaces.
WARN ING; To avoid electrocution, if the outlet you
are planning to use for this power too! Is of the two
prong type, DO NOT REMOVE OR ALTER THE
GROUNDING PRONG SN ANY MANNER. Use an
adapter as shown below and always connect the
grounding lug to a known ground.
It is recommended that you have a qualified electrician
replace the TWO prong outlet with a properly grounded
THREE prong outlet.
SCREW
GROUNDING LUG
WIAKE SURE THIS IS
CONNECTED TO A
KNOWN GROUND
2-PRONG
RECEPTACLE
3-PRONG PLUG ■'
ADAPTER
An adapter, as illustrated, is available for connecting
plugs to 2-prong receptacles.
WARNING: The green grounding tug extending
from the adapter must be connected to a permanent
ground such as to a properly grounded outlet box.
Not all outlet boxes are properly grounded.
If the grounding instructions are not completely under
stood or if you are not sure that your too I or outlet ix>x is
properly grounded, check with a qualified electrician.
NOTE: The adapter illustrated is for use only if you
already have a properly grounded 2-prong receptacle.
The use of any extension cord will cause some loss of
power. To keep this to a minimum arxi to prevent
overheating and motor burn-out, use the table below to
determine the minimum wire size (A.W.G.) extension
cord.
Use only 3 wire extension cords which have 3-prong
grounding type plugs and 3-prong receptacles which
accept the tool's plug.
Length of the
Conductor
Wire Sizes Required
(American Wire Gauge Number)
120V Lines
0 - 25 Feet
No. 16
26 - 50 Feet
No. 16
51 - 1 0 0 Feet
No,
14