Page 11, Installing cartridges – MF Digital PicoJet 6000 CD/DVD User Manual
Page 12
CD-3706/P
Operator’s Guide
Document Revision: 030501.1
PicoJet
PJ-6000 Operator’s Guide
Document Revision:020113.1
Page 11
Installing Cartridges
Note: If you run out of ink during a job, and you are replacing one or more cartridges, change the
cartridge as describe below, and then wait for blinking LED to stop before resuming the job in
progress. This may take a minute or longer as the new cartridge is primed.
PicoJet ink flow monitoring
To ensure proper ink flow monitoring, use each cartridge to completion.
Once you install a new cartridge, its serial # is recognized. PicoJet then will established a
usage countdown based on 100% availability. If the cartridge is removed and reinstalled it
continues to monitor properly. If however, you remove a cartridge and install another
cartridge, a new serial number is detected and 100% ink availability is assumed once again,
whether the cartridge is used or new.
If you were to install the first cartridge once again (after placing a second cartridge in slot)
the original cartridge is recognized and is assumed full again even if empty. Always dispose of
used cartridges once exhausted to avoid accidental insertion and the confusion that can arise.
• Press the
Power
button to turn on the printer.
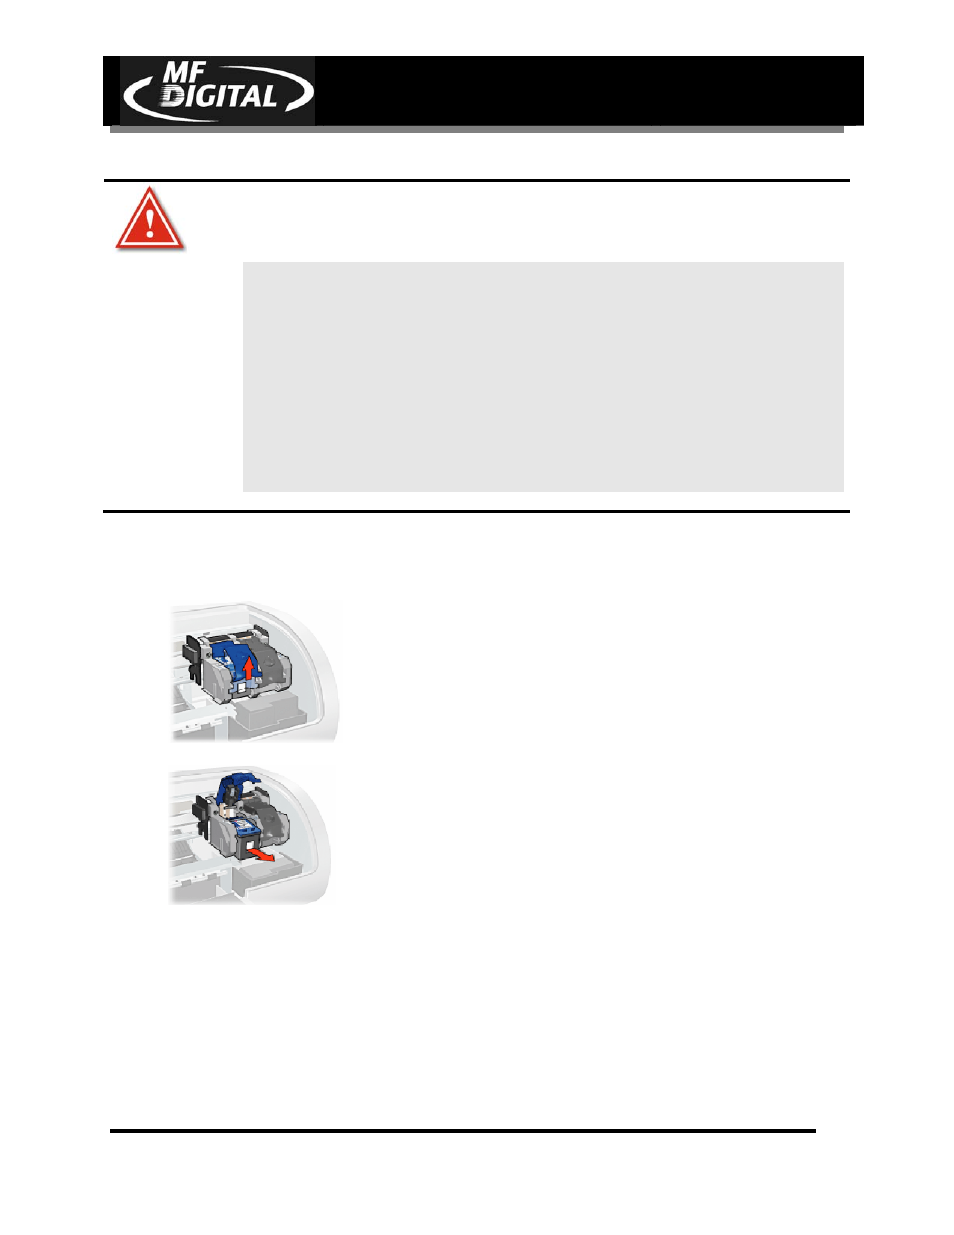
• Open the printer cover
• Lift the print cartridge latch to the open position.
• Slide the print cartridge out of the print cartridge cradle.
• Remove the replacement print cartridge from its packaging and carefully remove the
plastic tape.
Caution!
Do not touch the print cartridge ink nozzles or copper contacts.
Touching these parts will result in clogs, ink failure, and bad electrical
connections. Do not remove the copper strips. They are required electrical
contacts.