Timer recording and playback – Philips DAT850 User Manual
Page 23
Attention! The text in this document has been recognized automatically. To view the original document, you can use the "Original mode".
TIMER RECORDING AND PLAYBACK
• When an optional audio timer is used together with the deck,
recording and playback can be started at the desired time
(when you are not at home, etc.)
• When an audio timer which can perform repeated ON/OFF
switching is used, repeated recording and playback can be
performed.
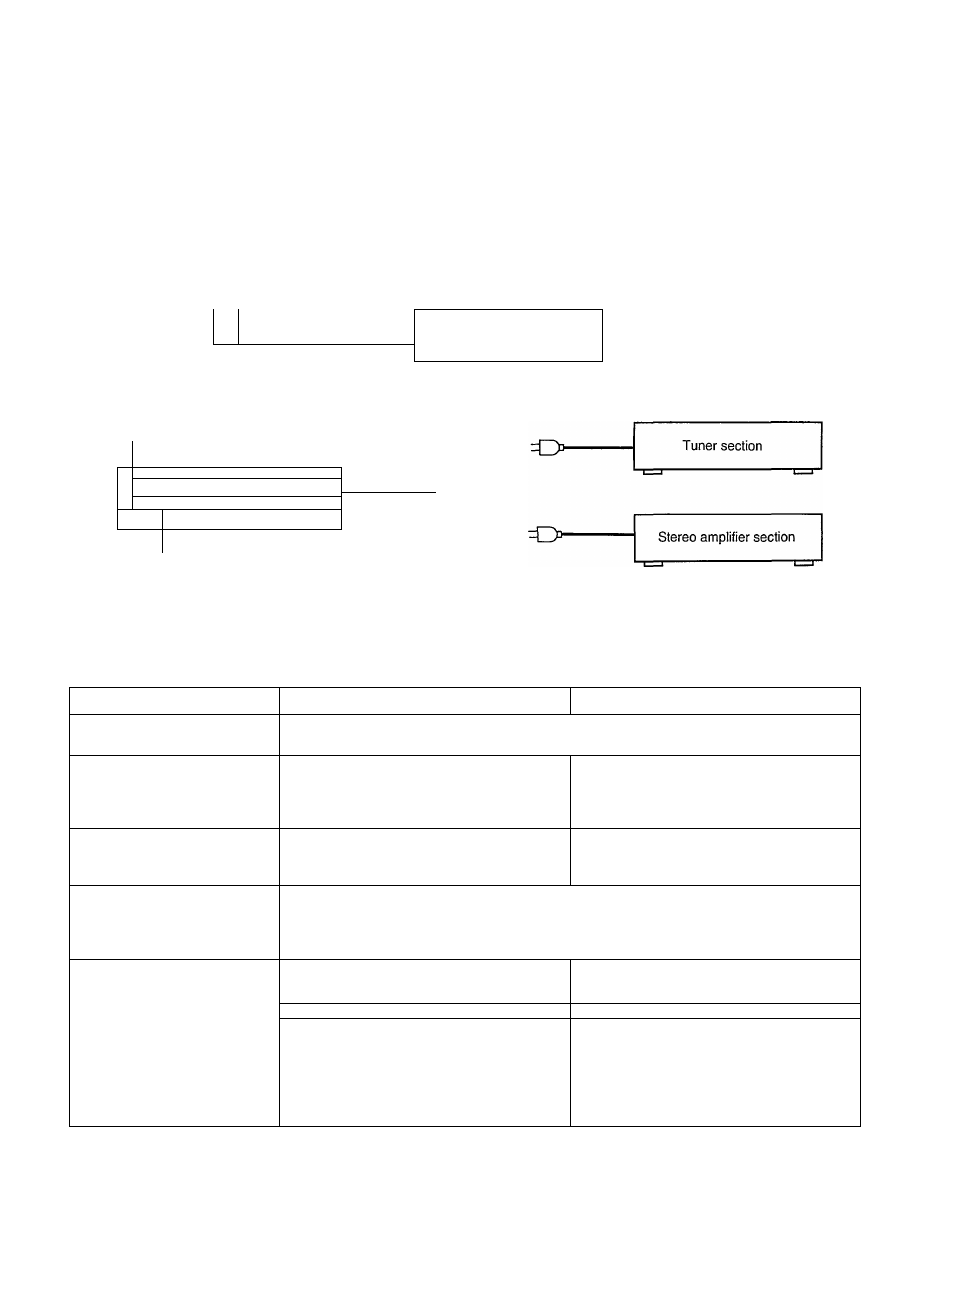
• Connection to audio timer
Set the POWER switches of all components to ON.
• Refer to the instruction manual of the audio timer used before
starting timer recording/playback.
• A DAT cassette with its safety tab open cannot be used for
recording.
0
------------------------------
Audio timer section
To a wall AC outlet
^ 1_1------------------------------ 1_i '
To the AC outlet of audio timer
Set the ON/OFF switch ON.
HIUH _ ... ... . 2
i
1
,. r/,. n
a^c3
f
■ 1
.
1 .1
■
J 0
®
1—j
L
—
J
TIMER switch
Note:
This diagram does not represent a U.K. mains plug.
Operation procedure
Timer recording
Timer playback
1. Timer operations
• Check that the POWER switches of all components connected to the timer are set to ON.
• Operate the timer so that it turns on the power to each component.
2. Amplifier/tuner operations
• Tune to the required broadcast.
FM broadcast: TUNER
DSR broadcast: LINE
• Set the TAPE MONITOR switch of the
amplifier to ON.
• Adjust the volume with the amplifier’s
volume control.
3. Deck operations
• Load the cassette on which the recording is to
be made and operate for recording. (Refer to
page 13.)
• Load a prerecorded cassette and operate for
playback. (Refer to page 20.)
4. Timer operations
• Program the timer’s ON time for when recording/playback is to start and
its OFF time for when it is to stop.
• When programming the timer’s ON time and OFF time, allow a margin of 1 minute for each.
• Check that the power supplies of all components connected to the timer are turned OFF.
5. Deck operations
• Set the TIMER switch to the REG position.
• Set the TIMER switch to the PLAY position.
[1 1 "n 1^
1 i|
REC OFF PLAY
REC
off
'
play
TIMER
TIMER
Recording will start when the preset time is
reached.
Playback will start when the preset time is
reached.
Notes:
1.
After timer recording/playback has finished, be sure to set
the TIMER ON/OFF switch of the DAT deck to its OFF position.
2.
After recording to the end of the tape in timer recording, rewind
the tape with the REWIND button.
23