Join, bevel & hinge the tail surfaces – Great Planes Spitfire 40 Kit - GPMA0179 User Manual
Page 8
❏
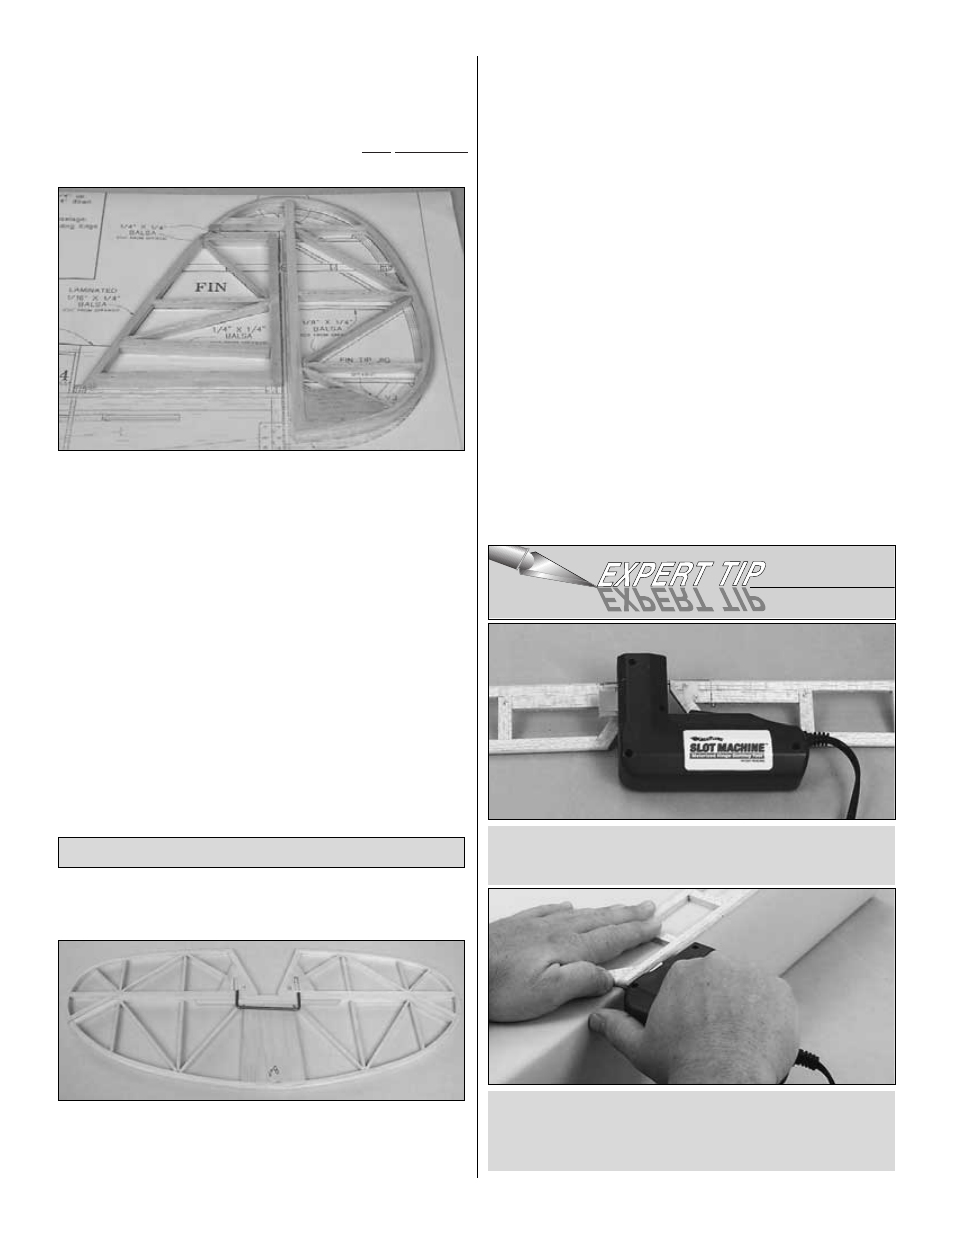
3. From a 1/8" x 1/4" x 18" balsa stick, cut, fit and glue the
fin and rudder inner framework in place. Position and glue the
rudder horn support to the framework.
❏
4. Position and pin the die-cut 1/8" balsa rudder jigs V1 – V3
over the plan. Note: Remember that the jigs are
only
temporary
and should not be glued to any parts at any time.
❏
5. Wet one side of one 1/16" x 1/4" x 24" balsa fin outer
frame strip. Use medium CA to glue the strip to the rudder,
then fin framework, wrapping from the bottom of the rudder
counterclockwise to the bottom of the fin as you did for the
elevator. Note: There are no joints on the vertical tail. All strips
wrap from the bottom of the rudder to bottom of the fin.
❏
6. Wetting the outside and laying a bead of medium CA on
the inside face, apply the remaining three outer frame strips in
succession. Note: Remember that the outer strips will secure more
easily to the inner layers if you work fairly quickly because the
water on the outside of the inner strips will accelerate the CA.
❏
7. Unpin the fin/rudder, remove the jigs, and sand both sides
smooth. Round both the fin and the rudder as shown on the
cross-section on the plans.
❏
8. Cut the outer frame between the fin and rudder and sand
the strips smooth.
Note: We do not recommend using any pin style hinges on
this model.
❏
1. Lay the stab and elevators inverted on your work surface.
Align the elevators properly against the stab, taking care to
match the angled leading edges to the angled trailing edge of
the stab.
❏
2. Position the wire elevator joiner over the elevators, centered
on and aligned with the trailing edge of the stab. Trace the joiner
onto the elevators.
❏
3. Drill 1/8" holes through the elevators’ leading edges at the
position you marked to the depth you marked to properly fit
the joiner.
❏
4.Using a Great Planes Groove Tube
™
(GPMR8140), or a sharpened
brass tube, cut a groove in the elevator leading edges from the
hole to the root so that the elevator joiner fits flush into the
elevators.
❏ ❏
5. Place the stab over its location on the plan. Lightly mark
the hinge locations on the trailing edge with a ballpoint pen.
Mark the hinge locations on the elevators in the same manner.
To cut the hinge slot, place the blades onto the wood where
you want the slot. Lightly press the teeth into the wood. When
you are satisfied with the location, press the button on the
handle and the blades will cut easily into the balsa wood.
We have simplified the task of cutting hinge slots with the
introduction of the Great Planes Slot Machine
™
. This simple
electric tool cuts a perfect width slot for use with CA hinges.
Join, Bevel & Hinge the Tail Surfaces
8