Great Planes Spitfire 40 Kit - GPMA0179 User Manual
Page 12
❏ ❏
14R. Position the retract body over the gear rails and
against W4. Using a rotary tool or other cutting tool, cut a
groove through W4 for the gear’s actuator so that the retract
body sits flush on the retract rails tight against W4.
❏ ❏
15R. With the retract body in position, trace around the retract
coil on the mounting rails. Using your rotary tool, cut away
where the coil makes contact so the retract strut can completely
retract at W4.
❏ ❏
16R. Cut the retract strut to the length shown on the plan.
Note: The strut extends past the center of the wheel well to
support the axle.
❏ ❏
17R. Use a 3/32" drill to drill pilot holes through the retract
body’s mounting holes into the retract rails. Using four #4 x 5/8"
sheet metal screws (not included), temporarily screw the retract
body to the retract rails. Trim W3 until the retract strut can lock
into its retracted position. Remove the retract from the wing and
use a small amount of thin CA in each of the 4 retract screw
holes to harden the threads.
❏
Proceed to Step 18.
FIXED GEAR
❏ ❏
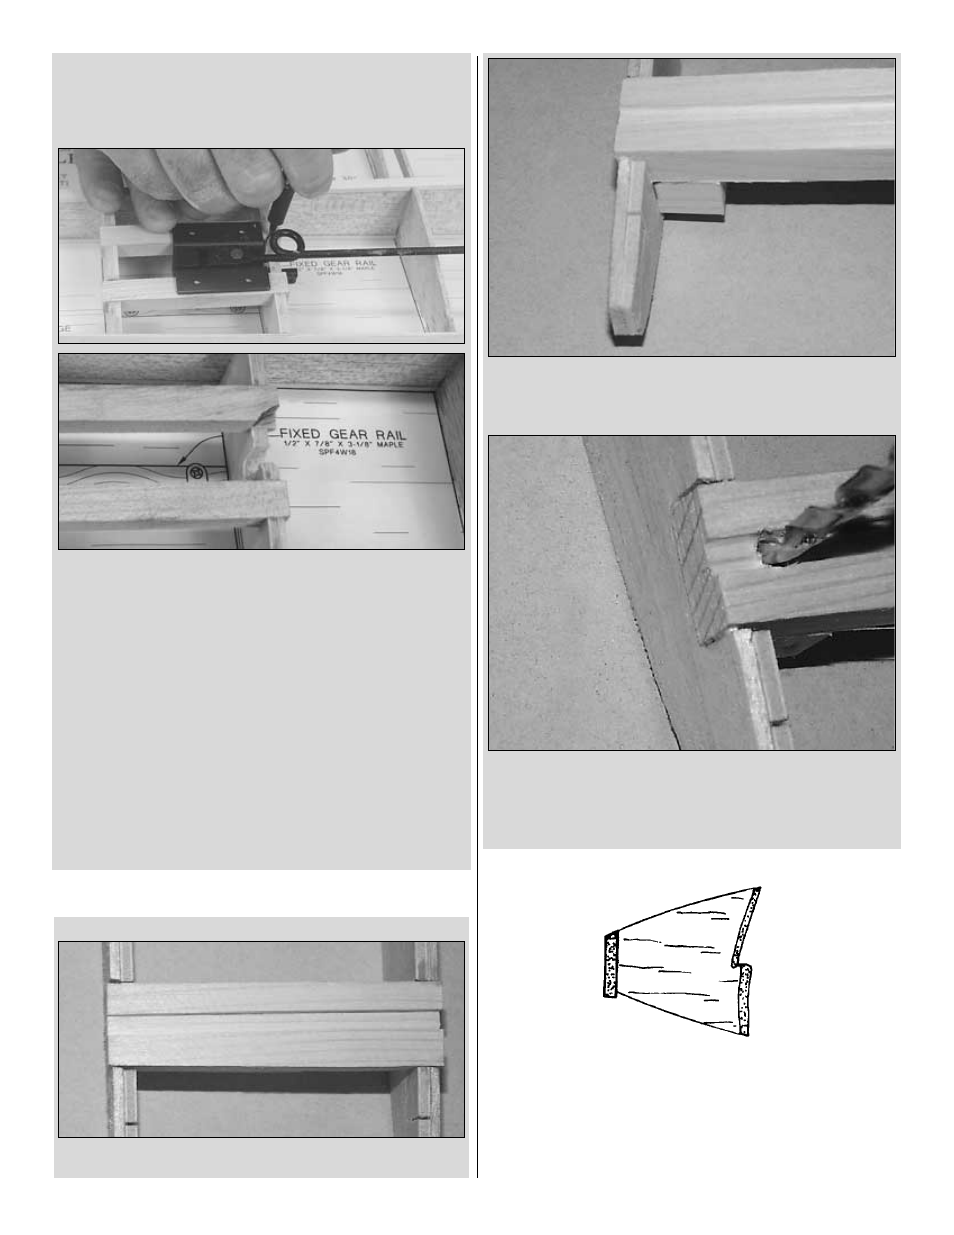
13F. Select one of the 1/2" x 7/8" x 3-3/8" maple
fixed
gear rail. Position it in ribs W4 and W5 and glue in place.
❏ ❏
14F. Epoxy one of the 1/2" x 1/2" x 7/8" maple
torque block
to the top of the fixed gear rail and flush against W5.
Note: The
leading edge is removed from this photo for clarity.
❏ ❏
15F. Drill a 5/32" hole through the fixed gear rail and the
torque block with the outboard edge of the hole flush with the
W5A doubler.
❏
16. Proceed to step 18.
❏ ❏
18. Using a razor plane, shape the sub LE to match the
airfoil shape of the ribs as shown in the sketch.
❏ ❏
19. Unpin the wing from the work surface. Select one LE
sheet you made earlier. Practice positioning the LE sheet with
the outboard edge flush with the outboard edge of W9 and the
12