Complete the wing panels – Great Planes Spitfire 40 Kit - GPMA0179 User Manual
Page 17
❏
14R. Cut a 1/4" deep slot between the marks on both ribs W2.
❏
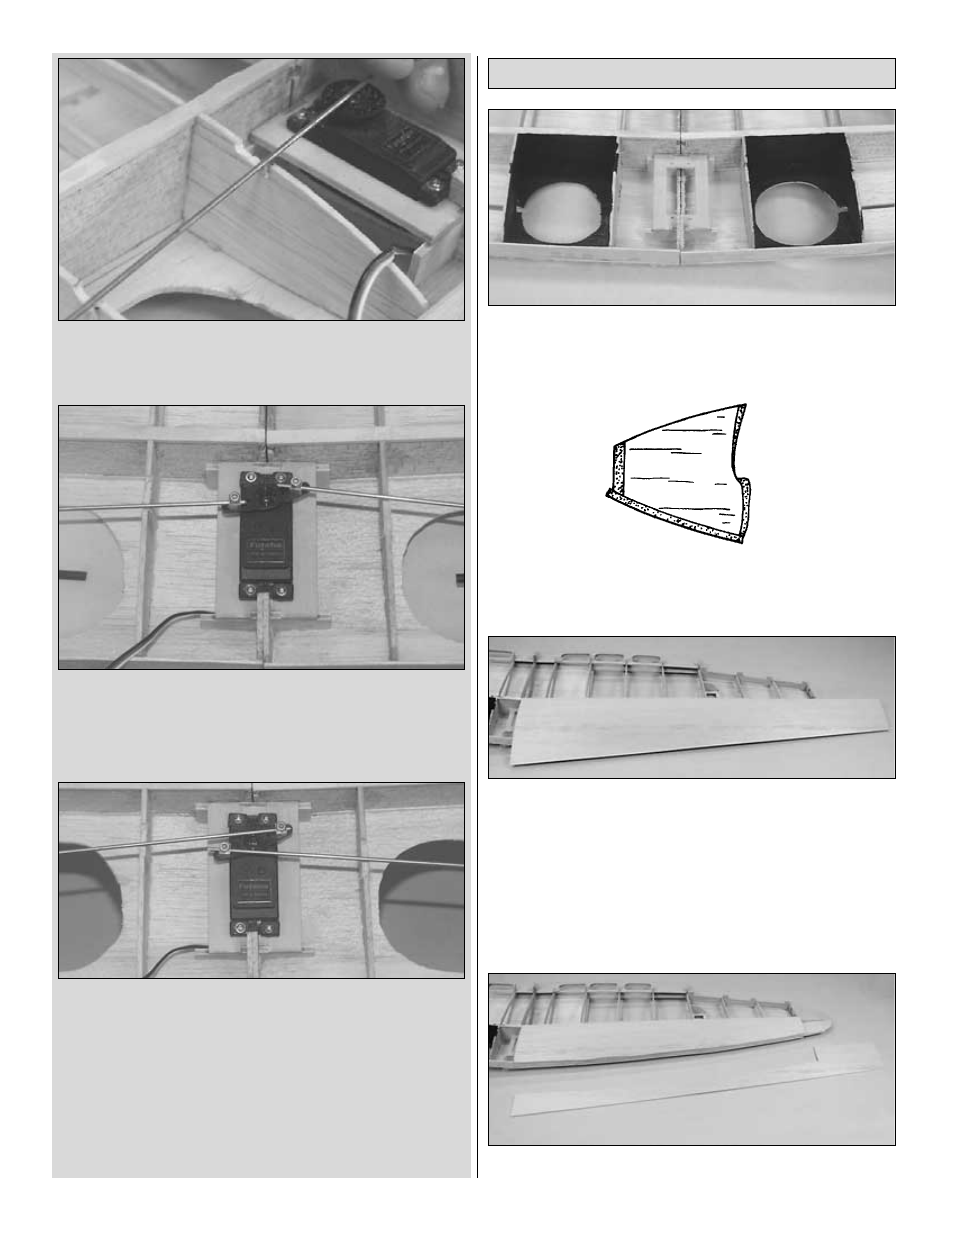
15R. Plug your retract servo into your receiver. Set it so the
servo arm, in the “up” position, is rotated slightly, as shown in
the photo. Make sure it rotates clockwise to move the gear down.
❏
16R. Hook up the pushrods with the gear in the “down” position
and the arm as shown. Pull the pushrods until the gear locks
down, then tighten the set screws on the screw-lock
connectors.
❏
17R. Remove the retracts and the servo from the wing.
Note: Label the retract bodies left and right and leave the
pushrods attached to the retracts to make it easier to reinstall
them later.
❏
1. Fuelproof all wood between ribs 2 and 3 from the spars
forward.
Hint: Fuelproof paint or thinned epoxy works well for
this task.
❏
2. Turn the wing right-side-up. Use a sanding block to shape
the sub LE so it aligns with the tops of the ribs and the shape
of the airfoil.
❏ ❏
3. Weight the wing so that the left wing half stays flat on the
building board. Select one LE sheet you made earlier. Test fit
the LE sheet with the inboard edge aligned with the center of
the wing and the trailing edge aligned with the center of the
spar. Coat the forward half of the main spar with medium CA
and press the LE sheet down firmly in place, holding in position
until the CA cures. Carefully roll the sheeting back from the ribs
and lay a bead of medium CA along the ribs and the sub LE.
Weight the sheeting onto the ribs and sub LE and allow the CA
to cure.
❏ ❏
4. Trim the sheeting flush with the sub LE and W9.
Complete the Wing Panels
17