Great Planes Cherokee Kit - GPMA0180 User Manual
Page 24
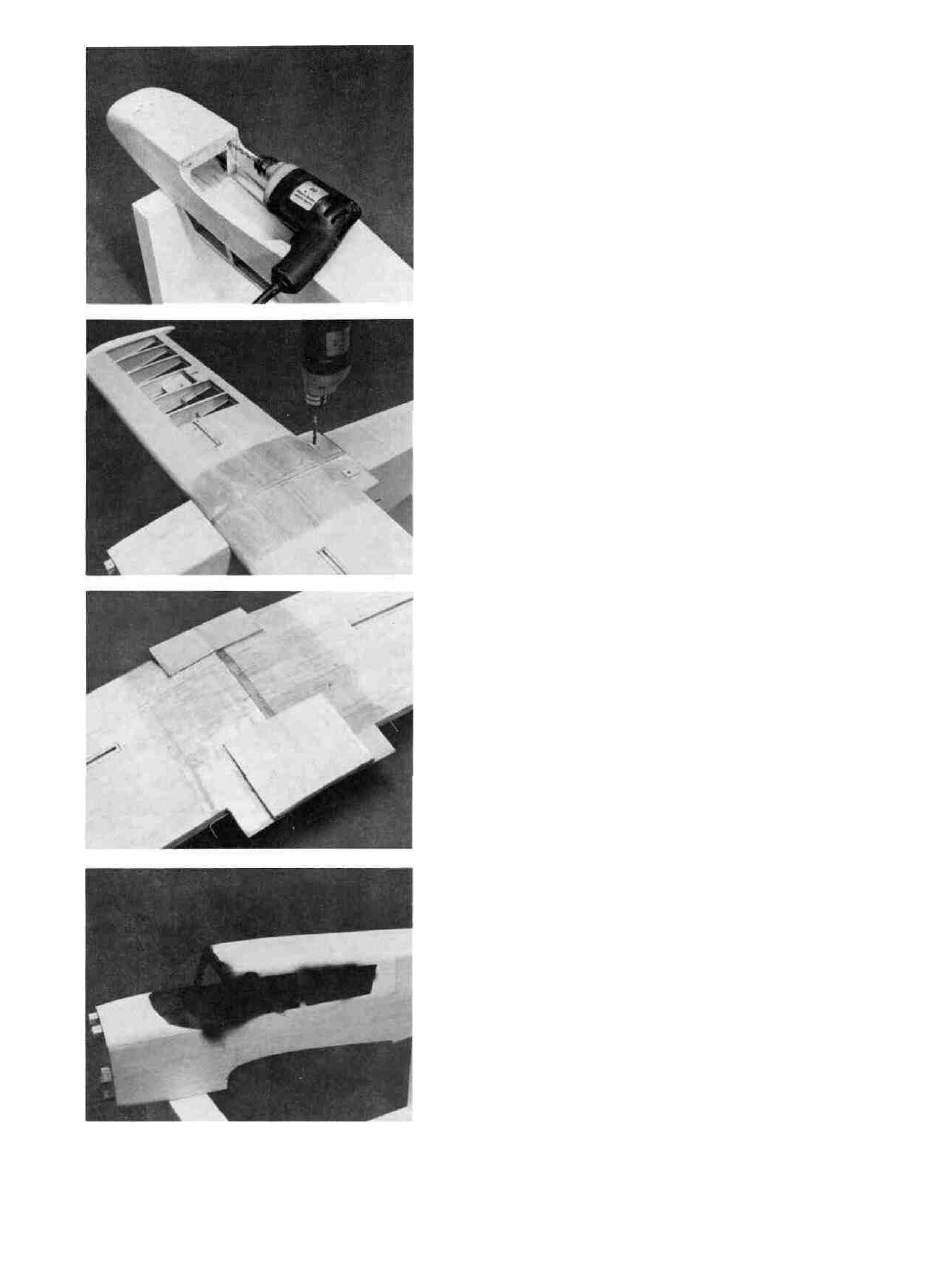
4. D DRILL 1/4" DOWEL HOLES THROUGH THE DOWEL
JIG HOLES INTO BULKHEAD #2; GLUE DOWELS
INTO THE WING
Use the holes in the Dowel Jig as a guide and drill
1/4" holes into Bulkhead #2. Remove the Dowel Jig and
now permanently install this Jig with epoxy using the drilled
holes to align the Jig in the exact position. Glue the
Dowels into the Wing with epoxy. A little less than 1/2" of
the Dowels should extend beyond the Leading Edge of the
Wing. Put the Wing on the Fuselage and check your work.
The Wing should be aligned correctly.
5. D INSTALL THE REAR WING BOLTS
With the Wing aligned to the Fuselage, drill pilot
holes (at a slight angle so the bolt head will rest flat on the
Plywood Plate) for 1/4-20 Bolts through the 1/16" Ply Plate,
Center Trailing Edge and rear Hold Downs in Fuselage. Re-
move the Wing. Redrill the wing for 1/4-20 bolt clearance.
Tap the holes in the Fuselage Hold Downs for 1/4-20 bolts.
Bolt the Wing to the Fuselage to check your work. Note -
See the "Optional Scale Wing" information on page 29.
Add these parts to the Wing now if you wish to have your
model more scale-like in appearance. These parts do not
have any function except for appearance.
6. D CONSTRUCT AND GLUE ON FRONT AND
REAR WING FAIRINGS
Use the 1/8" x 3/4" x 10" balsa and cut a piece 1/8" x
3/4" x 5" for the front part of the Front Wing Fairing. Cut
two pieces of 1/8" x 3/4" x 2" from what you have left for the
Sides of this Front Fairing. Use the two 1/8" x 2-3/8" x 2"
balsa pieces provided for the Bottom of the front Fairing.
(Make these pieces slightly oversize at first.) Glue these
pieces together to form the Front Fairing. Lay sandpaper
on the Wing and rub the Fairing back and forth to get the
correct curve on the Fairing. Shape the Rear Fairing (1/4" x
2-1/2" x 4" balsa-2 pieces glued together) in the same way.
Trial fit the Fairings with the Wing in place. Glue the Fair-
ings in place when you have a good fit.
7. D FINISH CABIN AREA - (SHORT CUT METHOD-
LESS SCALE IN APPEARANCE)
You may elect to take a short cut here if you do not
wish to put a lot of work in the cabin area. If so, do the fol-
lowing. (If you want a more scale-like appearance, go on to
the next step.) Put the scrap plywood pieces that you saved
when you glued in the Cabin Sides back into the window
areas on the Cabin Sides. Glue them in place. Now you can
paint the Side Window areas a dark color to simulate tinted
glass. Dye the front Windshield dark with Rit Dye. Follow
the instructions on the box of dye. There is no need, then,
to finish any Cabin interior as you won't be able to see
through the windshield anyway. Skip steps #8 and #9 and
go on to step #10 for Windshield installation.
8. D FINISH THE CABIN AREA; A D D A PILOT
Spray paint the Cabin interior a flat black. Glue in a
pilot and passenger at the first side window location. Add
any other scale details that you wish. Any additions to the
Cabin area must be made now before the Cabin is enclosed
by the Windshield and Windows.
24