Great Planes Cherokee Kit - GPMA0180 User Manual
Page 21
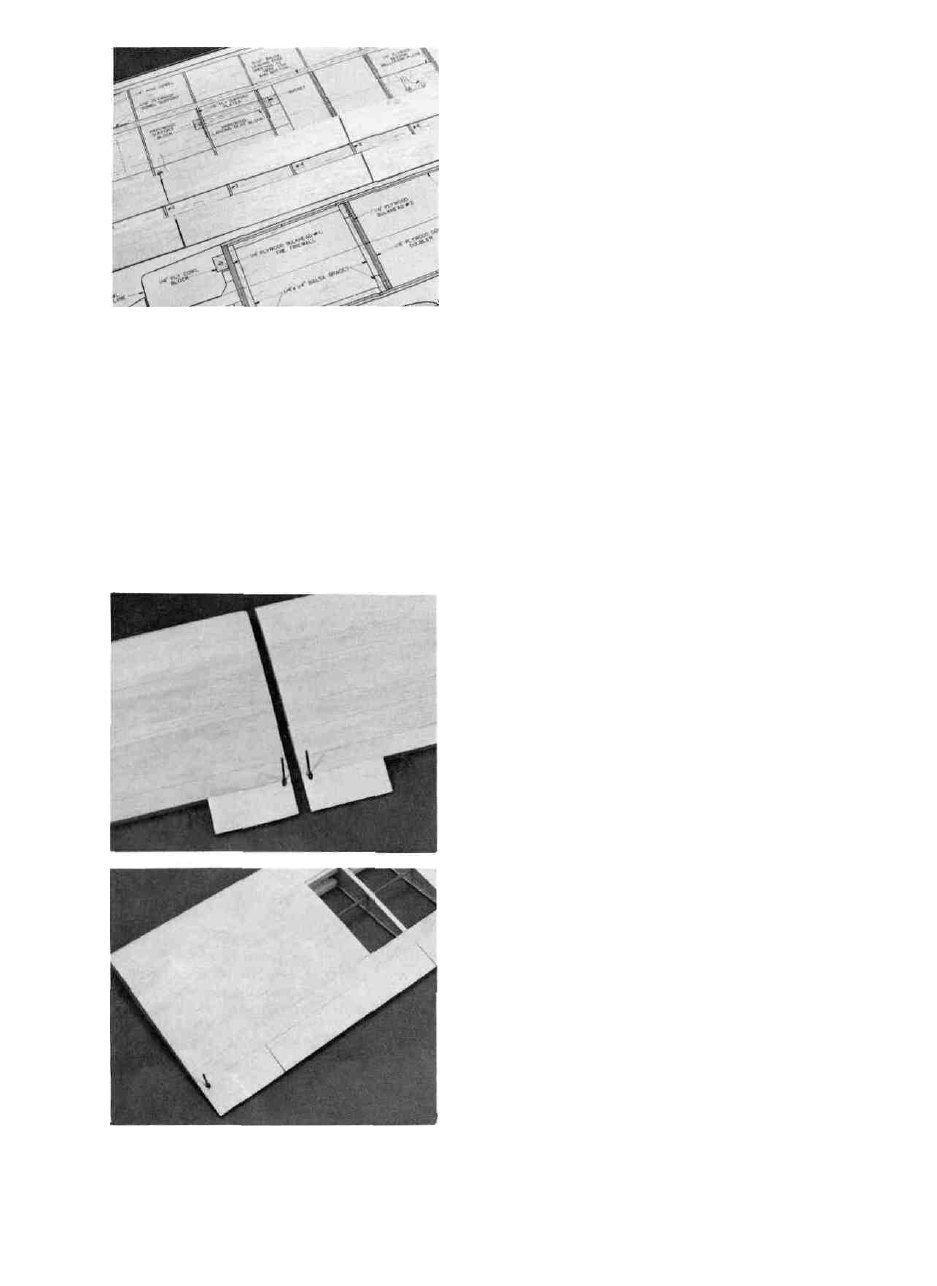
24. D CUT TAPERED BALSA TRAILING EDGE STOCK
INTO AILERONS, FLAPS AND CENTER
TRAILING EDGE PIECES
Mark and cut the Balsa Stock into three parts as
shown on the plan. Make parts for both wing panels. Even
if you will not have workable Flaps, you still need to cut the
Flap pieces from the stock provided. The Flaps will simply
glue to the wing Trailing Edge later.
D PREPARE THE CENTER TRAILING EDGE PIECES
Groove and notch the Center Trailing Edge pieces
for Flap Torque Rod clearance. Use epoxy and glue the
brass tube only of the torque rods into the groove in the
Center Trailing Edge piece. Make Right and Left pieces.
(The long torque arm goes up when the Center Trailing
Edge pieces are upright.) If you do not want workable
Flaps, there is no need to glue the torque rods into the
Center Trailing Edge pieces. The torque rods will not be used.
26. D GLUE THE CENTER TRAILING EDGE PIECES TO
THE WING PANELS
Sand the Center Trailing Edge Pieces if necessary
and check the fit to the wing panels. Notch out the wing
panel Trailing Edge for Torque arm clearance. Glue in place
using epoxy. Use extreme care when gluing so you do not
glue the torque arms themselves to the Wing Panels.
27. D TEMPORARILY HINGE THE FLAPS AND
AILERONS TO THE WING PANELS
Mark the positions of the hinges on each wing
panel trailing edge and the Flap and Aileron leading edges.
Check the drawings on the plans. The Flaps are Bottom
hinged; the Ailerons are Top Hinged. Cut the slots for both
at the angles shown on the drawings. Mark and drill a hole
in the Flap leading edge for the torque arm. Groove the
Flap leading edge for torque rod clearance. Trial fit the
Flaps and Ailerons. Tack glue the Flaps and Ailerons to the
wing panels and final sand. (If you do not want workable
Flaps, then just glue the tapered Flap to the Wing panel.)
21