Great Planes Cherokee Kit - GPMA0180 User Manual
Page 10
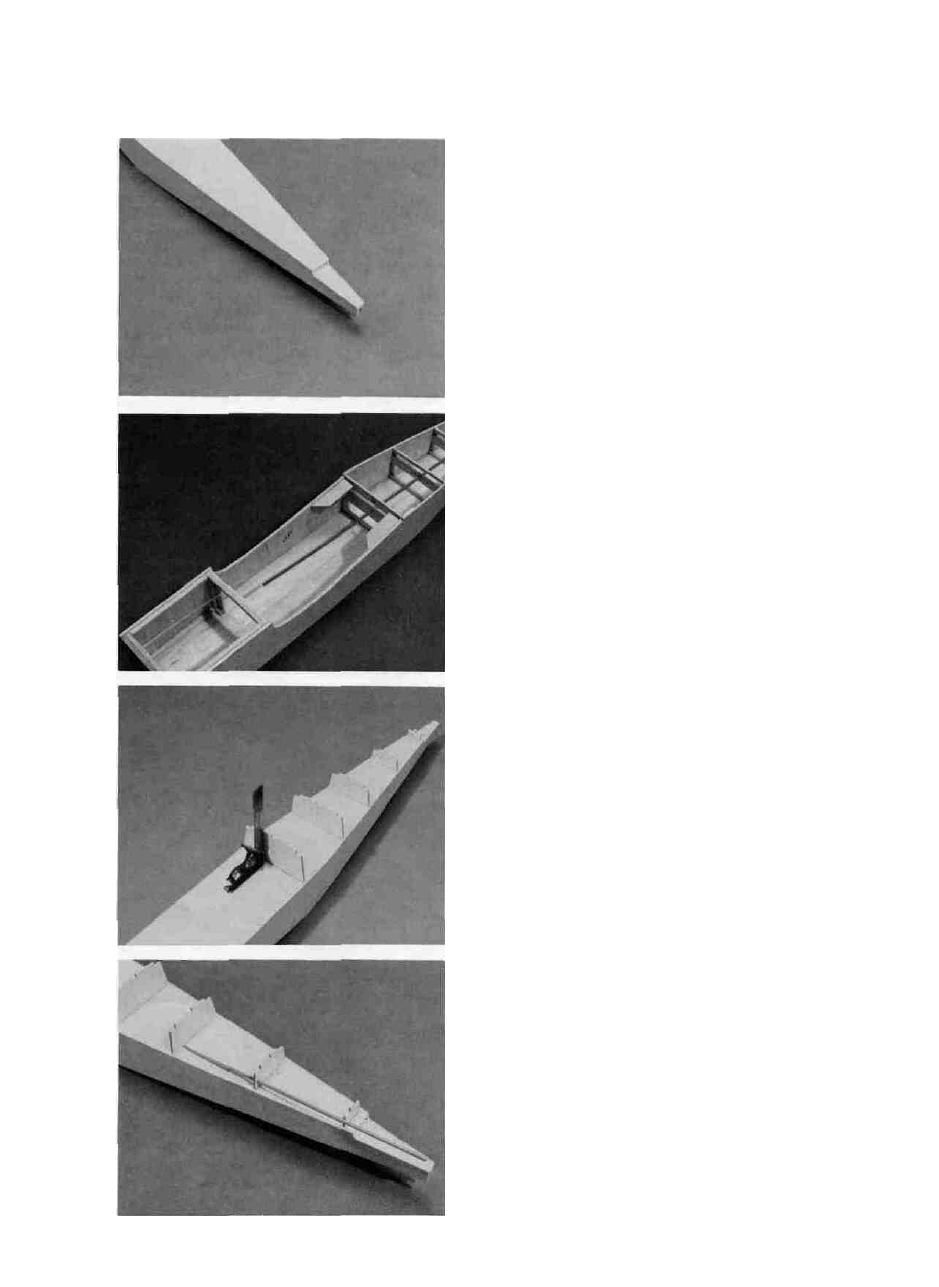
17. D GLUE THE 1/4" BALSA STABILIZER PLATE
TO THE FUSELAGE
The Stabilizer Plate glues to Bulkhead #8 and the
Fuselage Sides. Glue this Plate in even and level with the
top of the Stabilizer Saddle Cut Out in the Fuselage Side.
This Plate will help support the Stabilizer which will have
0 degrees incidence when positioned correctly. (0 degrees
incidence means that the Stabilizer is level and parallel to
the ground when the Fuselage itself is level and parallel to
the ground. Positive or negative incidence means the Stab
leading edge is higher or lower than the Stab trailing edge
when the Fuselage is level and parallel to the ground.)
18. D INSTALL PUSHROD OUTER HOUSINGS
FOR ELEVATOR, THROTTLE AND
STEERING LINKAGES
Wire in a tube style pushrods are provided for
Elevator (and Rudder); wire in a tube type pushrods are
provided for throttle and steering. Cut the exit hole at the
rear of the Fuselage for elevator Pushrod Outer Housing. A
brass tube that has the inside of one end sharpened with
an X-Acto knife makes a great hand cutting tool for this. In-
stall the Elevator Outer Tube and brace it at the various
Bulkheads with the Braces you made earlier. CA glue works
fine for gluing the tube to balsa wood. Install the Throttle
and Steering tubes in a similar manner, gluing them to the
Firewall and Bulkhead #2. (You will install Rudder Outer
Tube later.)
19. D GLUE IN BULKHEADS 4A, 5A, 6A, 7A AND 8A
Glue these Bulkheads in the positions you marked
on the Cabin Base earlier. These Bulkheads must glue at 90
degrees to the top of the Cabin Base. Check with a right tri-
angle or square. The Bulkheads should also be centered to
the Cabin Base to leave room for the 1/8" Side Deck Sheeting.
Draw centerlines down the Cabin Base and down each
Bulkhead to help center the Bulkheads to the Cabin Base.
20. D INSTALL THE RUDDER PUSHROD
OUTER TUBING
Use a long brass tube, sharpened inside of one end
or a long drill bit and cut holes through Bulkhead 7A and
the Cabin Base between 6A and 7A. Install the Outer Tube
but do not glue it in place yet. You'll have to cut the exit
hole later after you install the Deck Side.
10