Wing – Great Planes Cherokee Kit - GPMA0180 User Manual
Page 15
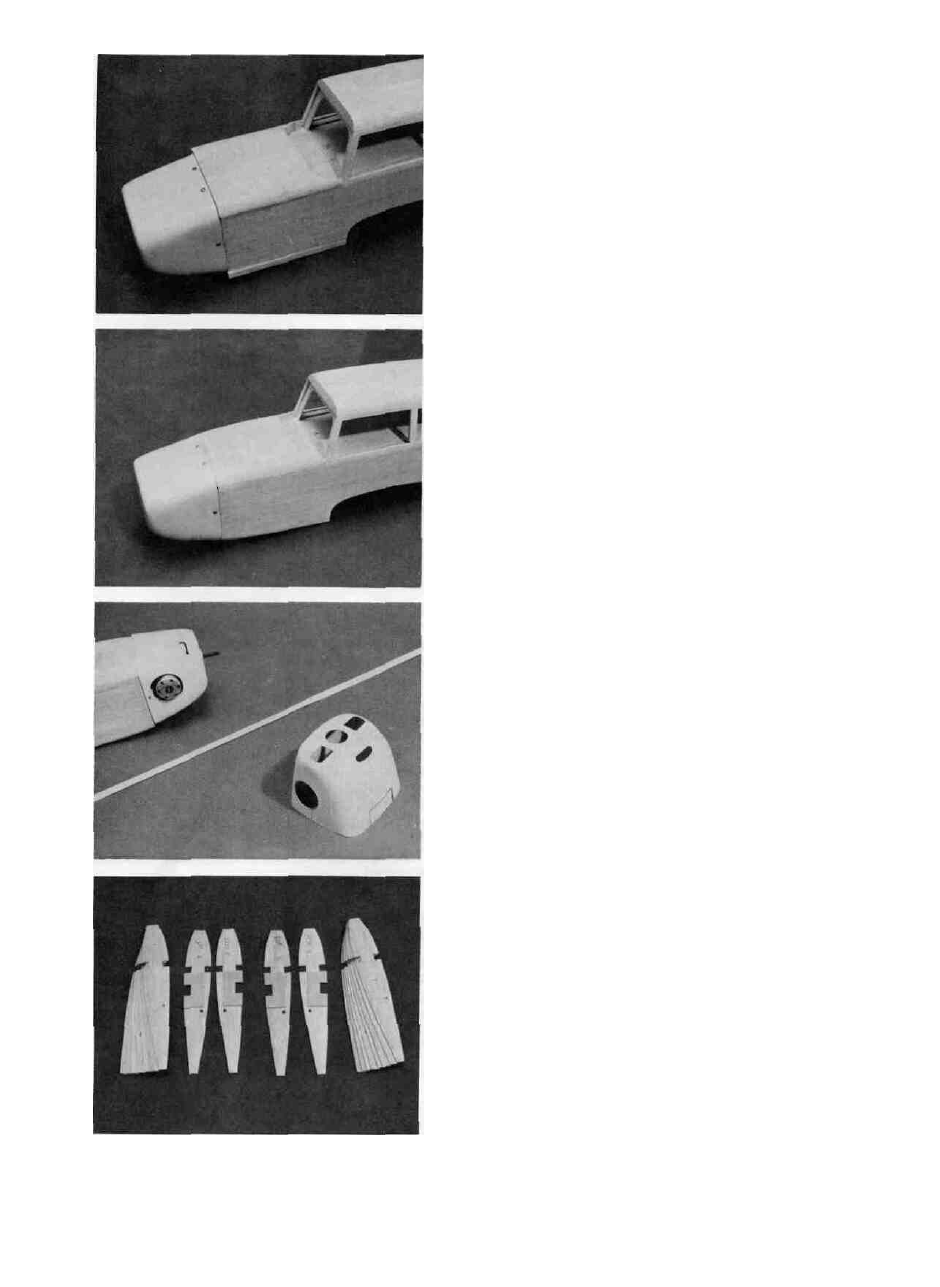
3. D ATTACH THE COWL TO THE FUSELAGE WITH
#4 SCREWS INTO THE COWL BLOCKS
Place the Cowl on the Fuselage. Drill a 5/64" pi lot hole
through the Cowl and through the 1/4" Cowl Block under-
neath. Enlarge the hole in the Cowl for #4 screw clearance.
Install the screw to check your work. Repeat this process
for the other 5 screw locations.
4. D FINAL SAND THE FUSELAGE TO THE COWL
CONTOUR WITH THE COWL ATTACHED
Sand the Balsa Cowl Top Block and the Balsa Tank
Bottom to match the Cowl contours. Remove the cowl
screws and the Cowl when you have finished sanding.
5. D SAND OR CUT AWAY AREAS ON THE COWL
FOR ENGINE CLEARANCE
Install the engine mount with four 6-32 screws (the
engine is side mounted, the engine head faces the right side
of the model). Temporarily attach the engine to the engine
mount (use CA glue-just a little!). Trial fit the Cowl and cut
openings in the plastic for engine head clearance, needle
valve adjustment, engine shaft hole, air intake holes (use the
template as a guide), air outlet for muffler and nosegear
clearance. Now position the engine (break the glue bond
so you can move the engine) so the prop shaft has 1/16" or
so clearance between the spinner back and the Cowl front.
Slightly enlarge the engine head opening if necessary.
WING
READ THIS FIRST BEFORE YOU START BUILDING THE
WING PANELS: It is very important that you build a straight
wing with no warps or twists or you will get some flying
characteristics you didn't expect! Be very careful when
you align the ribs, spars, leading edges and trailing edges
and sheeting at the various steps below. All these parts
should be in their correct positions before you glue them in
place. Hold or pin the parts in place, then glue. Use the
following instructions to help you build the wing straight
and warp free.
Remember: Anyone can build a wing. Only a careful builder
can build a straight wing.
1. D PREPARE THE RIBS FOR BOTH WING PANELS
Remove the Ribs from the razor cut sheets. Find 4
Ribs with the landing gear notch in them. Number these
Ribs #3 and #4. You'll have 2 of each. Glue the 1/16"
Plywood Brace (it has a notch that matches the landing
gear notch) on the left side of one Rib #3 and on the right
side of one Rib #4 for the right wing panel. For the left wing
panel glue the 1/16" Ply Braces to the left side of the other
Rib #4 and the right side of the other Rib #3. Locate the
Ribs with the Bellcrank Plate slot in them (2 for each
panel). Number these Ribs #6 and #7. Any remaining Ribs
may be used in any of the other positions. Put the Ribs
aside for the left wing panel. You will build the RIGHT wing
panel first.
15