Great Planes Cherokee Kit - GPMA0180 User Manual
Page 17
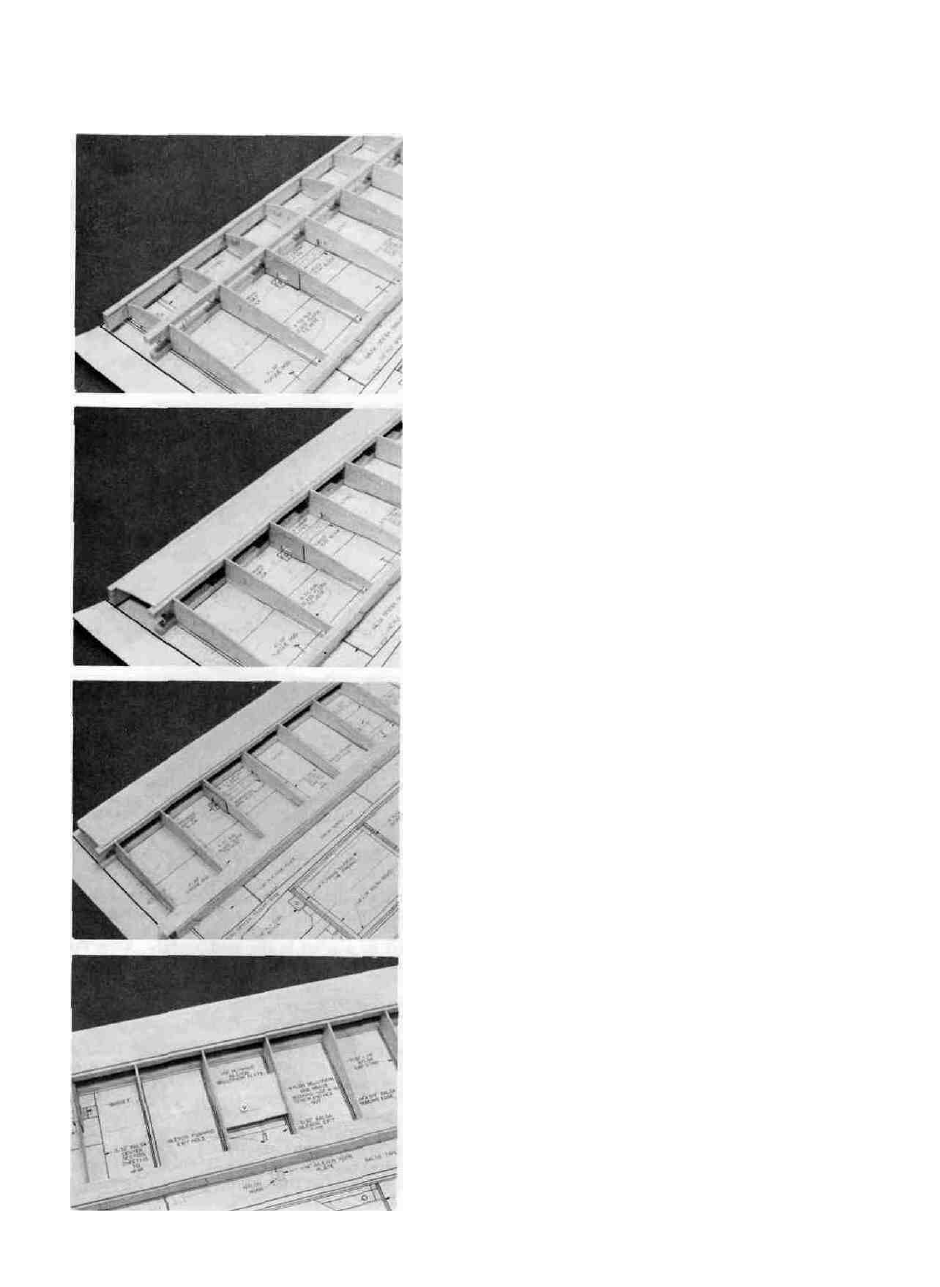
6. D GLUE THE 3/8" x 3/8" x 30" BALSA TOP SPAR
INTO THE RIB NOTCHES
7. D GLUE THE 3/32" BALSA TOP LEADING EDGE
SHEETING IN PLACE
Glue the Sheeting to the Leading Edge first. Then
glue the Sheeting to the Ribs and the Top Spar. You may
have to wet the Sheeting with a solution (50-50) of water
and ammonia to help the balsa wood bend over the rib con-
tours. Wet the Sheeting and hold it in place until dry. Then
glue in place.
8. D GLUE THE 3/32" x 7/8" x 30" TRAILING EDGE
SHEETING IN PLACE
Position this Sheeting so the rear edge is flush with
the rear of the Trailing Edge. A good way to get a straight
Trailing Edge is to remove the Building Support, roll the
wing panel back until the Trailing Edge is flat on the work
surface. Then glue on the sheeting. Realign the panel
when the Sheeting is dry.
9. D ADD THE 1/8" PLYWOOD BELLCRANK PLATE
Remove the Bellcrank Plate (1/8" x 2" x 3-1/4") from
the razor cut sheet. Mark and drill a clearance hole for the
4-40 bolt into the Ply Plate. Attach the Nylon Bellcrank and
Brass Bushing to the Bellcrank Plate by threading a 4-40
bolt through the brass Bushing, the Bellcrank and the Ply
Plate and then securing the Bolt with a 4-40 Hex Nut and
Washer. Trial fit and glue the Plate in position into the
slots in Ribs #6 and #7.
17