Finish the radio installation – Great Planes 38% Extra 330S ARF - GPMA1290 User Manual
Page 17
17
nylon tie straps (not included). In addition to hook and loop or
tie straps, use adhesive foam mounting tape to cushion the
module and to keep it from shifting. Plywood ignition wire
guides are also provided for routing the spark plug wires, or
you could also use J’Tec clamp loks (not included).
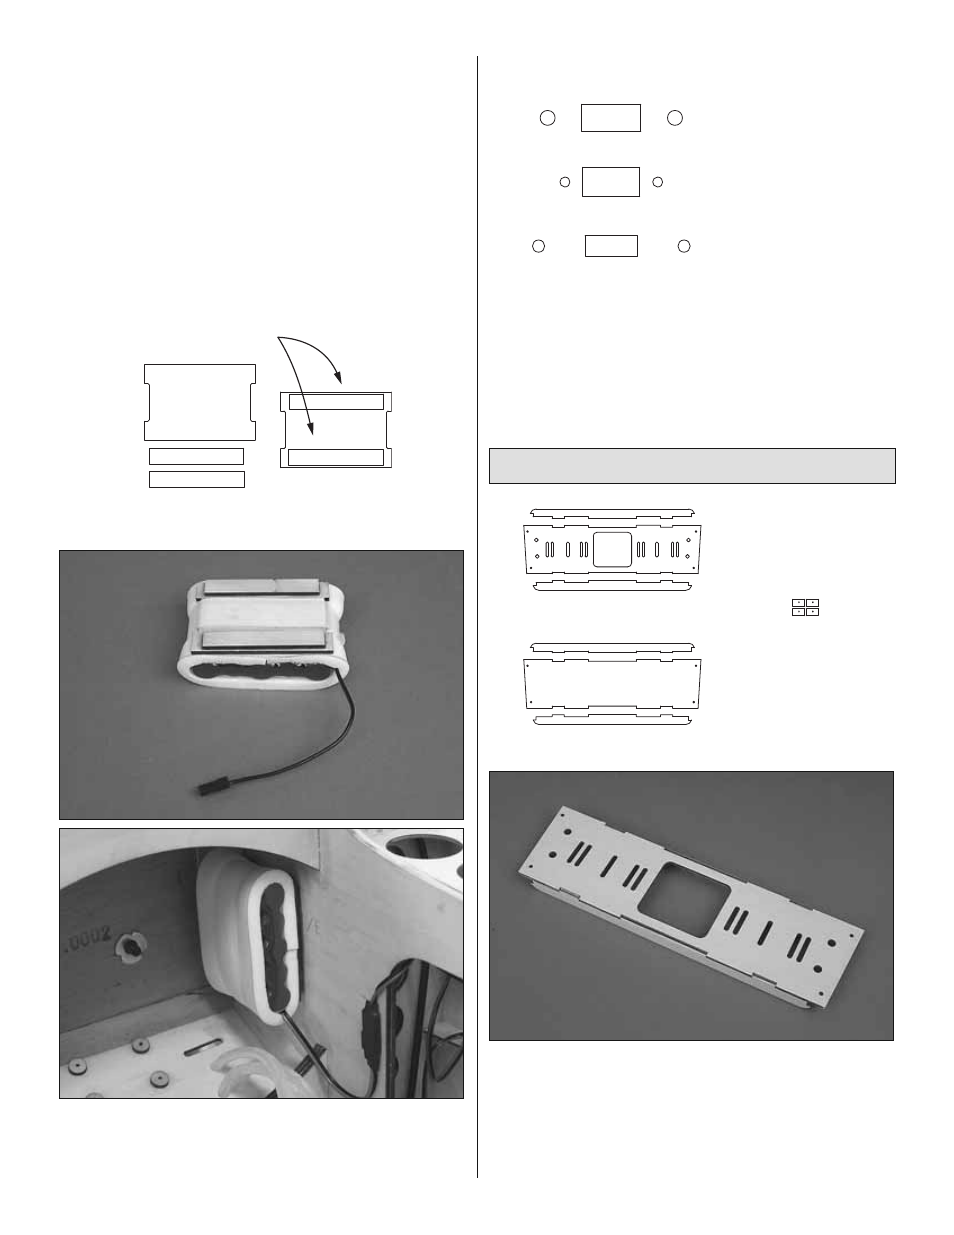
Glue the plywood strips
to the bottom so Velcro
can wrap around.
Mount the Ignition Battery
❏
7. Glue the plywood strips to one side of the plywood
ignition battery mount. Mount the ignition battery to the
mount with R/C foam and a strap made from the included hook
and loop. Securely glue the battery mount into position.
Mount for Futaba
On/Off Switch
Mount for Ernst
On/Off Switch
Mount for Hobbico
On/Off Switch
❏
8. Connect the battery to a heavy-duty on/off switch and an
external charge receptacle. Secure the connections with heat
shrink tubing and mount the switch and charge receptacle to
the pre cut switch holes in the front of the fuselage for the
type of switch you are using.
Finish the Radio Installation
Pre-Cut Receiver Tray
Blank Receiver Tray
Receiver Tray
Mount Doublers
❏
1. Glue together whichever of the two plywood receiver
trays you will be using—the one photographed has slots cut
in it for hook and loop straps or nylon tie wraps (not included)
for mounting the receiver and servo synchronizer. If you will be
mounting your receiver and servo synchronizer differently, or if
you will be using different or additional equipment, you could
use the blank receiver tray and fashion it the way you like.