Futaba 6XHS User Manual
Page 21
AIRCRAFT SETUP INSTRUCTIONS (GENERAL 120 CLASS STUNT PLANE)
The aircraft setup procedure presented
below uses a F3A-class model as an example
and assumes that there are two aileron servos,
one in each wing. You may use a similar
procedure to set up your own model, but your
setting’s numbers and percentages will
probably be different.
1. Be sure that all of your servos are plugged
into the proper receiver channels:
CH1 — Aileron (Right aileron*)
CH2 — Elevator
CH3 — Throttle
CH4 — Rudder
CH5 — Gear
CH6 — Flap (Left aileron*)
* = if FLPR activated
We recommend that you begin your
programming exercise with the servos
installed in the model and connected to the
respective control surfaces. This will enable
you to immediately see the effect of each
programming action we're about to take.
2. Turn on your transmitter and receiver, and
select the desired model memory. To do this,
enter the programming mode by pressing the
two
MODE
keys, then press the down
MODE
key until “
MODL
” appears. Press the
CURSOR
key and choose a vacant model memory with
the plus (+) and minus (–)
DATA INPUT
keys.
Select it by pressing the
CURSOR
key until
“SET” is flashing, then press both the
DATA
INPUT
keys at once. The figure shows
memory #1 being utilized.
There are a number of ways to keep track of
which model is in each memory. You may
attach a small piece of white tape to the
transmitter front and write the model's name
along with the model setup number, or you
may use a notebook, or label the model with
its memory number prominently near its on-
off switch inside the fuselage.
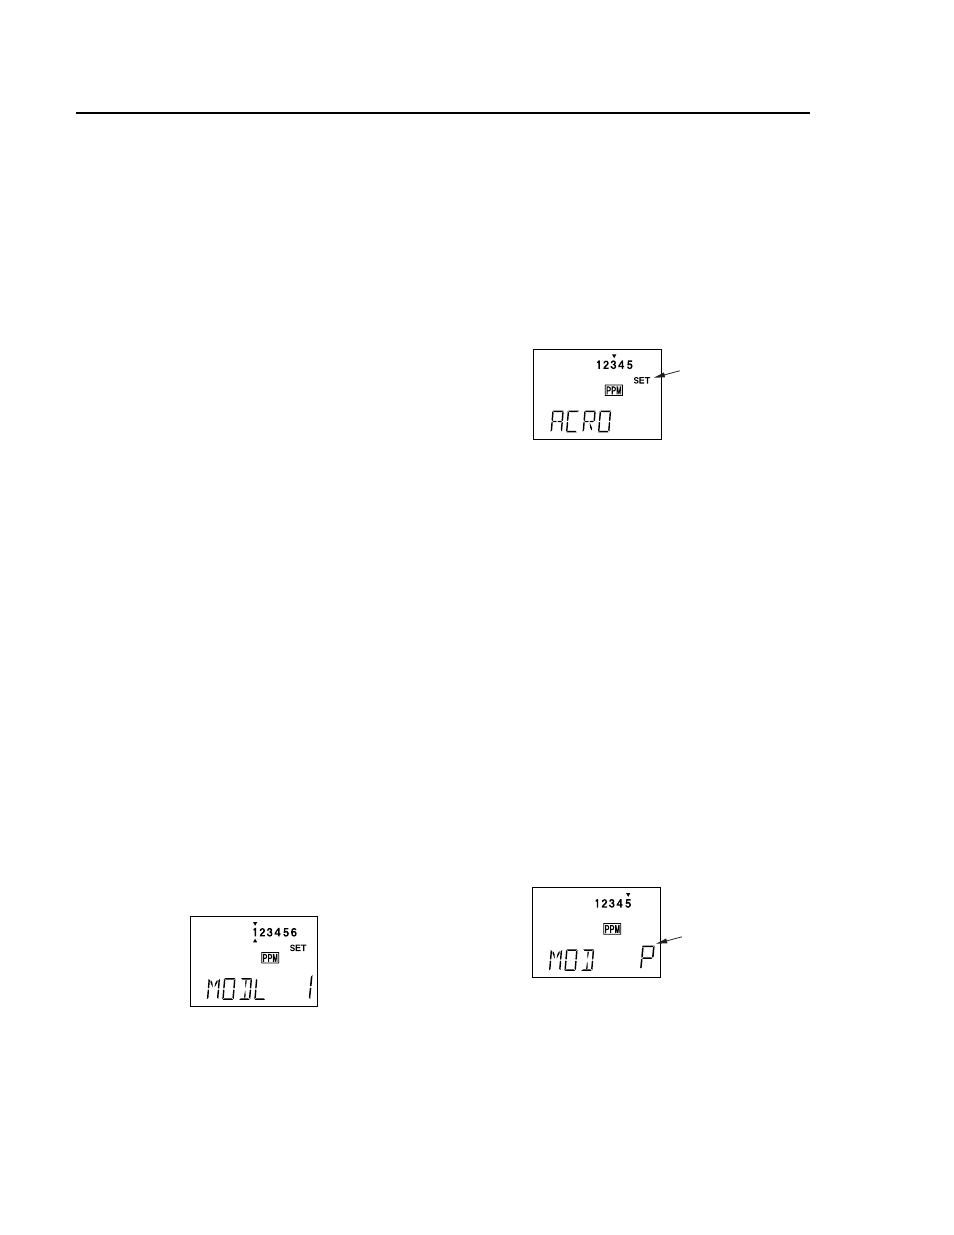
3. Enter the Parameter (
PARA
, p. 38) menu by
pressing the down
MODE
key three times.
Press the key three times to select the ACRO
model type (four presses gets the HELI
function). Select ACRO by pressing both
DATA INPUT
keys. When the flashing “SET”
appears, again press both
DATA INPUT
keys to
lock it in.
flashing
The reason for the separate functions within
the
PARA
setup is that these are seldom used,
and the parameter menu provides a convenient
way of bypassing them for most programming
operations.
WARNING: selecting a different model type
will erase the settings in the model memory.
BE SURE you’re in the correct model
memory before selecting a new model type.
4. If your receiver happens to be different
than the transmission mode (as shown it’s
PPM), continue to the modulation (
MOD
, p.
40) menu to select the proper mode of
transmission (
F
is for FM/PPM transmission,
and
C
is for PCM). This should be set to
match your receiver. If you make a change, it
won’t take effect until you cycle the power off
and on again. So if you have changed
modulation, cycle power now.
flashing
5. If your model has flaperons, turn on the
Flaperon function (FLPR, p. 28) in the menu.
To do this, press one of the
MODE
buttons
until “
FLPR
” appears in the display. Press the
CURSOR
key to get the “
INH
” flashing, then
activate by pressing the plus (+)
DATA INPUT
– 16 –