Mounting, Configuration, Level 1 – EVCO EC4173 User Manual
Page 2: Level 2, How to leave configuration, Working temperature setting
2
PRODUCTS LINE '96
MOUNTING
For a proper mounting take note of the attached indications; be sure that the conditions of use (voltage of power-supply, environment temperature,
humidity) are inside the indicated limits.
Do not overload the relay-output keep inside the indicated limits.
WARNING: the instrument is not protected from overloads; so it is necessary to give the output the suitable protections.
The power-supply is protected by an internal fusible.
CONFIGURATION
There are two Levels of configuration (Level 2 is protected by Password):
Level 1
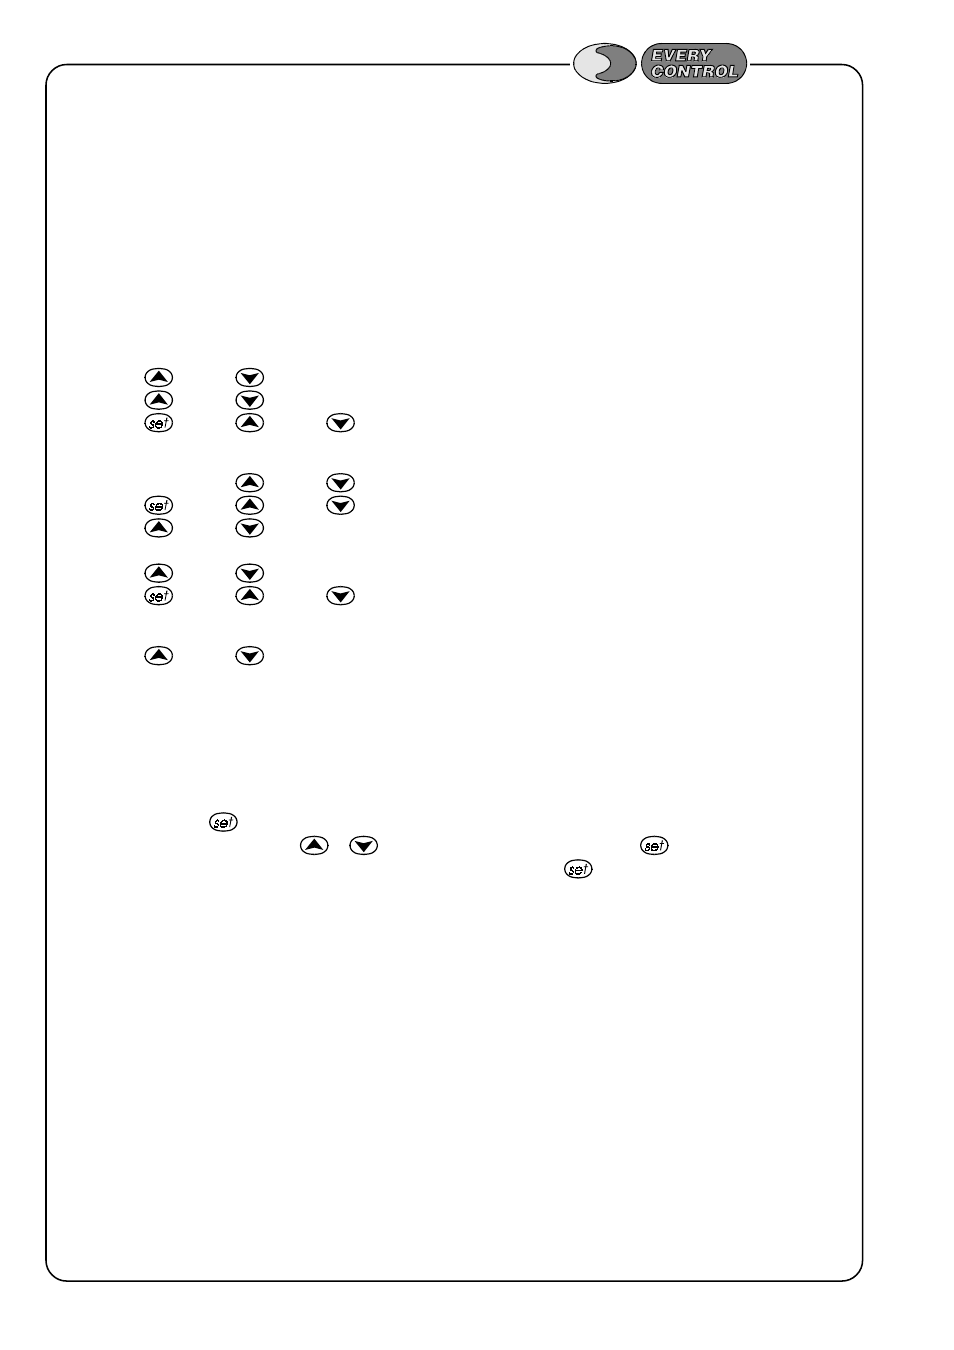
Push
and
at the same time for 4 seconds at least: the parameter PA appear on the display.
Push
or
to select the parameter to modify at Level 1.
Push
and
or
to modify the selected parameter.
Level 2
From Level 1 push
or
to select the parameter PA.
Push
and
or
to set "-19".
Push
and
at the same time for 4 seconds at least: the first parameter of Level 2 will appear on the
display.
Push
or
to select the parameter to modify at Level 2.
Push
and
or
to modify the selected parameter.
How to leave CONFIGURATION
Push
and
at the same time for 4 seconds at least or wait 50 seconds at least without operating
on the keyboard (exit for time-out) or try to switch the power-supply off and then, switch
it on after 1 second at least since the last modify.
WORKING TEMPERATURE SETTING
In normal operating conditions the instrument displays the value read by the probe.
Push and release the key
to display the actual setpoint value: the led "out" flashes to indicate that a procedure of setpoint setting is on run;
to change the value operate on the keys
or
within 4 seconds since the pressure on the key
.
The exit from the procedure of setpoint setting can be obtained pushing and releasing the key
or waiting 4 seconds at least without operating
on the keyboard (exit for time-out).
NOTES
- the setpoint is programmable within the limits set through the parameters r1 and r2.