Select the reverse mode with the rev mode button, Set the tape transport direction, Seleccione la dirección de transporte de la cinta – Pioneer CT-W806DR User Manual
Page 28: Copiado de cintas
Attention! The text in this document has been recognized automatically. To view the original document, you can use the "Original mode".
RECORDING
GRABACION
NOTES:
•
When either tape reaches the end, parallel recording is com
pleted. Therefore, use the same length tapes for both decks.
•
If the erasure prevention tabs are broken, you cannot paral
lel-record even if you press PARALLEL REC button.
•
Always start recording from the forward direction (FWD) for
both sides recording. Otherwise, the tape automatically stops
when it reaches the end in the reverse direction.
•
Since the recording level adjustment affects both decks
equally, it is recommended that the same type of cassette tapes
be used.
•
If you press the recording mute (O) button, both decks enter
the recording mute mode (see page 22).
NOTAS:
•
Cuando se termina la cinta de una de las platinas, se termina
la grabación en paralelo. Por lo tanto, emplee cintas de la
misma longitud para ambas platinas.
• Cuando las lengüetas protectoras contra borrado están rotas, no
podrá grabaren paralelo aunque presione el botón PARALLEL REC.
• Inicie siempre la grabación desde la dirección de avance (FWD)
para grabación de ambas caras. De lo contrario, la cinta se parará
automáticamente cuando termine en la dirección de inversión.
•
Puesto que el nivel de grabación afecta ambas platinas por
igual, se recomienda emplear cintas de casete del mismo tipo.
•
Si presiona el botón de silenciamiento de grabación (O),
ambas platinas se establecerán en el modo de silenciamiento
de grabación (vea la página 22).
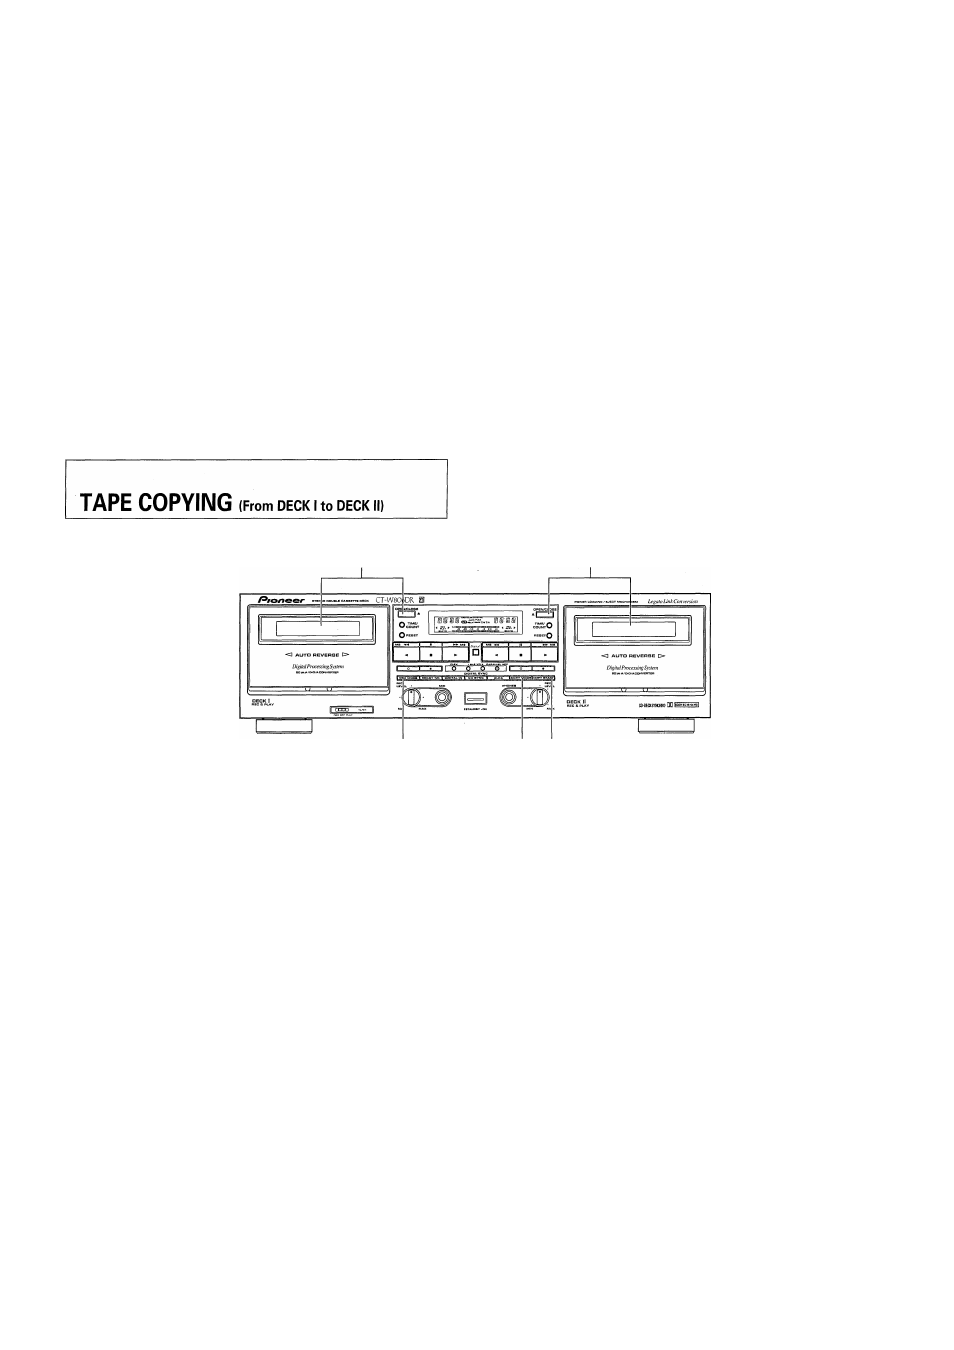
COPIADO DE CINTAS
(Desde la platina I a la II)
1
4 5
•
The tape copying function permits you to copy the contents
of a tape from DECK I to DECK II.
•
The COPY MODE button lets you select 3 types of copying:
copying at normal speed while listening to the song, copy
ing an entire tape in half the time with high-speed copying,
or copying while reducing noise between songs with TDNS
copy.
1. Load a tape for playback into DECK I and a tape for
recording into DECK II.
2. Select the reverse mode with the REV MODE
button.
•
To record on one side only, set the button to the
zz:
position. To record on both sides, set the button to the
izD position.
•
When record mode is activated while
czd
has been set,
the reverse mode switches automatically to In this
case, the reverse mode switches back to
czd
automati
cally after completion of the recording.
3. Set the tape transport direction.
•
Tape copying is always performed in the direction indi
cated by the tape transport indicator (► or ◄). To change
this direction, press the desired playback button (► or
◄), then immediately press the stop (■) button.
•
La función de copiado de cintas le permite copiar el
contenido de una cinta de la platina I a la II.
•
El botón COPY MODE le permite seleccionar 3 tipos de
copiado: copiado a velocidad normal mientras escucha una
canción, copiado de toda una cinta en la mitad de tiempo
empleando el copiado a alta velocidad, o copiado mientras
se reduce el ruido entre canciones con el copiado TDNS.
1. Inserte una cinta grabada en la platina I y una cinta
para grabar en la platina II.
2. Seleccione el modo de inversión con el botón REV MODE.
• Para grabar sólo una cara, ajuste el botón en la posición
zz
. Para grabar en ambas caras, ajuste el botón en la
posición i^.
• Cuando se presiona el botón de inicio de copiado mientras
se ha ajustado
czd
, el modo de inversión cambia
automáticamente a i=). En este caso, el modo de
inversión retorna a
czd
automátlcameri|te después de
haberse terminado la grabación.
3. Seleccione la dirección de transporte de la cinta.
•
La copia de cintas se efectúa en la dirección mostrada
por el indicador del transporte de la cinta (► o ◄). Para
cambiar la dirección de la cinta, presione el botón de
reproducción deseado {► o ◄) y luego presione
inmediatamente el botón de parada (■).
28
En/Sp