8 upnp, 9 mail setting – COP-USA CD55HD-IP User Manual
Page 28
Page 22
IP CAMERA USER MUANUAL
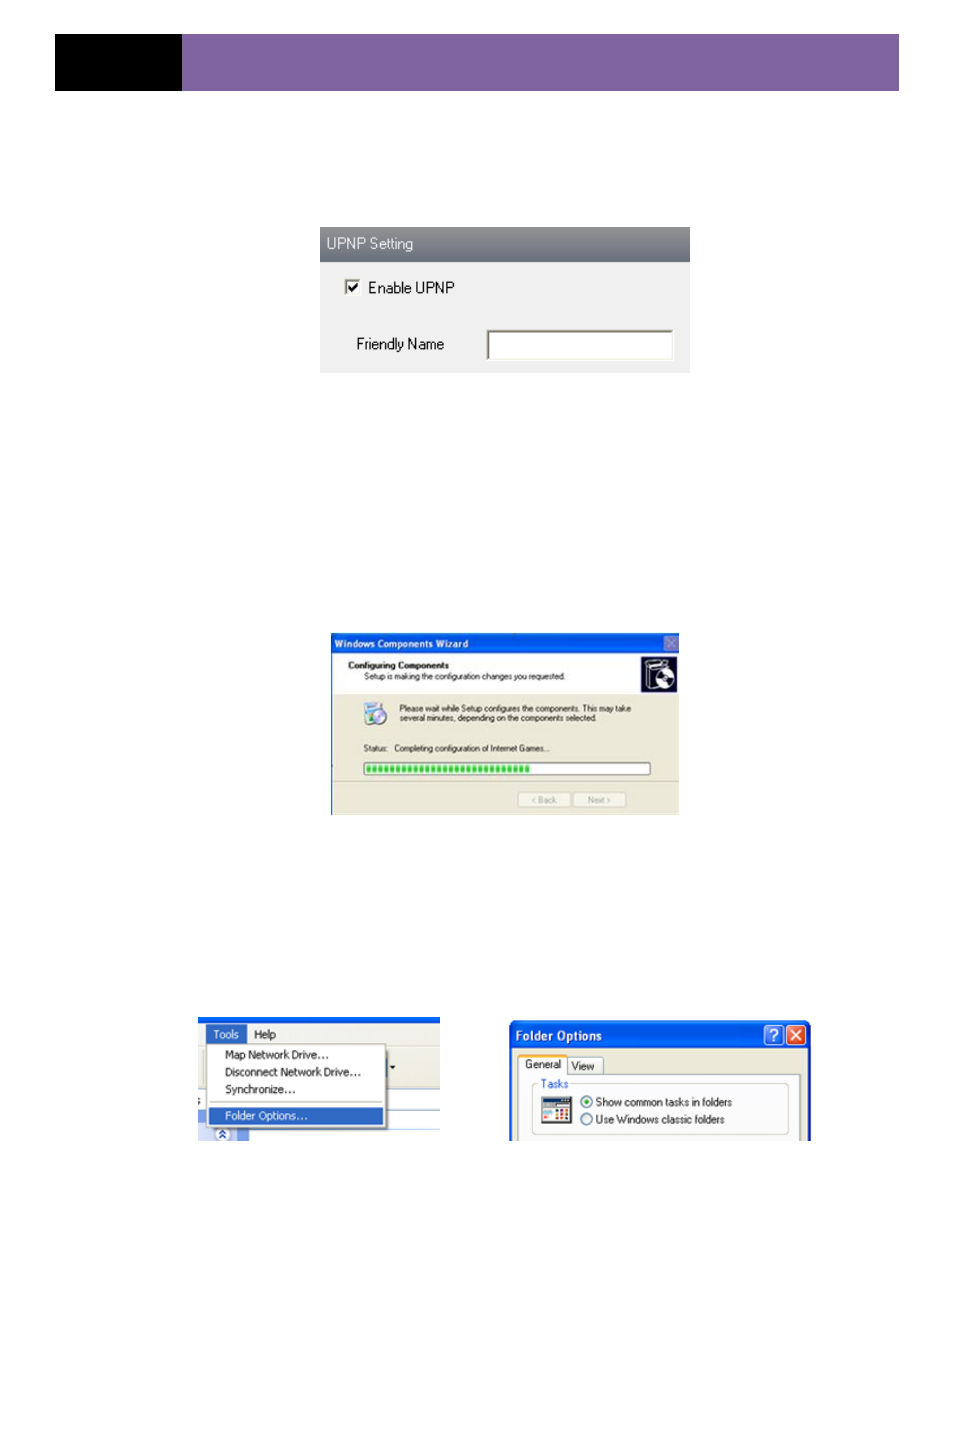
5.4.8 UPNP
Enter into “Network Configuration” “UPNP” interface as shown in Fig 5-17.
Select “Enable UPNP” and then input friendly name.
Fig 5-17 UPNP
Enable UPNP
Double-click the “My Network Places” icon on the desktop in PC and select “Show
icons for networked UPnP devices” in the “Network Tasks” list box. Then an
information window will pop up. Click “YES” button to see a “Windows Components
Wizard” dialog box pop up as shown below. Then press “Next” to continue. After
finished the installation of configuring components, the UPnP icons will display. Users
can double-click certain icon to connect the remote surveillance login interface through
IE.
If “Show icons for networked UPnP devices” can‟t display in the “Network Tasks” list
box, please follow the below operation:
Click “Tools”-- “Folder options”
Check the “Show common tasks in folders” in the “Tasks” check box, UPnP icon
will display.
5.4.9 Mail Setting
Enter into “Network Configuration” “Mail Setting” interface. Please refer to Fig
5-18.