Checkline ETMPX User Manual
Page 4
– 4 –
2.3 Turning the Power On and Off
Power On: Press the POWER key until the DISPLAY momentarily shows the tension
range and the software version, e.g. E 1.0, followed by random values or “0.”
Auto Power Off: The tension meter switches off automatically after
3 minutes of non-use.
Manual Switch-Off: Press the POWER key for 5 seconds.
2.4 Reversing the Display
When you shift the tension meter from the right to the left
hand, you can rotate the readings on the DISPLAY by 180°.
Measuring with the left hand:
If you would like to use the left hand for measuring, you should reverse the readings on
the DISPLAY to make them easier to read.
1. Tension meter switched off as described above.
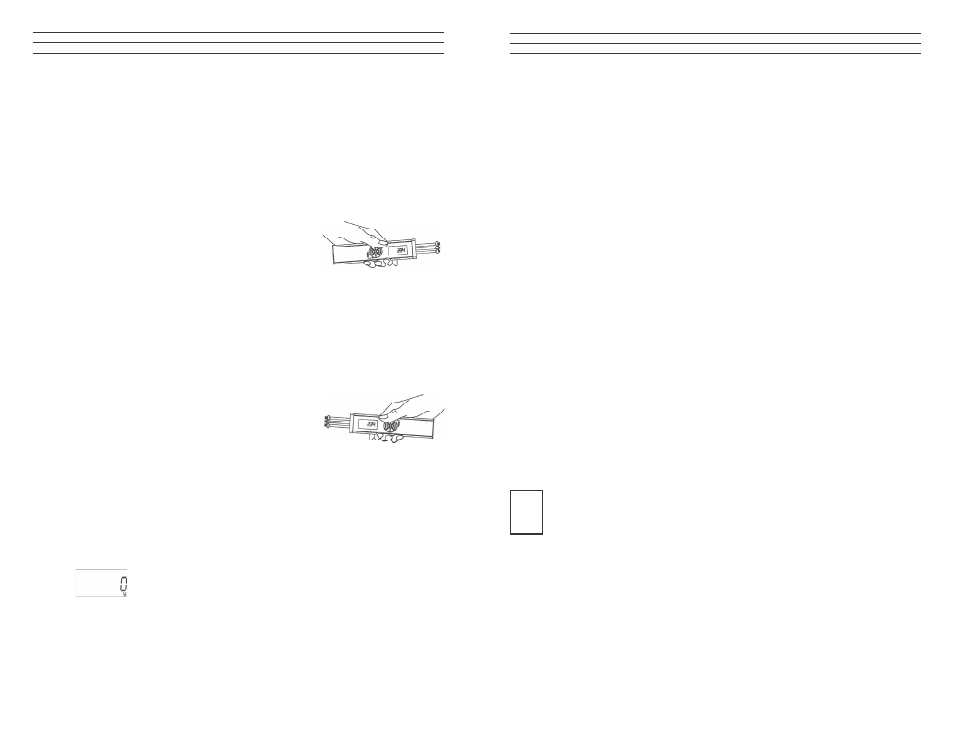
2. Press and hold the DAMP and POWER keys until the DISPLAY shows the
readings the other way around.
Measuring with the right hand:
1. Tension meter switched off as described above.
2. Press and hold the DAMP and POWER keys until
the DISPLAY shows the readings in the default
(right-handed) orientation.
2.5 Selecting the Unit of Measure
You can set the ETMX to the cN or g unit of measure, depending on the required tension
range. The default setting is cN.
1. Tension meter switched off as described above.
To select the unit of measure:
2. Press and hold the RECALL and POWER keys until the new unit of measure
is indicated on the DISPLAY.
3.7 Download the tension data from the ETX (ETPX) to the PC
Requirements:
- Tension meter connected to the PC
- Tension meter switched on.
To download the tension data:
1. Click the READ button. The tension data stored in the tension meter are
read into the PC.
Tension value display:
TENSION
Graph of the displaye series of measuremnts
STATISTICS
Statistical data of the displayed series of measuremnts
3.8 Graph adjustments
SCALE
Manual scaling of the Y-axis which starts at „zero“. This feature can
be activated by pressing RESET.
AUTOSCALE Automatic scaling of the Y-axis depending to the displayed readings
of the diagram.
RESET
Activates the scaling, which is set in the pop-up SCALE.
ZOOM
A big number of zoom features can be selected to enlarge a selected
frame of the diagram.
The button ZOOM and RESET work only if AUTOSCALE is not activated.
i
– 33 –