Tensioninspect 3 software – Checkline ETMPX User Manual
Page 10
–10 –
6.1 Memory Mode Selection
1. Switch on the tension meter
2. Clear the memory by simultaneously pressing the MEM and RECALL
keys.
3. Press and hold the MEM key.
The DISPLAY shows “S”. This is the Standard Memory Mode
(default). Press the DAMP or RECALL to display the other memory
modes.
Memory mode C (CONTINUOUS):
If the DISPLAY shows C, the LIMIT memory mode is set.
Memory mode L (LIMIT):
If the DISPLAY shows L, the LIMIT memory mode is set.
Memory mode F (FAST):
If the DISPLAY shows F, the FAST memory mode is set.
When you have selected the desired memory mode, you can release
the MEM key. The selected memory mode is now active and the
tension meter switches back to measuring mode.
NOTE: The selected memory mode remains stored in the memory even after the
instrument is switched off.
6.2 Data Logging in Mode S (Standard)
1. Turn on the tension meter.
2. Memory Mode S set as described in Sec. 6.1.
3. Insert process material and begin measuring as described in section 4.0.
To Start Data Logging:
1. Press and hold the MEM key until the DISPLAY shows the
memory mode “S” and the current memory number.
2. Release the MEM key. The tension meter starts logging the
data. While the tension data are stored, the MEM indicator
blinks on the DISPLAY and the currently measured
value is displayed.
S
cN
S 1
cN
3
Mem cN
C
cN
L
cN
F
cN
– 27 –
TensionInspect 3 Software
1.0 SYSTEM REQUIREMENTS
Computer: PC
Operating System: Windows XP and higher (32 / 64 Bit)
Hard Disk Space: Approx. 200 MB
Installation: CD-ROM drive
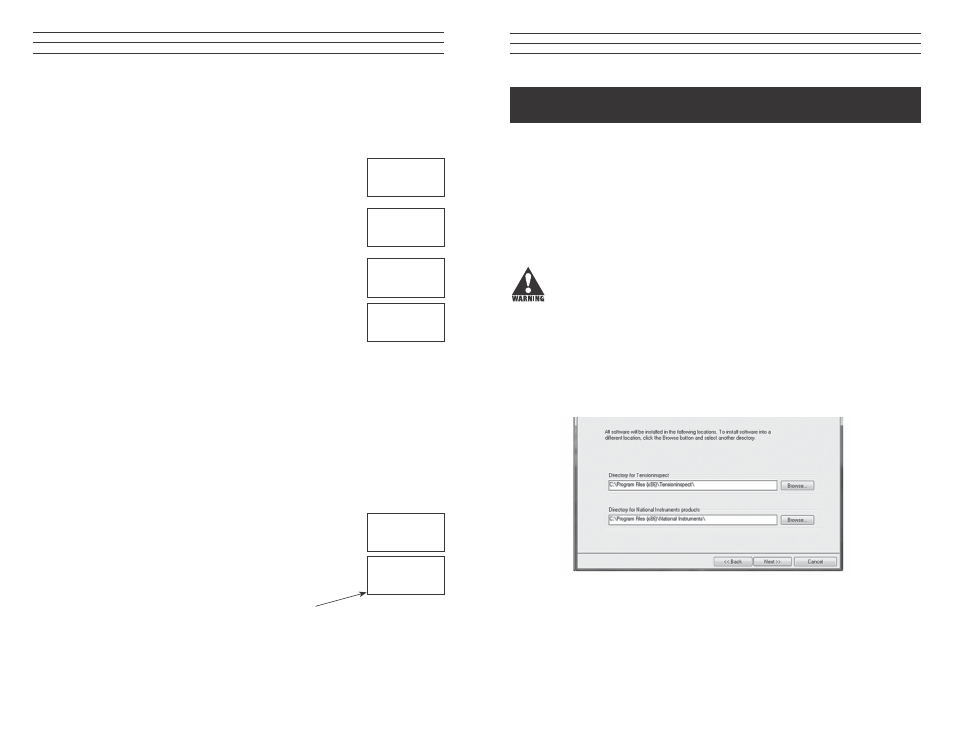
2.0 INSTALLING TENSION INSPECT
To be able to restore the original files in case problems occur after the installation,
you should make a backup of your hard disk contents before you start installing.
1. Insert the CD-ROM with the Tension Inspect 3 program into the CD-ROM drive.
2. Start the installation process by double-clicking the application file.
3. Follow the instructions on the screen, to install the software Tension Inspect 3 and
the corresponding USB driver.
4. At the end, click the RESTART NOW button, to finish the installation process.