Checkline TT05 User Manual
Page 17

Series TT05 Digital Torque Testers
User’s Guide
16
11 CALIBRATION
11.1 Initial Physical Setup
The TT05 should be mounted to a fixture rugged enough to withstand a load equal to the full capacity of
the instrument. A groove located in the side of table has a diameter of 6.666” [169.32 mm], and may be
used to accept a cable for calibration weights. This eliminates the need for a torque arm or torque wheel,
especially when using lb weights. Readily available lb weights may be used to easily achieve lbFin
calibration values. For example, for a calibration load of 50 lbFin, exactly 15 lb of weight is required.
Suitable calibration equipment is required, and caution should be taken while handling such equipment.
11.2 Calibration Procedure
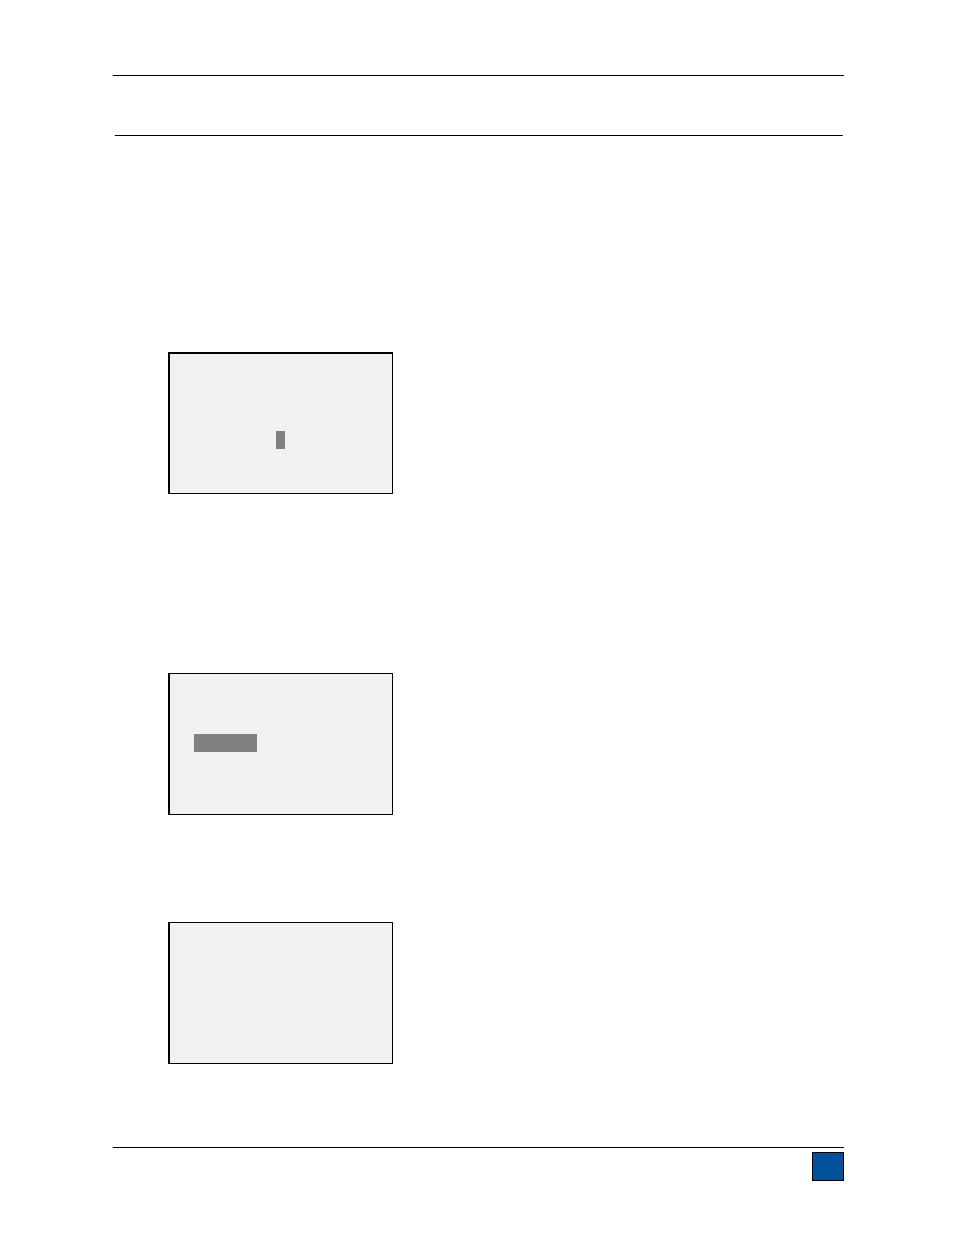
1. Select
Calibration from the menu. The display will appear as follows:
The tester can be calibrated at up to 10 points in each direction. Enter the number of calibration
points for each direction. At least one point must be selected for each direction.
Note: To achieve the accuracy specification of ±0.3% of full scale, it is recommended to calibrate
the TT05 at 5 or more even increments in both the clockwise and counter-clockwise directions.
For example, Model MTT05-50 (with capacity of 50 lbFin) should be calibrated at 10, 20, 30, 40,
and 50 lbFin loads in each direction.
2. To escape the Calibration menu at any time, press ESCAPE. The display will appear as follows:
Selecting “CANCEL” will revert back to the Calibration setup. Selecting “EXIT W/O SAVING” will
return to the menu without saving changes.
3. After the number of calibration points has been entered, press ENTER. The display will appear as
follows:
4. Place the TT05 in a fixture free from vibration, then press ZERO. The tester will calculate offsets,
and the display will appear as follows:
CALIBRATION
NOT COMPLETE
CANCEL
EXIT W/O SAVING
CALIBRATION
ENTER # CAL POINTS
(1 TO 10)
CLOCKWISE:
5
COUNTER-CLOCKWISE:
5
CALIBRATION
OFFSET
Place tester
vertical
THEN PRESS ZERO
