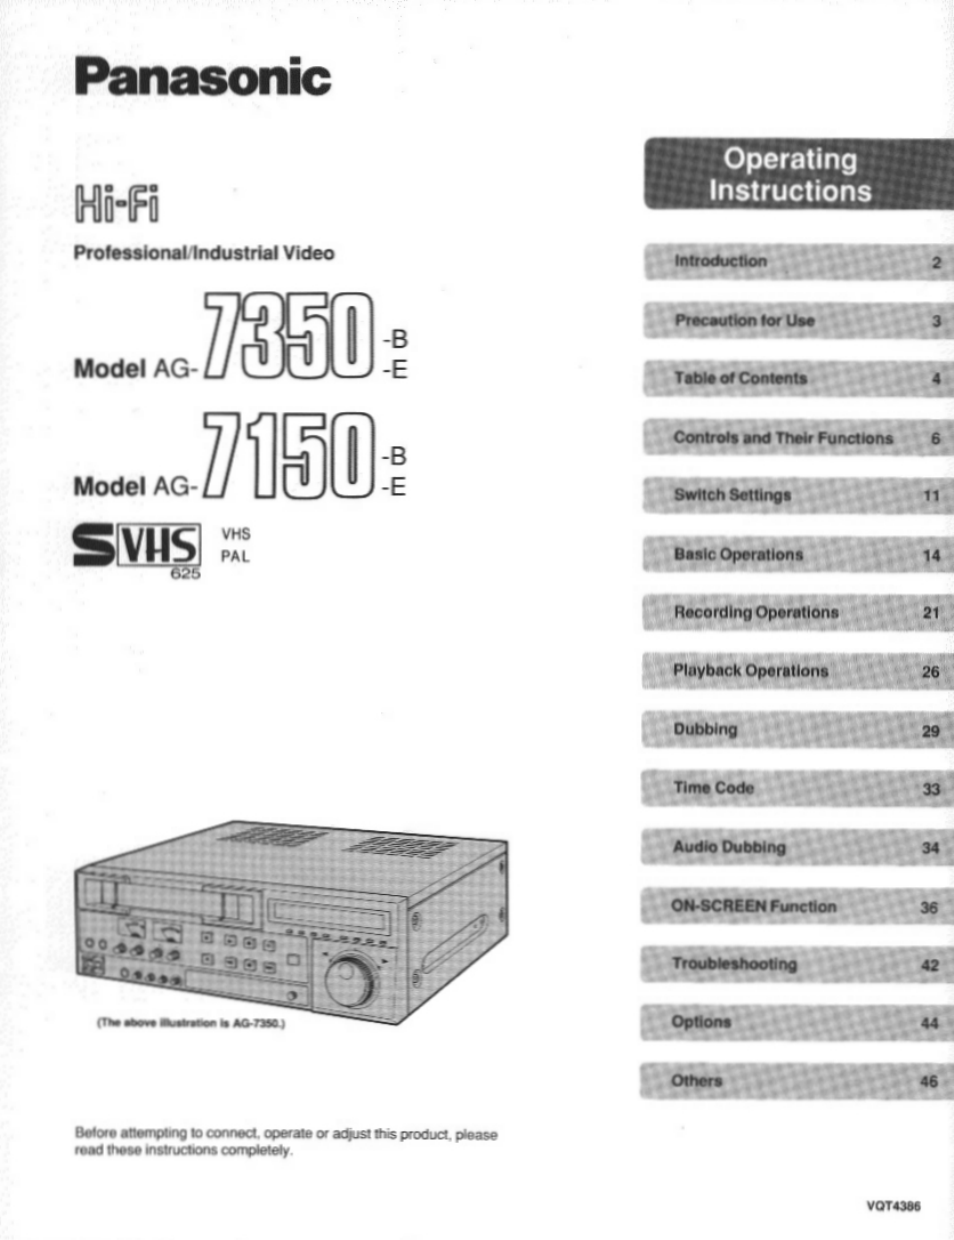
Panasonic AG7150 User Manual
Panasonic, Operating instructions, Model ag model ag
This manual is related to the following products:
Table of contents
Document Outline
- 5-Fò
- VHS
- Introduction
- Precautions for Use
- Table of contents
- Front Panel Parts
- Rear Panel Parts
- Setting the Switches
- Setting the Switches
- Playback
- FF, REW, Stop and Pause/Still
- Search Operations
- MEMORY STOP Function
- 1. Press the RESET Button at the point to be automatically stopped.
- 2. Press the SCREEN DISPLAY Button.
- о о
- 3. Press the DATA or MEMORY Button.
- Press the SCREEN DISPLAY Button.
- Press the FF or REW Button.
- Turn on the unit and insert a video cassette.
- 2. Set the SENSOR REC Selector.
- 1. Turn on the unit and insert a video cassette.
- 2. Set the EXT TiMER Seiector to “REC”.
- 3. Adjust the audio recording levei
- 4. Set the timer.
- Connections
- When the preset time comes
- Press the STOP Button to stop TIMER recording halfway.
- Connections
- 3
- 1. Set the selectors.
- Turn on the TV monitor or the conventional TV set.
- Insert a video cassette.
- Adjust the audio recording level.
- Make necessary adjustments on the camera.
- Playback
- Repeat Playback
- Dubbing
- 1. Turn on both of the player and recorder VTRs.
- Set the selectors.
- Press the RESET Button to reset the tape counter to “0:00:00”.
- Insert video cassettes.
- Connections
- 6. Press the REC and PLAY Buttons together on the recorder at the tape position to start dubbing.
- 7. Press the STOP Button to stop the dubbing.
- 1. Turn on both of the player and recorder.
- 2. Set the selectors.
- Press the RESET Button to reset the tape counter to “0:00:00”.
- Insert video cassettes.
- Connections
- 6. Press the REC and PLAY Buttons together on the recorder at the tape position to start dubbing.
- 7. Press the STOP Button to stop the dubbing.
- Time Code
- Set the selectors.
- When the time code signal has been entered. (AG-7350 only)
- Connections
- Set the selectors.
- Make necessary settings of audio switches.
- Press the AUDiO DUB and PLAY Buttons together.
- 4. Press the STOP Button to stop AUDIO DUBBING.
- Connections
- 1. Press the SCREEN DISPLAY Button.
- Press the DOWN Button.
- Press the DATA or MEMORY Button.
- 4 5
- 4. Press the SHIFT Button.
- 5. Press the DATA Button.
- 1
- Press the DOWN and SCREEN DISPLAY Buttons together.
- Press the SCREEN DISPLAY Button after setting is finished.
- Press the DATA Button.
- 3. Repeat steps 1 and 2 to set each item to the desired mode.
- 4. Press the SHIFT Button to shift the screen to the next menu.
- 5. Press the SCREEN DISPLAY Button after setting is finished to return to the normal screen.
- Error Displays
- Troubleshooting
- Controller (Option)
- Rack Mount Adaptor (Option)
- Connector Signals
- Accessories
- Notes For Video Cassette
- Regular Inspections
- Specifications