Note 2: how to select the monitor id, Mute on – Panasonic DT2750MS User Manual
Page 23
Attention! The text in this document has been recognized automatically. To view the original document, you can use the "Original mode".
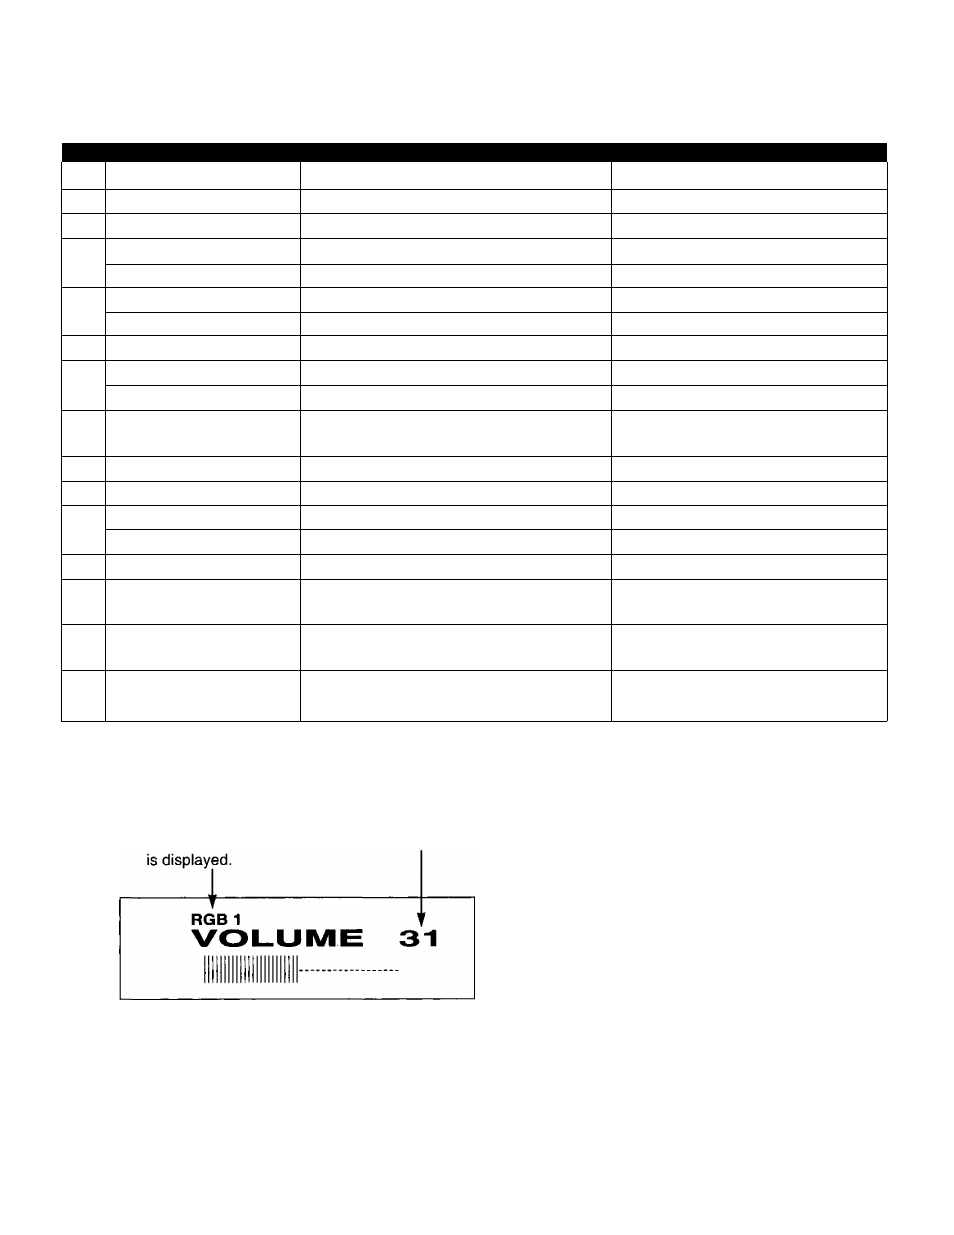
Table 1
No.
Key
Function
Note
1
POWER
Power ON/OFF
2
RGB1
Select RGB1 input
Same as the front key operation.
3
RGB2
Select RGB2 input
Same as the front key operation.
4
CONT (-h)
Increase the image contrast (white level)
CONT (-)
Decrease the image contrast (white level)
5
BRIGHT
{+)
Lighten the image brightness (black level)
BRIGHT (-)
Darken the image brightness (black level)
6
MENU
Change OSD (On Screen Display) menu
Same as the front key operation.
7
MONITOR SEL SET
Select the monitor No. (0-9) ID
See Note 2.
MONITOR SEL RESET
Reset the monitor selection
See Note 2.
8
DTV
Select component video
(YP
b
P
r
from DTV tuner/DVD player)
Same as the front key operation.
9
AVI
Select AV1 input
Same as the front key operation.
10
AV2
Select AV2 input
Same as the front key operation.
11
VOL (-h)
Increase the audio volume
VOL (-)
Decrease the audio volume
12
MUTE
Audio mute ON/OFF
13
- (DOWN)
Shift the control “Menu” cursor to the left
to decrease the control data
Same as the front key operation.
14
+ (UP)
Shift the control “Menu” cursor to the right i
to increase the control data i
Same as the front key operation.
15
SET
Select the control menu or set the control
data
Same as the front key operation.
Note 1: The OSD will appear as in Fig 2-1 when, for example, the volume is controlled by the remote control unit. For
a function that is simply "ON” or “OFF”, such as “MUTE”, it will appear as in Fig 2-2.
Fig. 2-1 VOLUME UP/DOWN
Fig. 2-2 MUTE ON/OFF
Selected input terminal Data (0-63) is displayed. Selected input
Status is indicated for
terminal is displayed. “MUTE”.
r
RGB 1 MUTE
MUTE ON
Note 2: How to select the monitor iD
After addressing the monitor ID with monitor ID code selection (see page 31), you can control an individual
DT-2750MS out of a few units via the wireless remote control.
1. To decide an individual DT-2750MS, press MONITOR SEL SET key and the number key (0,1, 2, ..,9)
which is shown at the right-down side of the key. After that, you can control an individual DT-2750MS via
the wireless remote control.
2. To exit an individual control, press MONITOR SEL RESET key or wait for 30 seconds after the last key
operation.
22