To achieve optimum picture quaiity, Remarks, etc, Picture quality adjustment items – Panasonic AGEP50 User Manual
Page 25: Press the [^] button to select [set
Attention! The text in this document has been recognized automatically. To view the original document, you can use the "Original mode".
■ To Achieve Optimum Picture Quaiity
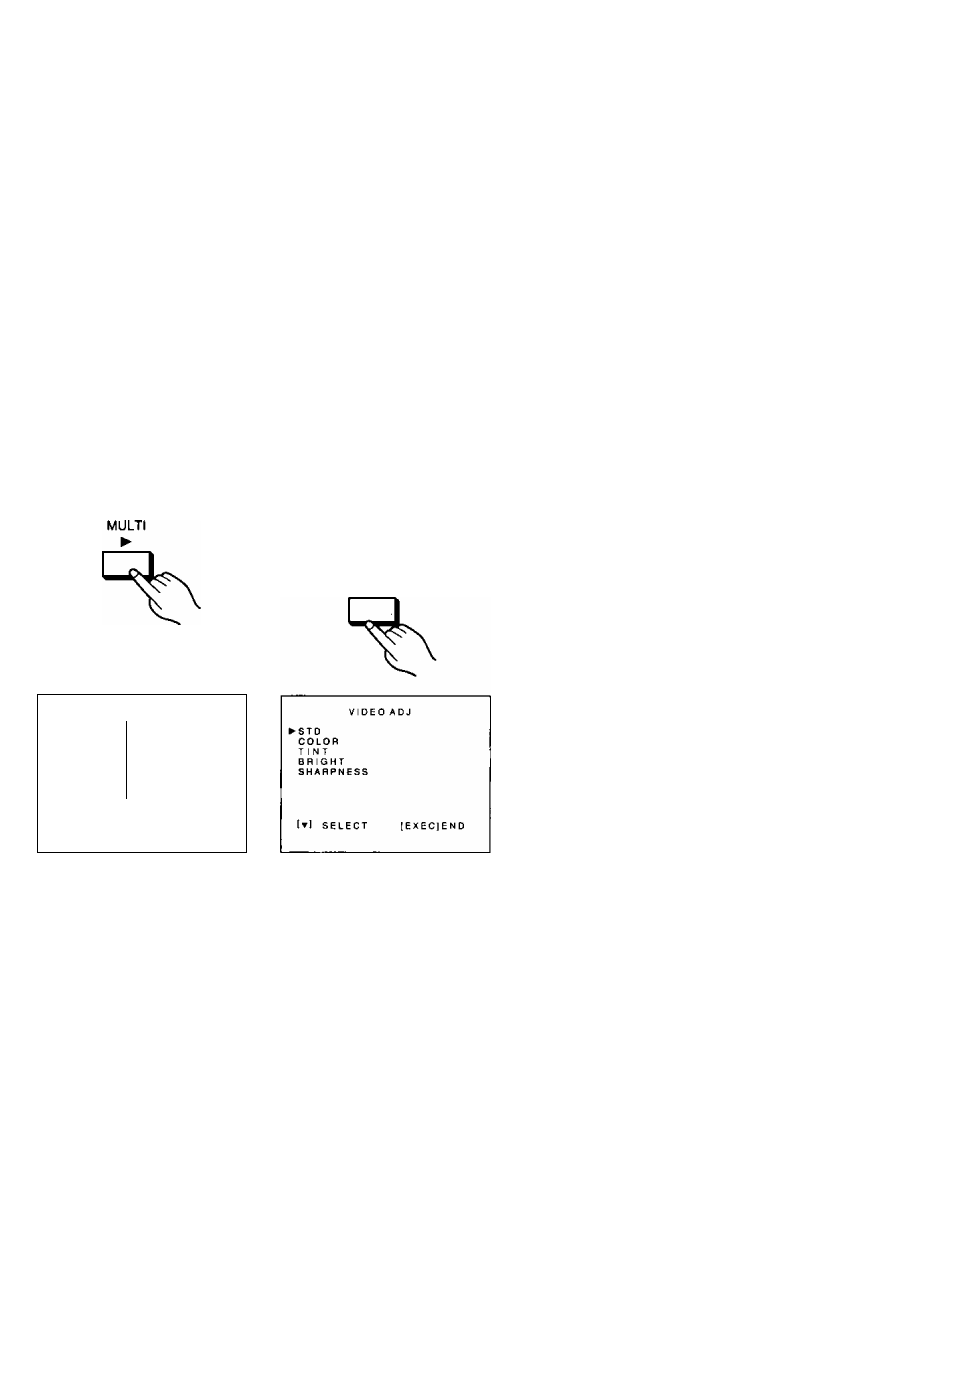
1 Select [STD] for [VIDEO ADJ] on the MENU Screen and print a colorful picture
that contains both bright and dark parts.
2 Use the picture controls on the TV set to adjust the colors on the screen so that
they match the colors of the trial picture printed in step 1.
3 Adjust the picture quality items on the [VIDEO ADJ] Screen to obtain the desired
picture quality.
Remarks, etc.
c
o
(0
k _
0)
Q.
O
•o
o c CD > ■O Press the [^] Button ►The VIDEO ADJ Screen appears on the screen. M E N U P R I N T O ' T Y 1 t N P U T :|VI0e01 SVCEO f o r m a t : | S T D ] S E T ► V I D E O A D J : S T D ( S E T ) S E T U P : [ O F F ) S E T S E L E C T [ E X E C I E N D Press the [▼] Button to select the picture quality Item that you want to adjust. MENU ▼ ■ Picture Quality Adjustment Items [STD]: Standard setting of the picture quality. In this setting, adjusting the picture quaiity is NOT possible. [COLOR]: This lets you adjust to the desired color intensity. Adjustment is possible between -9 and +9. (When set to -9, the printed picture is in black and white.) [TINT]; This lets you adjust to the desired color tint. Adjustment is possible between -9 and +9. Adjusting to the right produces a greenish picture; adjusting to the left produces a reddish picture. [BRIGHT]: This lets you adjust to the desired balance of brightness and depth. Adjustment is possible between —9 and +9. [SHARPNESS]: This lets you adjust the picture contours. L; For soft picture contours M; For normal picture contours H; For sharp picture contours •Changing the setting of [SHARPNESS] does not change the appearance of the picture on the TV screen. Use a printed picture to judge and adjust the setting. 25
<
to select [SET].