Satellite Slide Tank User Manual
Page 14
Pressure Relief Valve
A pressure relief valve is located in the
airline circuit next to the vacuum relief
valve (Figure 3.1). This valve serves to
prevent damage to the tank and motor. It
opens, to release air, when the pressure
in the tank reaches 6 psi. to 8 psi.
When the pressure relief valve opens to
release excess air, it creates a hissing
sound that you should be able to hear.
Listen for this sound, and if the valve
does not open at the above pressure,
14
reset it. Exceeding the recommended 6
psi. to 8 psi pressure can create
excessive horsepower draw on your
engine causing it to overheat.
CAUTION: DO NOT exceed a
maximum pressure of 6 psi to 8psi with
your vacuum tank. Exceeding the
pressure can create the engine to
overheat, which could result in damage to
equipment.
Use the following procedure to set the
pressure relief valve:
1. Purge all air from the tank by slowly
opening the rear dump valve. Stand off
to the side of the valve to prevent
possible injury from the direct flow of
releasing pressure.
2. After purging the tank of air, loosen the
setscrew located near the top of the
pressure relief valve. Rotate the inner
cylinder clockwise one to two revolutions
to reduce the setting at which the valve
opens. Retighten the setscrew after
making the adjustment.
3. Run the vacuum pump in the pressure
mode, and check to see if the valve
opens at the specified setting as listed
above.
4. Repeat steps one through three until
you attain the proper setting.
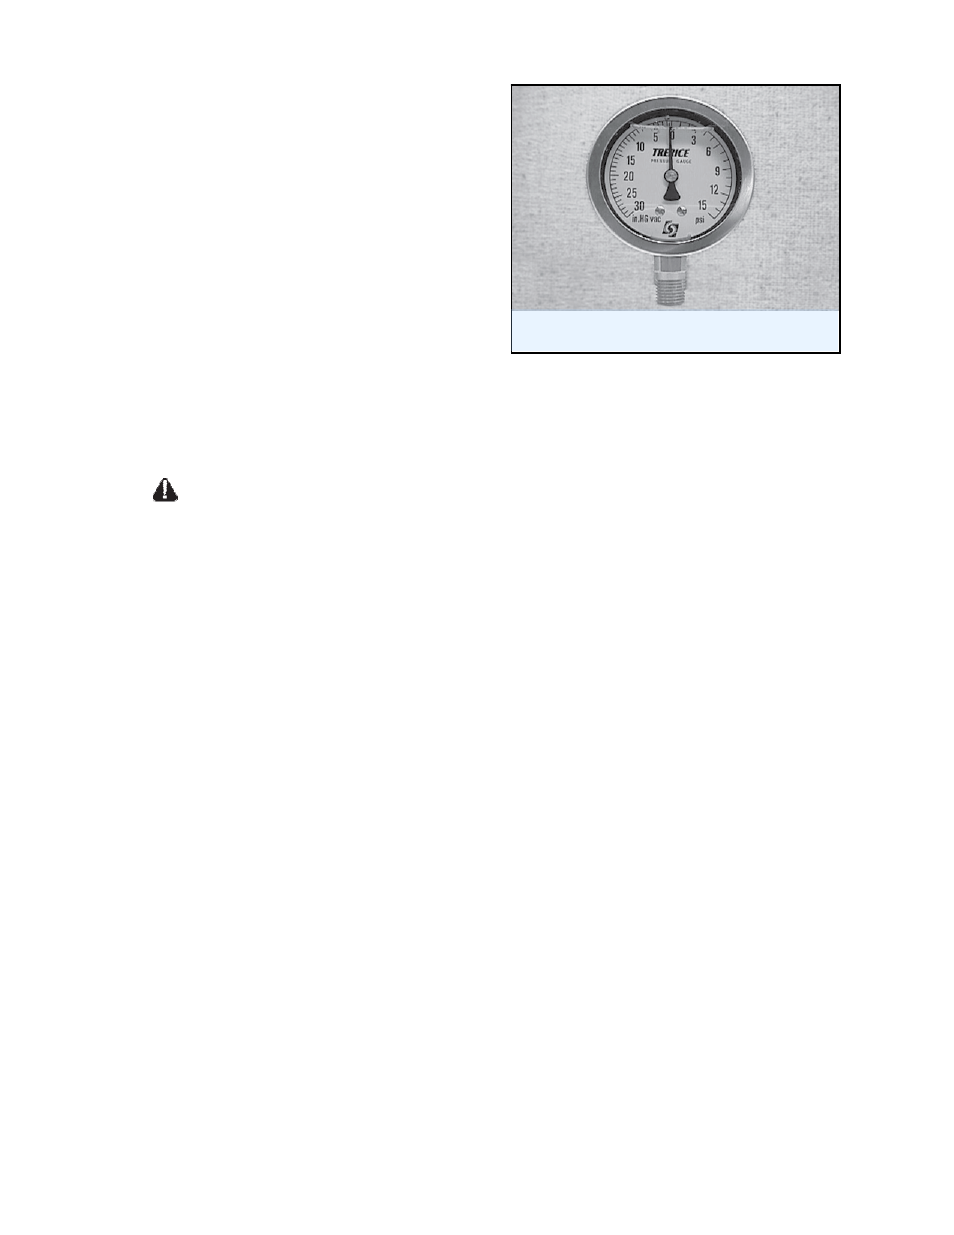
Figure 3.2 Vacuum / Pressure Gauge
Vacuum / Pressure Gauge
A vacuum/pressure gauge is located on
your tank (Figure 3.1). As the gauge
needle moves counterclockwise of zero,
the gauge reads vacuum in inches of
Mercury (in.Hg). As the gauge needle
moves clockwise of zero, the gauge reads
pressure in pounds per square inch (psi)
(Figure 3.2). Use the gauge to determine
when the tank has reached operating
vacuum or pressure.
Moisture Trap (Secondary Shutoff)
The moisture trap (also referred to as the
secondary shutoff) serves as a safety
device to prevent liquid from entering the
vacuum pump. Check the moisture trap
daily for accumulation of liquid. Use the
easy access drain valve to empty the
trap. The drain is located at the bottom of
the moisture trap.
While the moisture trap helps prevent
liquid from entering the pump, excess
accumulation may be an indicator that
some contamination has passed into the
pump. When excess liquid shows up in
your moisture trap, clean your vacuum
pump using the procedure on page 25 of
this manual.
IMPORTANT
: Anytime that excess
liquid accumulates in the moisture trap,
clean the inside of your pump. Liquid
contamination that enters the pump can