Func, A-off, Unit – Rice Lake MSI9300 PortaWeigh Crane Scale Operator Manual User Manual
Page 16: Total, Auto, Enable, Msi-9300 porta-weigh+ crane scale
Page 16 MSI-9300 Crane Scale™
•
User Guide
MSI-9300 Porta-Weigh+ Crane Scale
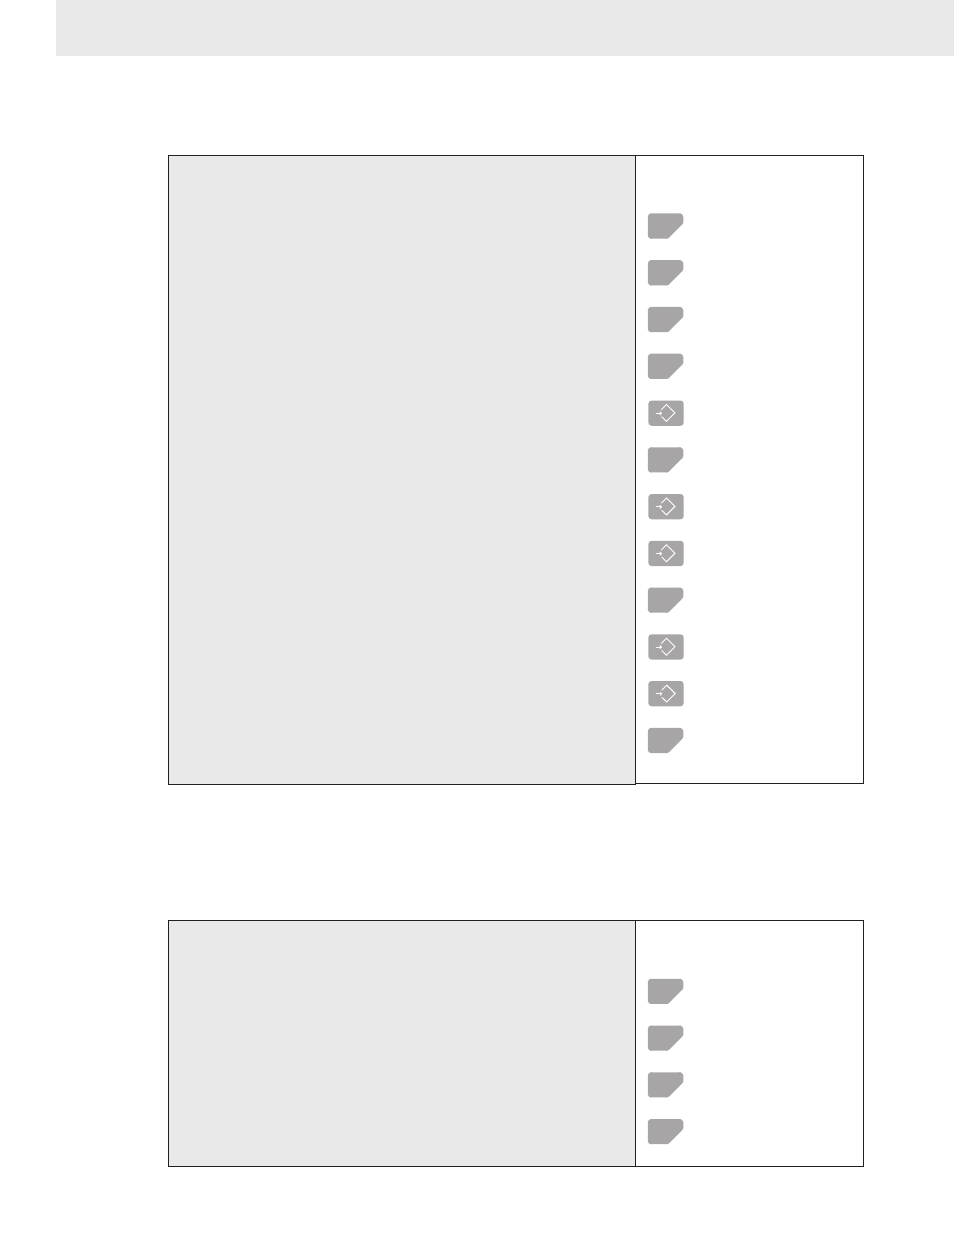
AUTOMATIC TEMPERATURE DISPLAY
The MSI-9300 will display its internal temperature once every 20 seconds if enabled with the following proce-
dure.
To Enable Auto Temp Display (° Auto) & Set Temperature Units
1
Func
2
TEST
a-Off
2
TEST
Unit
2
TEST
totaL
2
TEST
° Auto
3
T
TARE
OFF
4
TEST
EnAbLe
5
T
TARE
° Unit
6
T
TARE
°F
7
TEST
°C
8
T
TARE
Func
9
0
ZERO
to exit
9
TEST
to select other Main
Setup Menu items.
1) Start the Setup Mode using the procedure on page 12.
2) Use the TEST (Scroll) key to scroll to “° Auto”.
3) With the display reading “° Auto” press the TARE (Select)
key. The currently programmed Auto-Temperature set-
ting will display flashing.
4) Use the TEST (Scroll) key to Enable the Auto-Tempera-
ture mode.
5) When the desired choice is shown, Press TARE (Select)
to select it.
Pushing TARE (Select) sets the Auto-Temp mode either OFF or Enable, and
exits back to the Main Setup Menu.
6) The next Main Menu item, “° Unit” will appear. Push
TARE (Select) to setup the desired temperature unit (°F
or °C).
7) Use the TEST (Scroll) key to select °C or °F.
8) Push TARE (Select) to set the temperature unit.
9) The next Main Menu item, “Func” will appear. Either
select another Setup procedure with the TEST (Select)
key, or return to weighing mode by pushing ZERO
(Exit).
RF LIST SCROLLING
The internal RF modem can be preconfigured with up to 8 RF Network assignments. This allows the scale to
move from network to network without having to hook up a computer to change the network assignments. The
RF List must be originally configured in the embedded CellScale using the Terminal Access Mode. Once the
RF List is programmed, the user can change networks with the following procedure.
1
Func
2
TEST
1- 21
3
TEST
2- 21
3
TEST
12- 56
3
TEST
14-232
1) Program the USER key to “rFLiSt” using the procedure
on page 12.
2) Press the TEST/USER key to display the current network
setting. The first two digits are the Network, the second 3
digits are the new “My ID”.
3) Press the TEST key to scroll through the Network choices.
Up to 8 networks can be configured.
To exit without changing the Network Settings, press the ZERO key at any time.
4) When the desired Network setting is shown, press TARE