0 customer or product id and load/deliver, 1 setting the customer or product id, Customer or product id and load/deliver – Rice Lake Combination System - Precision Loads PL9710 Indicator User Manual
Page 14: Setting the customer or product id, Using the customer or product id with load/deliver
10
PL9710 Installation Manual
5.0 Customer or Product ID and Load/Deliver
When the Load/Deliver mode has been enabled (See “Advanced Setup” on page 22.), each customer account or
product being loaded or delivered will need a unique identification (ID) number. The ID number can be selected
prior to pickup or delivery by using either the indicator keypad, an external keypad, or an optional bar-code
scanner.
5.1 Setting the Customer or Product ID
1. Press the
Menu
key for about 7 seconds until the
information display shows Setup ID.
2. After releasing the
Menu
key, the information
display will show ID Number selection.
3. Press the
Add
softkey to add an ID number.
The information display will show Add ID.
Record #001 and the last number of the weight
display will be flashing, telling you that number
is ready to be changed.
4. To change the number’s value, press the
Up
or
Down
key. To select a different number, press the
left arrow
or
right arrow
key.
5. Press the
Enter
key when finished.
The information display will show Store ID
Number. If the entered number has already been
selected, the information display will show Error
- Duplicate Number and you should enter a
different number.
6. When the correct number has been entered, press
the
Cancel
key.
The information display will show ID Number
selection.
Press the
Cancel
key again to return to normal
operation.
5.2 Using the Customer or Product ID with
Load/Deliver
Calibrate the
PL9710
indicator as outlined in Chapter 3,
Calibration, using 00000 for EMPTY weights. Enter
the net payload values obtained from a certified scale
for the FULL values. When calibrating the system, fill
the trailer with payload to no less than 80% of the
maximum full load. Since the empty weights are set at
00000 during calibration, the gross-weight reading will
be the same as the net-weight reading.
In the single-channel mode, the Accumulator function
can be used to add (or subtract, if delivering) each
individual pickup to previous pickups and store the
accumulated total in the indicator’s internal memory.
At the end of the job, a grand total of all pickups is
available.
A paper ticket can also be printed for each individual
pickup or delivery if a printer is attached and enabled
through the serial port at the back of the indicator (See
“Using the Serial Ports” on page 12.). The paper ticket
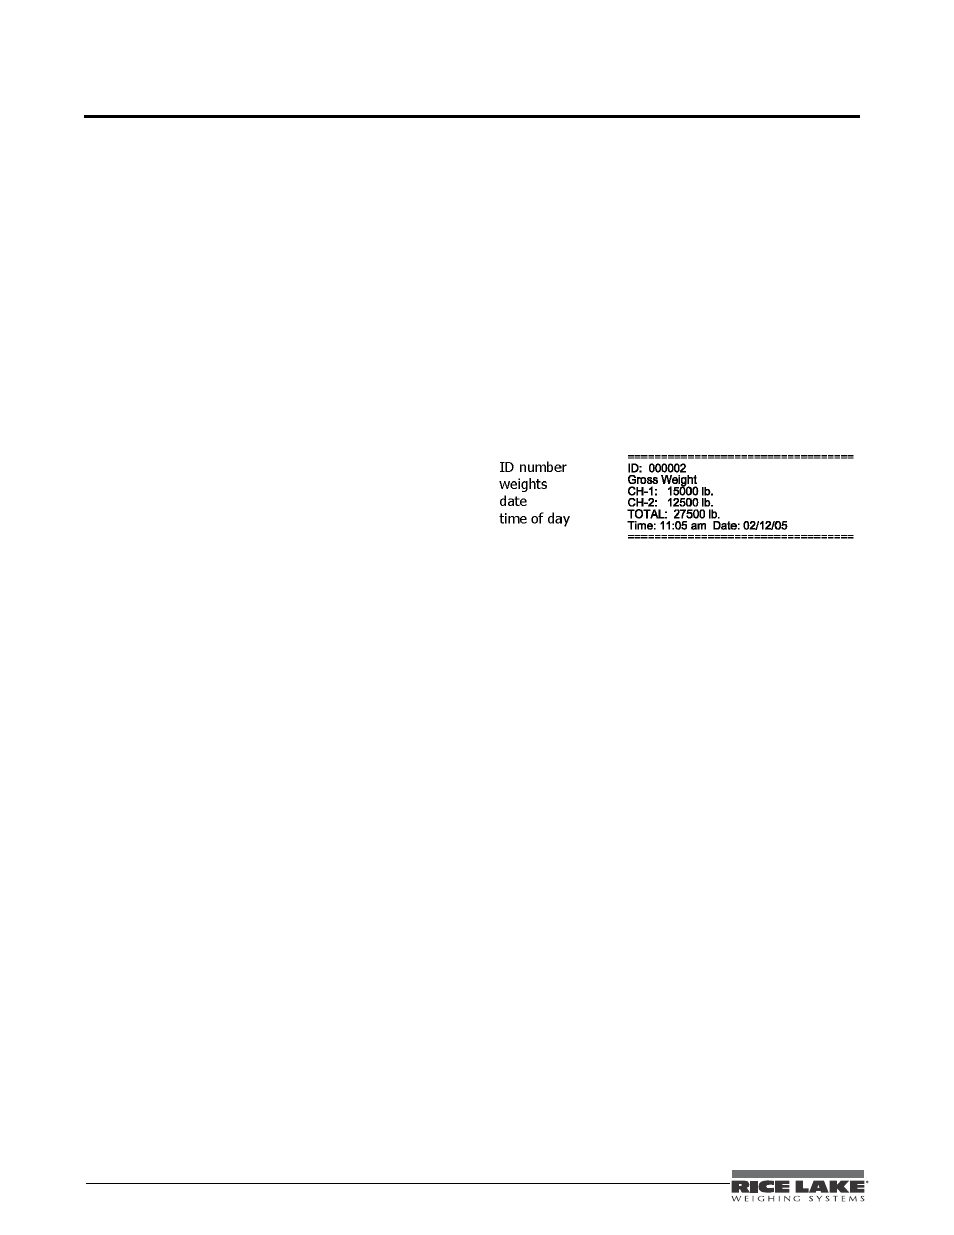
will show:
• ID number
• Weights
• Date
• Time of day
Figure 5-1. Paper Ticket Example
The Accumulator function is not available in the
2-channel mode but paper tickets may be printed with a
properly attached and enabled printer.
The following steps will guide you in using the
customer or product ID in the Load/Deliver mode.
For single-channel operation, make sure Accumulator
(if desired) and Load/Deliver have been enabled. See
1. Select Load/Deliver by pressing the
LD
softkey.
The red LED labeled LD at the left of the weight
display should be lit.
2. Select the correct customer or product ID by
pressing the
ID
softkey.
The information display will briefly show Select
ID number and then show Select ID.
Use the
Up
and
Down
keys until the correct ID
shows in the weight display and then press the
Select
softkey.
3. Before picking up or delivering each load, press
the
Zero
key.
As each load or delivery is made, the net weight
shown in the information display will increase or
decrease to show the total of all the pickups or
deliveries.