Assembly procedure, Important assembly information – Elecraft KXAT100 Installation Manual User Manual
Page 7
7
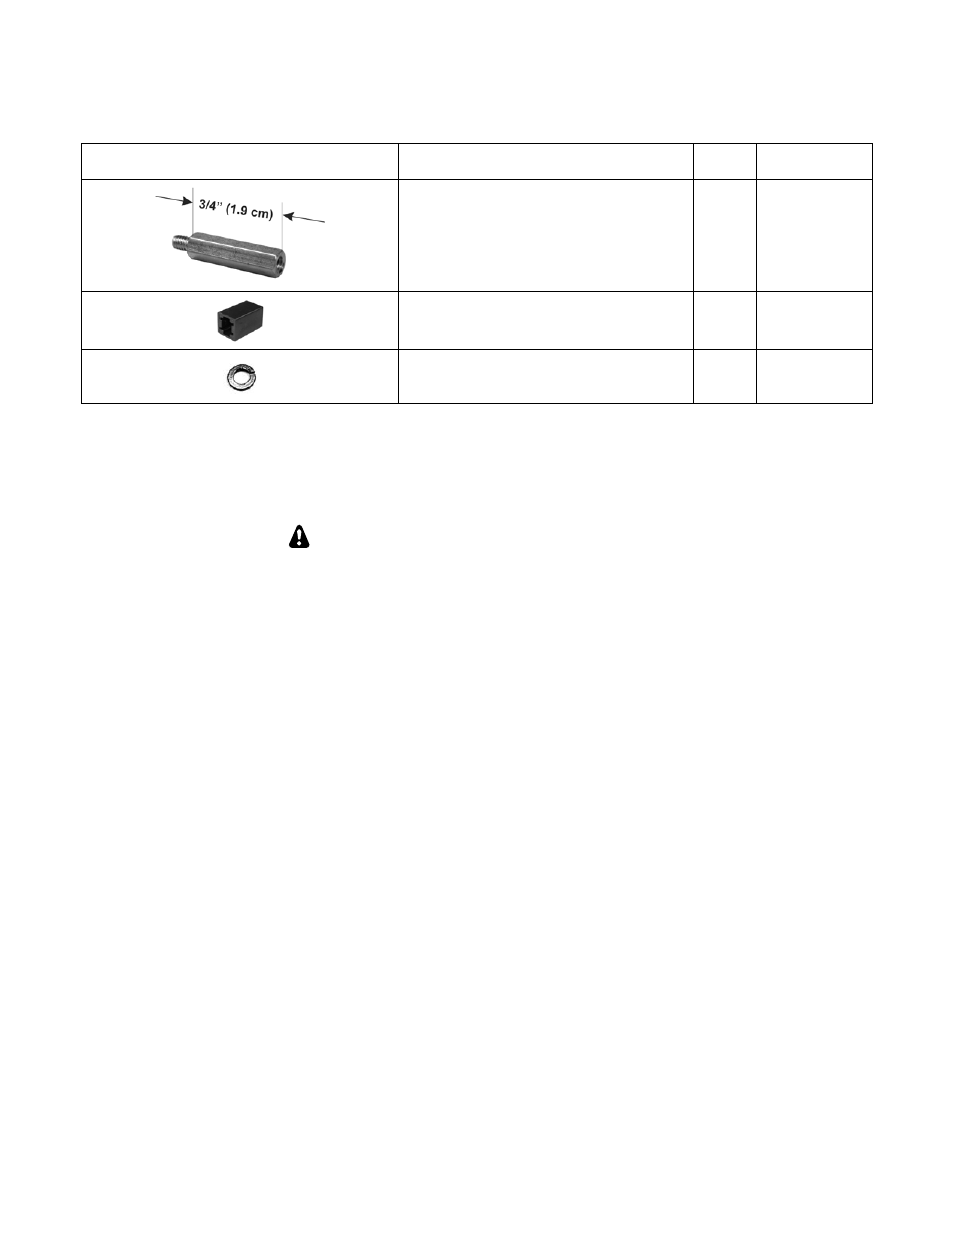
KXAT100 Hardware Envelope E850601
ILLUSTRATION DESCRIPTION
QTY.
ELECRAFT
PART NO.
M-F Standoff, 4-40 3/4" (1.9 cm)
4
E700293
Switch Cap
2
E980250
Lock Washer, Split Ring, #4
4
E700010
Assembly Procedure
IMPORTANT ASSEMBLY INFORMATION
Check off the steps as you finish each one. Skipping a step is easy to do without taking a moment to be
certain that you completed the previous step. This can result in serious damage to your KXPA100 or, at a
minimum, having to disassemble it to correct the mistake.
Start all the screws in an assembly before tightening. When mounting parts with multiple screws or
adjacent parts that fit together, start all the screws in the threads before tightening any of them. If you find that
a screw is binding, loosen the other screws to free it, and then re-tighten.
Ensure all screws are tight but do not over-tighten. Do not attempt to turn screws and nuts beyond the
point at which the lock washer is compressed. Screws without lock washers should be tightened only until you
feel significant resistance to further turning. Do not attempt to turn screws or nuts 1/4 turn beyond “tight”.
Threads can be easily stripped if too much force is applied when tightening screws. Use the correct size
hand tool and apply only moderate torque. Do not use a power screwdriver!
Do not adjust the turns on any toroids. The position of the turns on the cores of many toroids has been
adjusted at the factory to produce exactly the inductance needed for the circuit to work properly. Any attempt
to adjust their position or to make a coil look “nicer” may seriously degrade circuit performance.
Remember your ESD protection. Failure to observe ESD precautions may result in your KXPA100 not
operating at all, or operating but not meeting normal factory performance specifications due to damaged
components. See Preventing Electrostatic Discharge Damage on
pg 5.
Handle Printed Circuit (PC) Boards by their Edges. Avoid unnecessary mechanical stress on any pc
board components by careless handling.