Elecraft KXFL3 Filter Option User Manual
Page 7
7
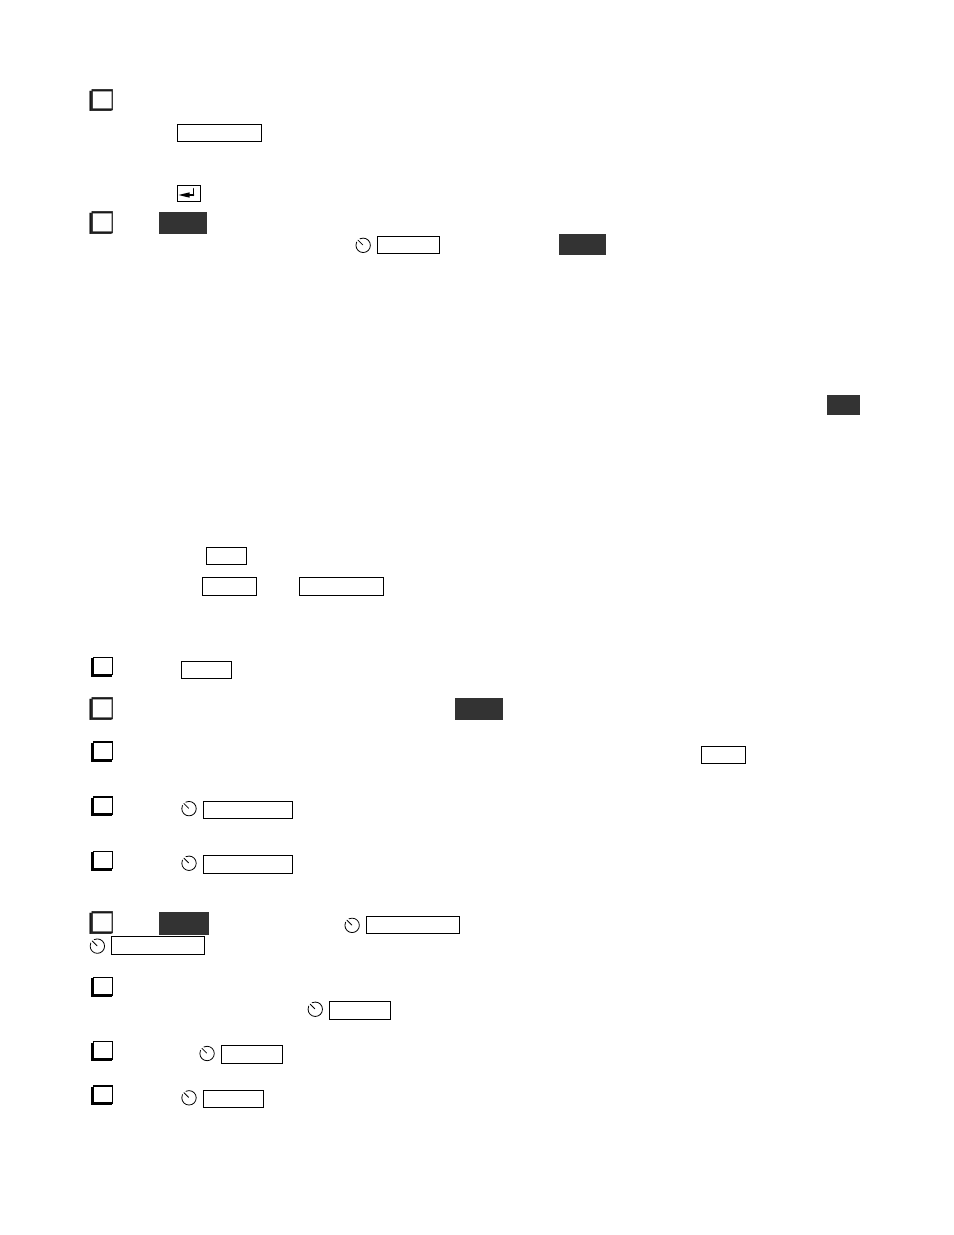
Switch the KX3 to the 20 meter band using direct frequency entry as follows:
Tap
F R E Q E N T
. The display will show six dashes:
- - - - - -
Using the switches along the bottom of the front panel, enter 14.000.
Tap
. The frequency will appear on the LCD.
Hold
M E N U
to access the menu.
BKLIGHT
will appear on the display if the menu hasn’t been accessed
since power was turned on. Rotate the
O F S / B
knob (above the
M E N U
switch) to set the following menu
parameters. Change each parameter as needed by rotating the large VFO knob (note that the menu entries are in
alphabetical order):
Set
AGC MD
to
ON
.
If the KXAT3 is installed, set
ATU MD
to
BYP.
Set
DUAL RX
to
OFF.
Set
RX SHFT
to
NOR.
If you need to change the parameter, you must first unlock it by holding the
K H Z
switch for at least 3 seconds (the lock symbol will disappear and
UNLOCK
will appear briefly on the
LCD). Note that this is a per-band setting as indicated by the
14.0
on the display. You only need to set it
for the 14 MHz band.
Set
RX XFIL
to
NOR.
Set
SMTR MD
to
NOR.
Tap the
D I S P
switch to exit the menu.
Tap the
B AN D -
and
AT U T U N E
switches simultaneously to turn the KX3 off for 3 seconds,
minimum, then tap them again to turn the KX3 on. This causes certain parameters that you many have
changed in the menu to take effect. Doing this will not affect your warm-up period.
Tap the
M O D E
switch to select CW as shown on the LCD.
If
REV
appears below
CW
on the LCD, hold the
M O D E
switch until it disappears.
If
ATT
appears on the LCD (directly above
XFIL
near the center of the display), tap
A T T N
to turn the
attenuator off.
Tap the
AF / R F - S Q L
knob and rotate it so that
RF - - 0
is displayed (this is the setting for maximum RF
gain).
Tap the
AF / R F - S Q L
knob and rotate it so that
AF 15
is displayed. This is a moderate audio frequency
gain setting. You can adjust it as desired throughout this procedure.
Hold
P I T C H
and then rotate the
K E Y E R / M I C
knob until the LCD displays a pitch of
530 HZ.
Tap the
K E Y E R / M I C
knob to exit.
Locate the passband graphic display in the lower left corner of the LCD. To the right of it will be either a
I
or
II
. If
II
is displayed, tap the
P B T I / I I
knob to display
I
.
Rotate the
P B T I / I I
knob to display
BW 0.30
on the LCD. That sets the receive bandwidth to 0.3 KHz.
Tap the
P B T I / I I
knob to display
II
on the LCD.