Connection, Overview, Step 1: inserting the batteries – Sony SAT-A50 User Manual
Page 7: Tepmaaifig^vci^na, Advanced, St?p|:,ioflp^ng thè ir, Step 6: connecting the rf antenna (sat-a50 only), Step 7; connecting the ac power cord, Step 8: inserting the access card, Push and slide open the battery compartment
Attention! The text in this document has been recognized automatically. To view the original document, you can use the "Original mode".
Connection
Overview
Step 1: Inserting the
Batteries
Follow the procedures or make the connections in
each of the steps to connect your Digital Satellite
Receiver.
^^tepmaaifig^VCi^na
fadvanced conn^idh). ’ '. ' •
' Paoe 10
(advanced
PageiO
St?p|:,ioflp^ng thè IR
(aibai^lnmi&ttan)
V^;~:
?_______ : .
...
'I'
Page 11
Step 6: Connecting the RF
Antenna
(SAT-A50 only)
(advanced connection)
Page 12
Step 7; Connecting the AC
Power Cord
Page 13
Step 8: Inserting the Access
Card
Page 13
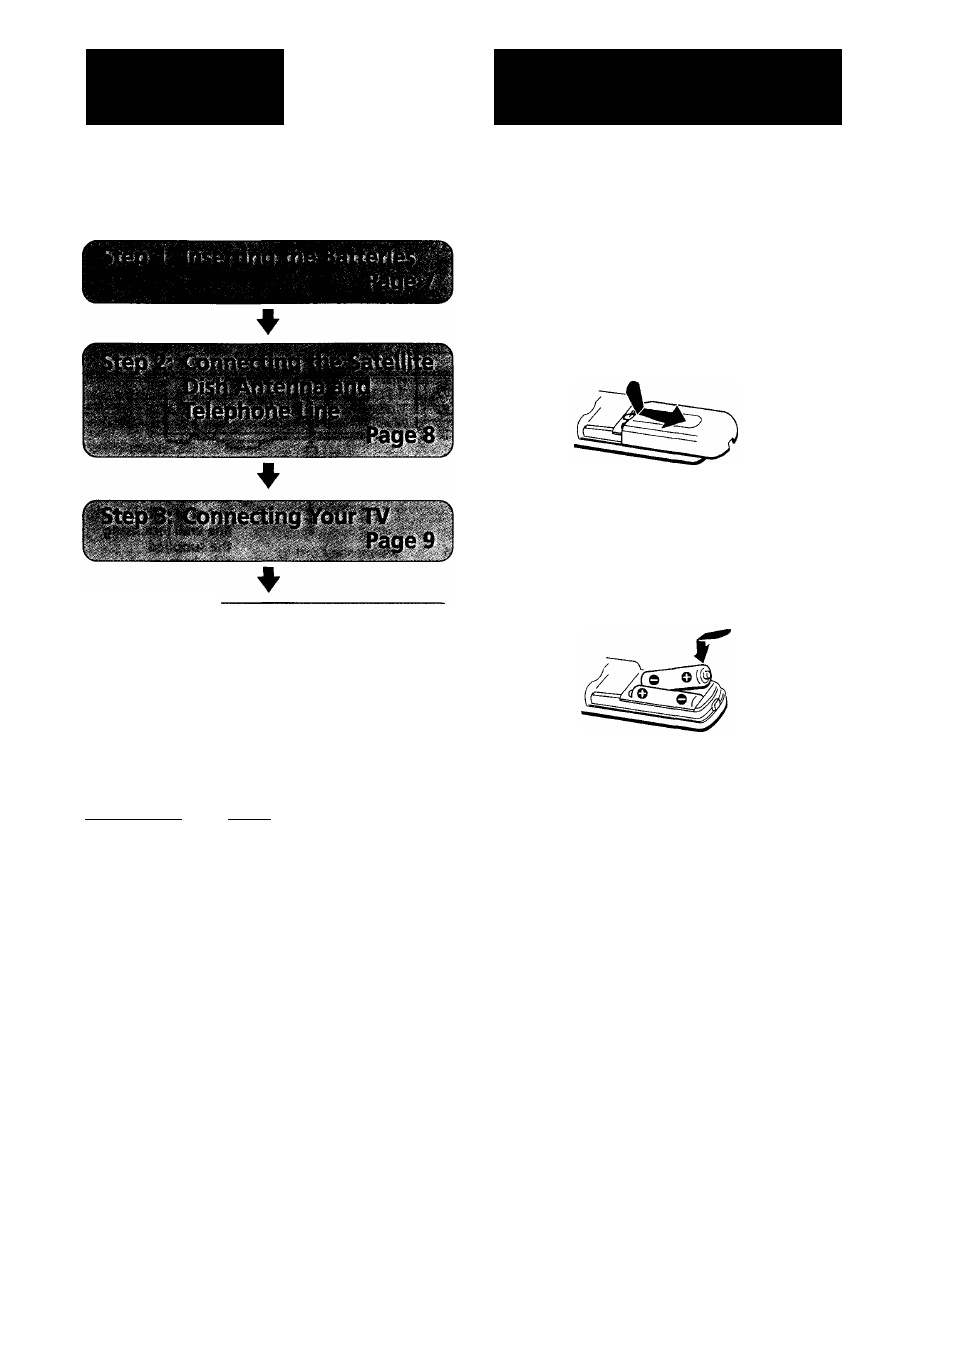
Before you can use the remote control, you must
insert the supplied batteries. If you want to use this
remote control to operate other audio/video
equipment, such as a TV or VCR, you must set up
the remote control (see page 65).
1
Push and slide open the
battery compartment.
Insert two size AA batteries
(supplied).
Be sure to match the + and - marks on the
batteries with the + and - marks inside the
battery compartment.
Notes
• When the batteries become weak, the Function button
indicators flash. If the remote control does not work
properly, the batteries may be weak.
• When replacing batteries, replace both batteries with new
ones. Do not mix different types of batteries together.
• When you remove the batteries, any manufacturer codes
you've set up may be erased. To set up the remote control
again, see "Setting Up the Remote Control" on page 65.
№
n>
>3
fD
C
n ^
2
<*
fD