Follow the steps below to set the timer – Sony SAT-A50 User Manual
Page 61
Attention! The text in this document has been recognized automatically. To view the original document, you can use the "Original mode".
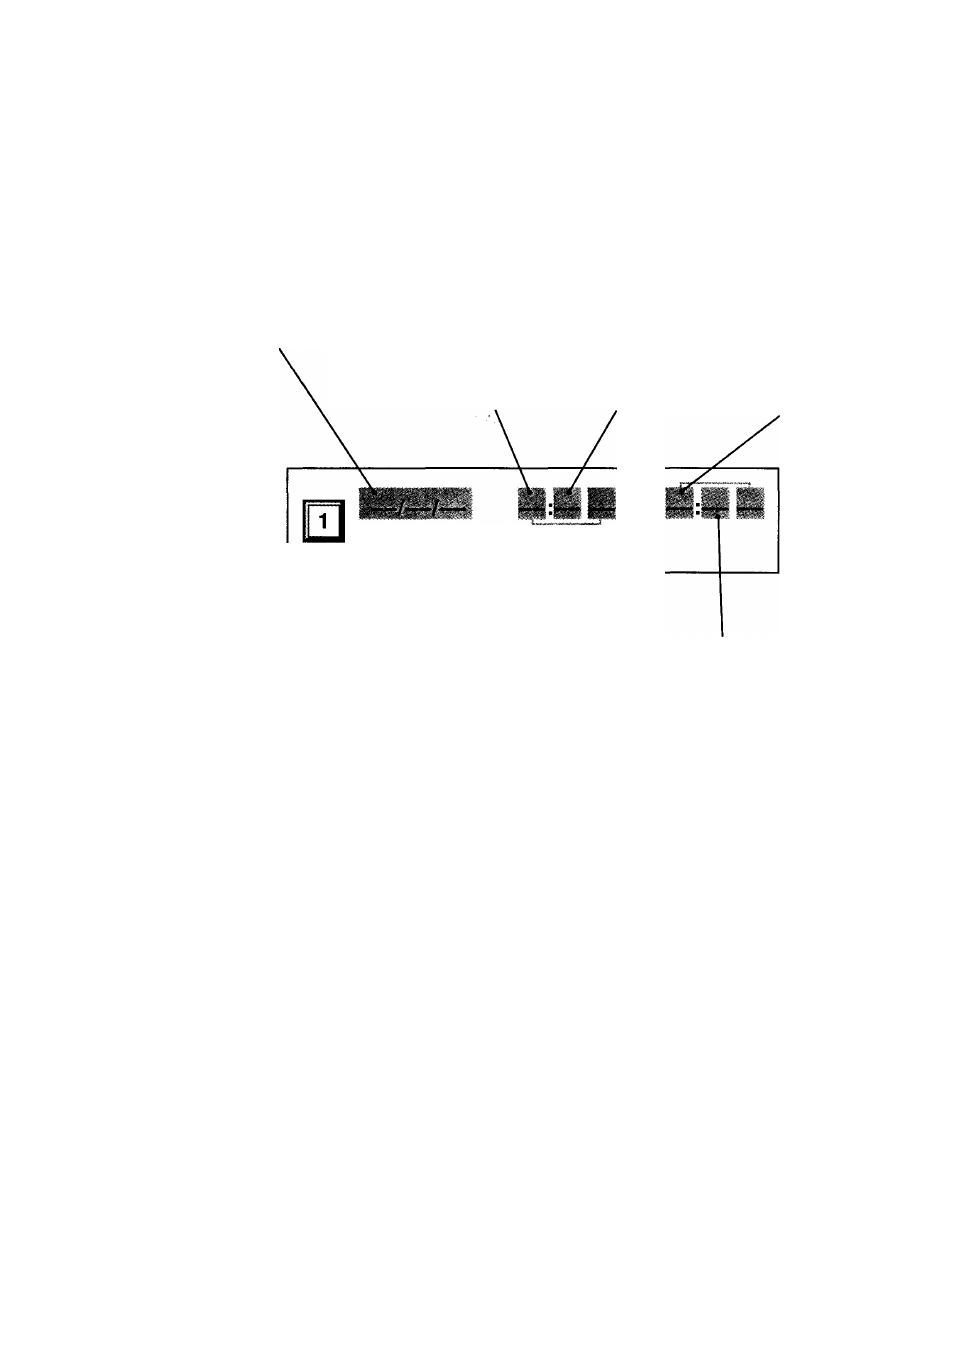
Follow the steps below to set the timer.
Move the joystick in the direction indicated in these steps.
© Press to select from
the following.
• Any date up to 30 days
from the current date
• EVERYSUN
• EVERY MON
• EVERY TUE
• EVERY WED
• EVERY THU
• EVERY FRI
• EVERY SAT
• MON-FRI
• DAILY
@ Press -f
or ♦ to
move to the
next item.
® Press ♦ /♦ to
change the starting
hour.
Then, press -f- or ♦
to move to the next
item.
® Press ♦ /♦ to
change the
starting minute.
Then, press f or
♦ to move to the
next item.
® Press ♦ /♦ to
change the ending
hour.
Then, press -f or ♦
to move to the
next item.
® Press -f.
The Timer & Rec pop-up
appears.
Highlight Timer & Rec or
Timer and press -f-.
® Press */♦ to seiect
the channel number.
Then, press or ♦ to
move to the next item.
® Press ♦ /♦ to change
the ending minute.
Then, press f or ♦ to
move to the next item.
V Tips
• Shortly before beginning a
scheduled timer event, an
information box appears on your
screen. You can press the EXIT
button on your remote control to
cancel the timer event.
• If the Auto Title Insert feature is on
(see page 27), the Auto Title will
appear 10 seconds before the
scheduled program.
Highlight and select "Return" to close the
TIMER & REC display.
The Main Menu appears.
61