Sony CCD-F33 User Manual
Page 20
Attention! The text in this document has been recognized automatically. To view the original document, you can use the "Original mode".
Recording a Picture Using the
Automatic Adjustments
F-2
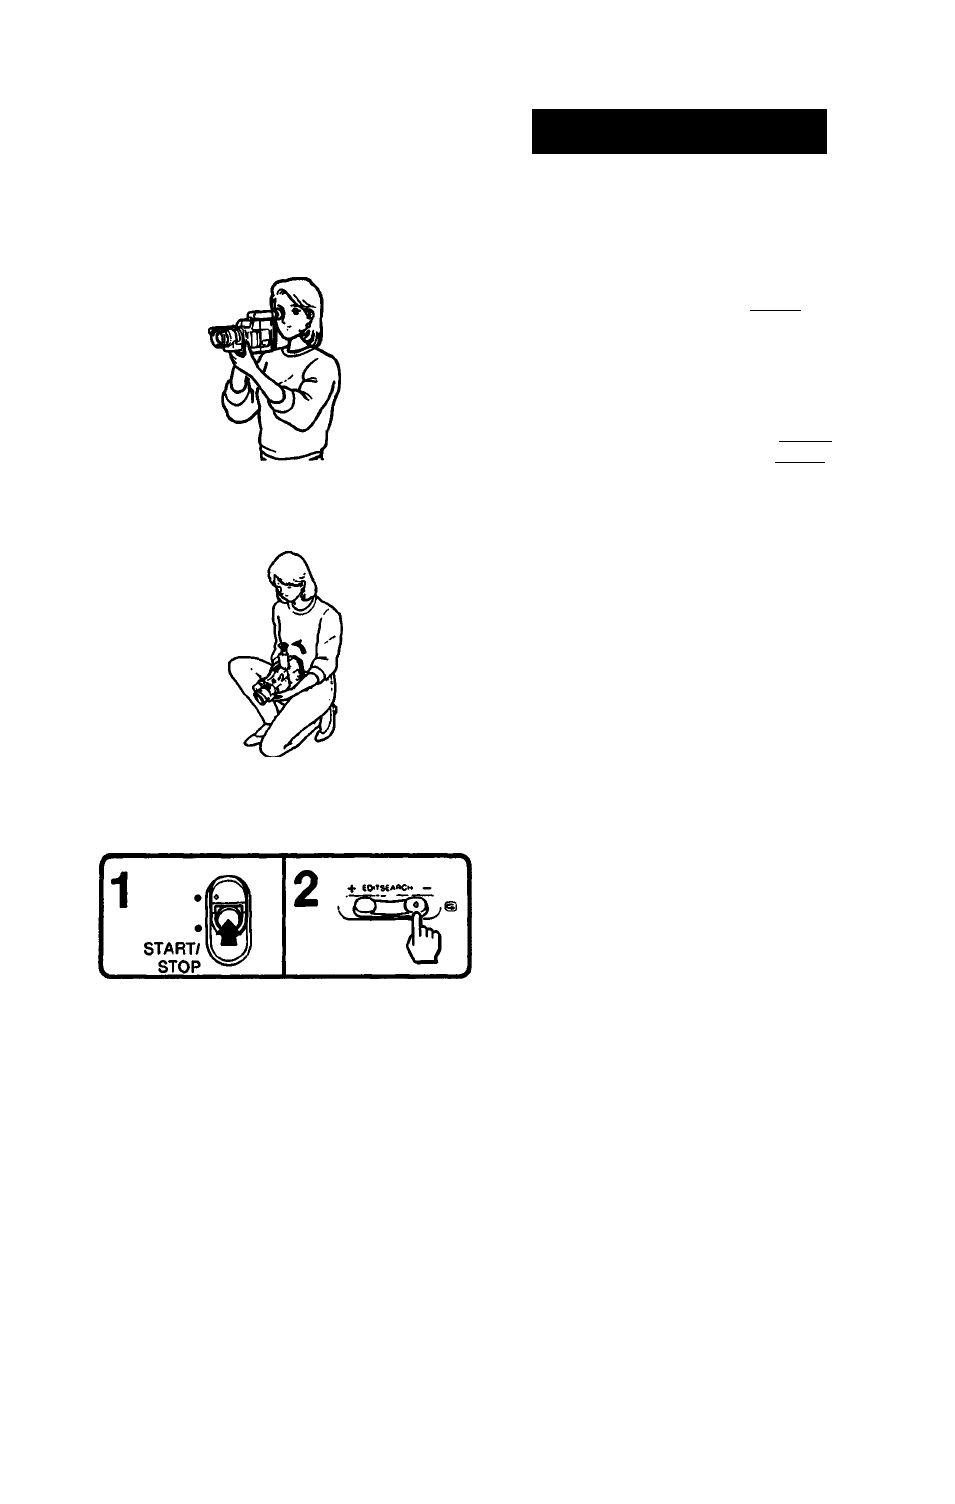
Hold the camera recorder as in the illustration
[
f
TI
F-3
F-4
If your nose touches the recorder, adjust the
angle of the viewfinder.
For low position recording
I
F-3
I
The viewfinder can be turned 90 degrees up.
1 Slide the STANDBY switch up.
2 Press the START/STOP button on the right
front.
To check the last portion of the previous
recording (Recording review) | F-4
I
1 Set the recorder in recording pause mode by
pressing the START/STOP button.
2 Press the 1^” side of the EDITSEARCH
button momentarily.
The last few seconds of the recorded portion are
rewound and then the recorded picture is
monitored on the viewfinder screen. The unit then
enters the recording pause mode.
After using
Slide the STANDBY switch down and set the
POWER switch to OFF. (You need not press the
center button when setting the switch to OFF.)
Notes on playback on another VCR
• To view the picture which has been recorded on
this unit, set the monitor switch of the recorder for
playback to the STD (standard) position.
• When recording on this unit using a tape on which
PCM stereo sound has previously been recorded,
set the monitor switch of the video cassette
recorder for playback to the STD (standard)
position. Othenwise, the sound may not be heard or
may be distorted.
Note on PCM sound
PCM recording/playback is not possible with this
unit.
The
PCM sound recorded or after-recorded with
another recorder cannot be played back with this
unit.
Note on copyright
Television programs, films, video tapes and other
materials may be copyrighted.
Unauthorized recording of such material may be
contrary to the provisions of the copyright laws.
20