2 switch installation and assembly, 1 mounting the chassis, 2 installing the power supplies – Cabletron Systems 6500 User Manual
Page 25: Switch installation and assembly -5, Mounting the chassis -5, Installing the power supplies -5, Figure 2-3, Rack mounting the smartswitch 6500 chassis -5
SmartSwitch 6500 User Guide 2-5
Switch Installation and Setup
Switch Installation and Assembly
2.2
SWITCH INSTALLATION AND ASSEMBLY
The following is a list of steps for assembling your SmartSwitch 6500. Refer to Figure 2-4 for proper module
placement.
2.2.1
Mounting the Chassis
1.
Find someone to assist you. The SmartSwitch 6500 chassis is heavy enough to make this a
two-person task.
2.
Select a spot on a standard 19 inch equipment rack that provides at least two inches of air space
above and below the chassis. This is necessary for proper ventilation and heat dissipation.
3.
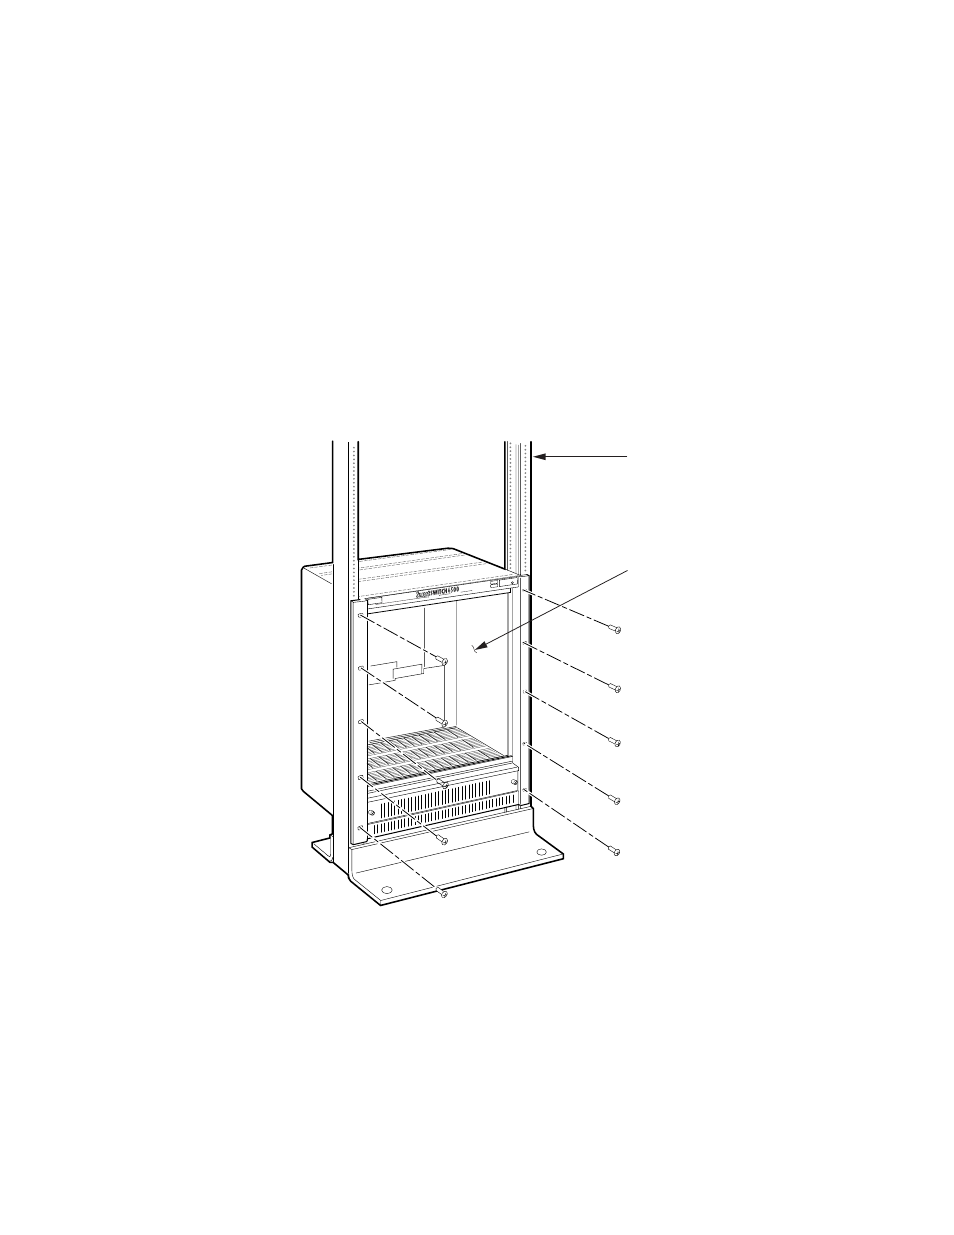
Secure the SmartSwitch 6500 to the equipment rack using the screws provided with the equipment
rack. The chassis is secured by ten screws, five screws per side (see Figure 2-3).
Figure 2-3 Rack mounting the SmartSwitch 6500 chassis
2.2.2
Installing The Power Supplies
1.
Using a flat blade screwdriver, unscrew and remove the metal power supply blanks. The power
supply blanks reside in the slots labeled PS1 and PS2.
PS1
PS2
CSM
TSM/CPU
TSM
10
9
8
7
6
5
4
3
2
1
Install
Mounting
Hardware
(10 Places)
Rack Mount
Chassis