Dell Precision 620 User Manual
Page 37
To further ensure proper positioning of the drive in the chassis, insert and tighten all four screws in the order in which the holes are
numbered (the holes are marked "1" through "4").
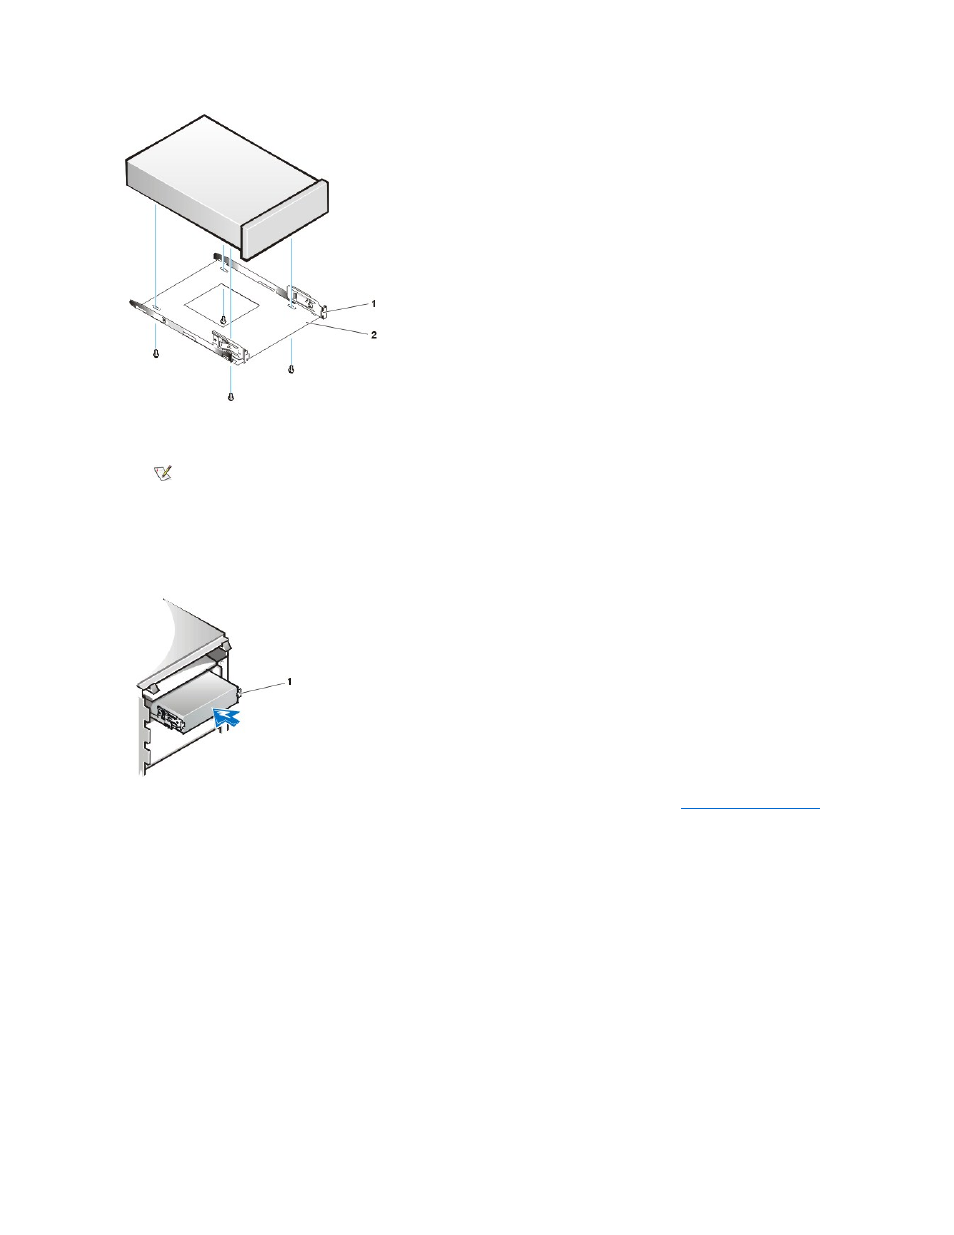
6. Slide the new drive into the drive bay until it snaps securely into place (see Figure 8).
Make sure that both bracket tabs snap into place in the drive bay.
Figure 8. Inserting the New Drive Into the Drive Bay
7. If you are installing a drive that has its own controller card, install the controller card in an expansion slot (see "
Installing an Expansion Card
.").
8. Connect a DC power cable to the power input connector on the back of the drive (see Figure 9).
Figure 9. Attaching EIDE Tape Drive Cables
1 Bracket tabs (2)
2 Bracket
NOTE: The 5.25-inch drive bracket only supports bottom mounted drives. No screw holes are available on the sides of the
bracket.
1 Bracket tabs (2)
- Inspiron 530 (2 pages)
- OptiPlex 755 (45 pages)
- OptiPlex 755 (248 pages)
- OptiPlex 755 (622 pages)
- OptiPlex 755 (528 pages)
- OptiPlex 755 (82 pages)
- OptiPlex 760 (76 pages)
- OptiPlex 760 (203 pages)
- OptiPlex 745 (212 pages)
- OptiPlex 745 (360 pages)
- OptiPlex 745 (428 pages)
- OptiPlex 780 (80 pages)
- OptiPlex 780 (73 pages)
- OptiPlex 780 (40 pages)
- OptiPlex 780 (14 pages)
- OptiPlex 780 (89 pages)
- OptiPlex 780 (10 pages)
- OptiPlex 780 (74 pages)
- OptiPlex GX620 (221 pages)
- OptiPlex GX620 (294 pages)
- OptiPlex GX620 (338 pages)
- Inspiron 530 (226 pages)
- OptiPlex 960 (Late 2008) (16 pages)
- OptiPlex GX260 (100 pages)
- OptiPlex GX260 (235 pages)
- OptiPlex FX160 (Late 2008) (20 pages)
- OptiPlex FX160 (Late 2008) (132 pages)
- OptiPlex FX160 (20 pages)
- OptiPlex 210L (130 pages)
- OptiPlex 210L (128 pages)
- OptiPlex 210L (300 pages)
- OptiPlex 210L (258 pages)
- OptiPlex 210L (150 pages)
- OptiPlex 320 (312 pages)
- OptiPlex 320 (266 pages)
- OptiPlex 320 (356 pages)
- OptiPlex 320 (44 pages)
- OptiPlex 320 (140 pages)
- OptiPlex 320 (132 pages)
- OptiPlex GX240 (182 pages)
- OptiPlex GX240 (144 pages)
- OptiPlex GX240 (121 pages)
- OptiPlex GX240 (86 pages)
- OptiPlex GX240 (283 pages)
- OptiPlex GX240 (298 pages)