5 beginning transfer – Bio-Rad Trans-Blot® Plus Cell User Manual
Page 11
Note: Extra care is required when handling large gels, first align one side of the gel
with the side of the filter paper and slowly lower the rest of the gel.
8. Carefully place the pre-soaked membrane on top of the gel. Make sure the
membrane is properly positioned as it touches the gel. To avoid ghost prints or
artifacts, do not move the membrane after it is positioned. Use the roller to
remove any air bubbles and to ensure proper contact between the gel and
membrane.
9. Wet a second piece of filter paper in transfer buffer and place it on top of the
membrane.
10.
Soak a fiber pad in transfer buffer and place it on top of the filter paper.
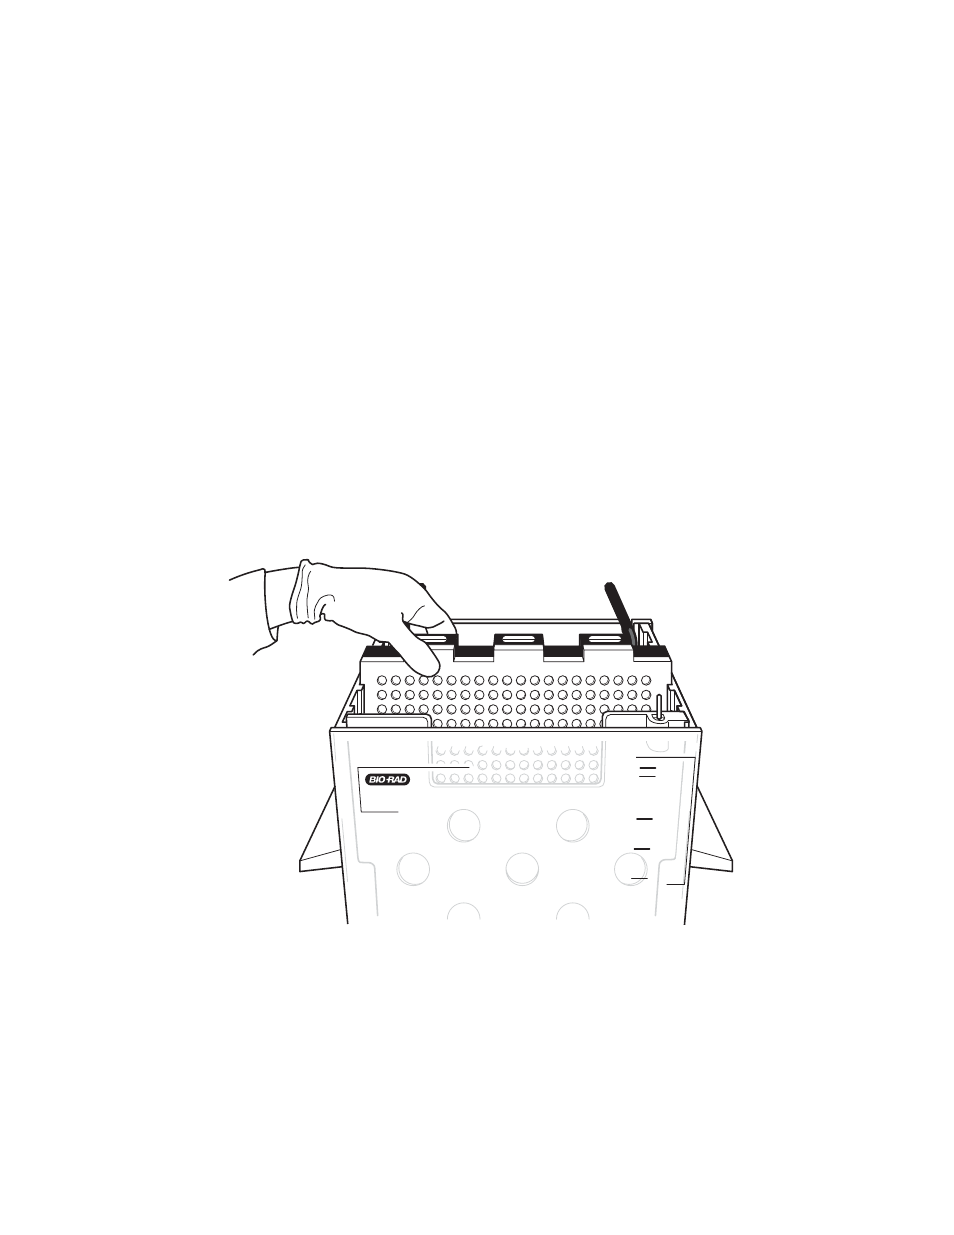
11. Place the hinge of the upper cassette plate (red) into the hinge mechanism of
the lower plate, and lower the upper cassette plate on top of the gel sandwich.
Make sure that the gel sandwich is aligned below the rim of the hinge so that
the cassette will close properly.
12. Working with one side at a time, apply firm pressure to the area adjacent to a
clamp and slide the clamp in.
13. Once the cassette is closed and locked, insert it into the tank with the hinge
side up. Make sure the red cassette plate faces the red electrode plate (see
Figure 4).
Fig. 4.
2.5 Beginning Transfer
1. Once all the cassettes are in place, check that the buffer level is between the
maximum and minimum levels indicated on the tank.
2. Turn on the stir plate and check that the stirring and cooling are working properly.
3. Place the lid on the tank.
Trans-Blot Plus Cell
MAX LEVEL
MIN LEVEL
1 CASSETTE
2 CASSETTES
3 CASSETTES
9