Linkage installation, Linkage.installation – E-flite J-3 Cub 25 ARF User Manual
Page 34
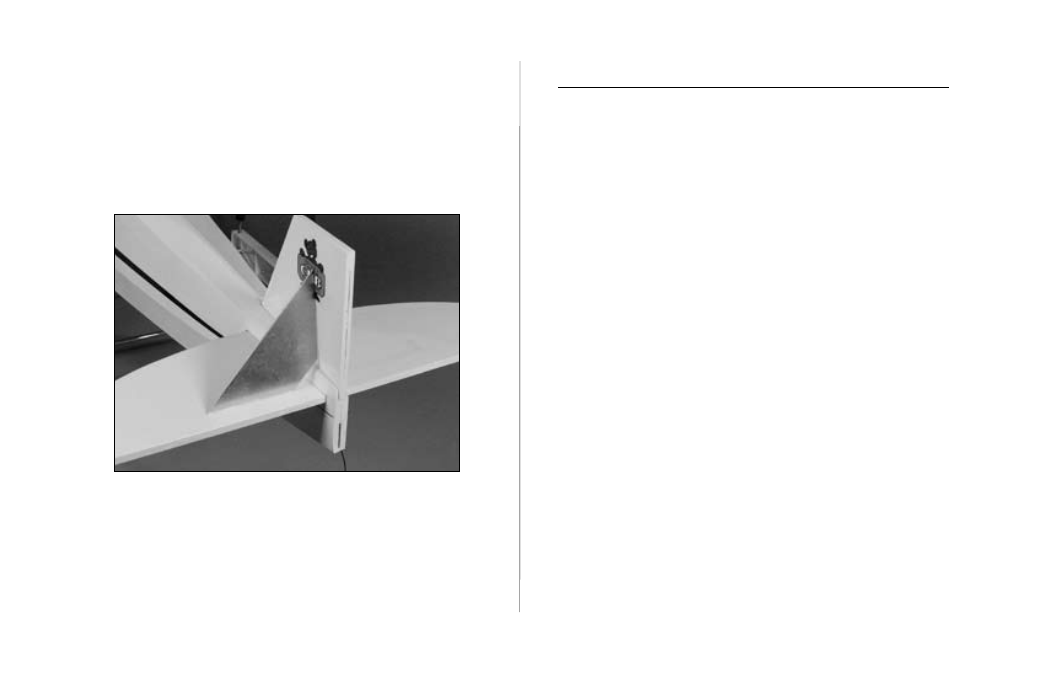
8. Attaching the fin is basically the same as
installing the stabilizer, except for checking that
the fin is perpendicular to the stabilizer using
a square. Remember to mark and remove the
covering from the bottom of the fin before using
epoxy to secure it to the fuselage
Linkage Installation
Required Parts
• Fuselage
• 4mm wheel collar (2)
• Clevis (3)
• Clevis retainer (3)
• Tail wheel assembly
• 1" (25mm) tail wheel
• 2mm wheel collar
• 3mm setscrew
• 3mm x 6mm screw (2) • Pushrod wire keeper (2)
• 25
5
/
8
" (650mm) pushrod wire (3)
• Control horn w/backplate (3)
• 2mm x 12mm screw (6) • CA hinges (9)
Required Tools and Adhesives
• Phillips screwdriver
• Felt-tipped pen
• 6-minute epoxy
• Petroleum jelly
• Pliers
• Side cutter
• Drill
• Drill bit: 5/64" (2mm), 3/32" (2.5mm)
Note:.If.you.plan.on.installing.floats.
permanently.to.your.J-3.Cub,.you.may.skip.
Steps.1.though.5,.starting.at.Step.6..The.tail.
wheel.can.be.left.in.position.if.you.plan.on.
using.both.the.landing.gear.and.floats..Refer.to.
your.float.manual.for.proper.installation.
34