Rudder and elevator servo installation – E-flite Cessna 150 Aerobat 250 ARF User Manual
Page 8
8
E-flite Cessna 150 Aerobat 250 ARF Assembly Manual
15. With the aileron servo centered, attach the
Z-bend of the pushrod to the control horn.
16. Pass the pushrod through the pushrod connector
and center the aileron. Use a #1 Phillips screwdriver
to tighten the screw in the pushrod connector to
secure the pushrod wire. Use side cutters to remove
the excess wire. Support the clevis and the wire
while doing this to not damage the model.
17. Repeat steps 2 through 16 to install the
remaining aileron servo.
18. Check to make sure the radio system has been
turned off before proceeding.
Rudder and Elevator Servo Installation
Required parts
Fuselage
Servo with hardware (2)
3-inch (76mm) servo extension (2)
Required Tools and Adhesives
Pencil
Phillips screwdriver: #0
Pin vise
Drill bit: #56.046-inch (1mm)
Thin CA
Dental floss
1. Remove the battery hatch cover from the fuselage
by sliding the locking pin forward. The front of the
hatch is held in place by a tab at the front. Set the
cover aside until it is required later in the manual.
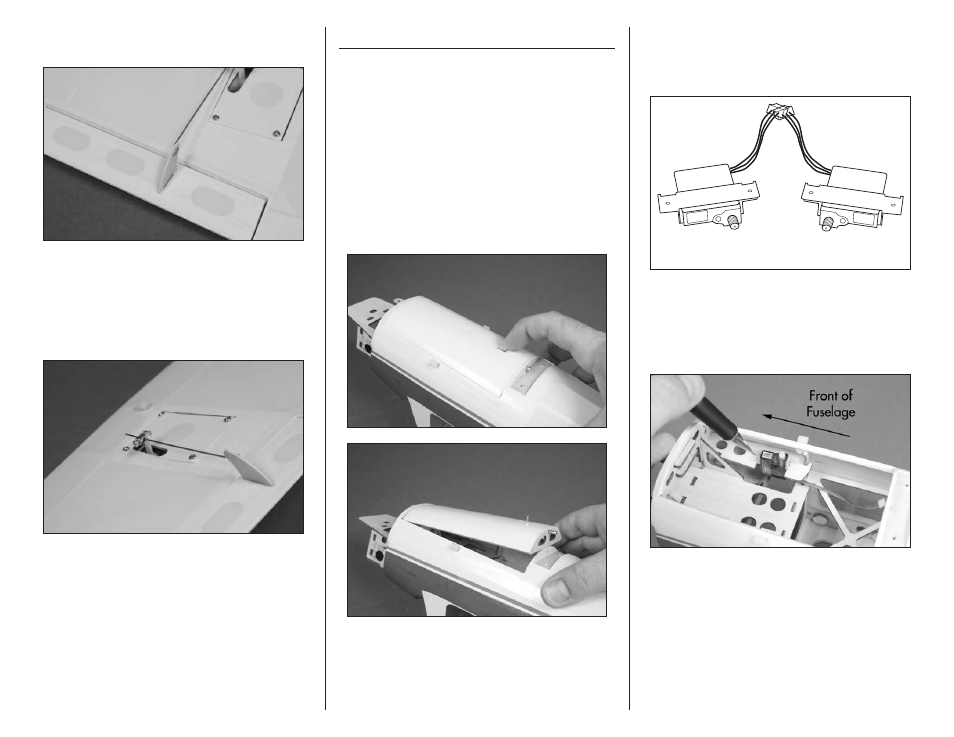
2. Prepare the rudder and elevator servos by using
a #0 Phillips screwdriver to remove the servo horns
from the servos. Attach the mounting bracket to the
servos as shown.
Rudder
Elevator
3. Position the rudder servo in the fuselage. Locate
the servo so the outer edge is against the outer
edge of the mounting rail and centered between the
front and rear. Use a pencil to mark the locations
for the two mounting screws.