E-flite Cessna 150 Aerobat 250 ARF User Manual
Page 13
13
E-flite Cessna 150 Aerobat 250 ARF Assembly Manual
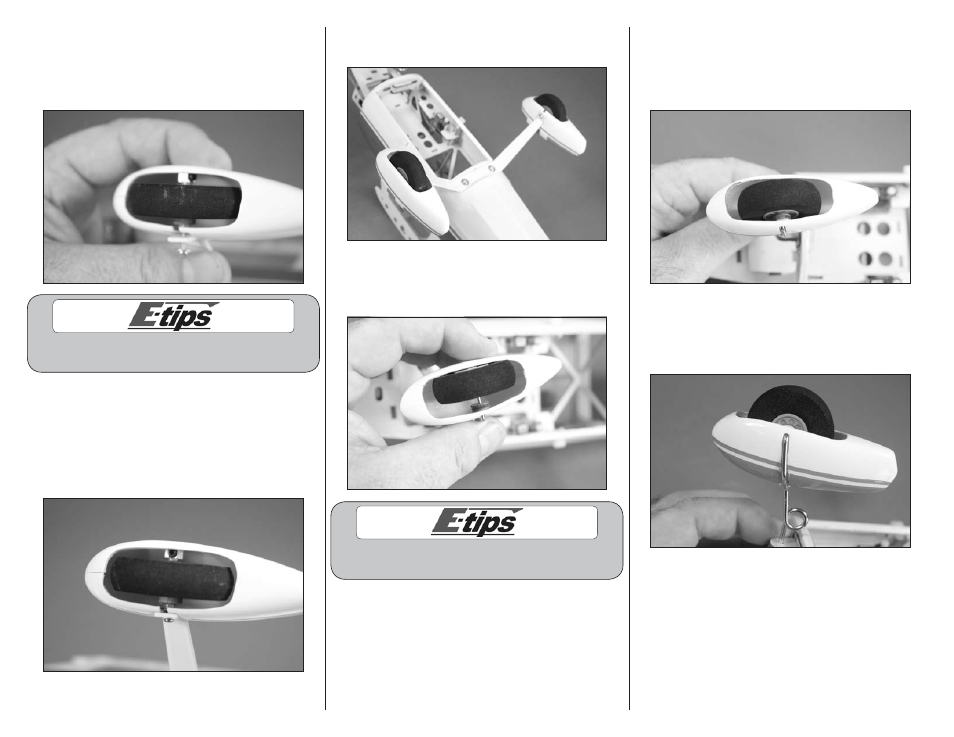
18. Fit the wheel pant over the wheel and its
components. Make sure the wheel pant is positioned
between the gear and the washer that was installed in
Step 12. You may need to reposition the 2mm nut to
fit the wheel pant into position.
Always use threadlock on metal-to-metal fasteners
to prevent them from vibrating loose.
19. Use a #1 Phillips screwdriver to tighten the
machine screw wile holding the 2mm nut using
hemostats. Make sure the landing gear is sitting
in the recess of the wheel pant. Once the screw
has been tightened, use a 1.5mm hex wrench to
position the wheel collar so the wheel can rotate
without any binding.
20. Repeat steps 14 through 19 to install the
remaining main wheel and wheel pant.
21. Slide the nose wheel pant on the nose gear
axle. A plywood spacer and the nose wheel are
then slid onto the nose gear axle.
Always use threadlock on metal-to-metal fasteners
to prevent them from vibrating loose.
22. Use a wheel collar and setscrew to secure the
nose wheel in position. The round side of the collar
will be against the wheel. Use a 1.5mm hex wrench
to tighten the setscrew in the wheel collar. Make
sure the nose wheel can rotate freely.
23. Use canopy glue to glue the nose gear wire into
the recess of the wheel pant. Use low-tack tape to
hold the wheel pant in position while the glue cures.
Allow the glue to fully cure before proceeding.