Vertical stabilizer installation – E-flite Cessna 150 Aerobat 250 ARF User Manual
Page 19
19
E-flite Cessna 150 Aerobat 250 ARF Assembly Manual
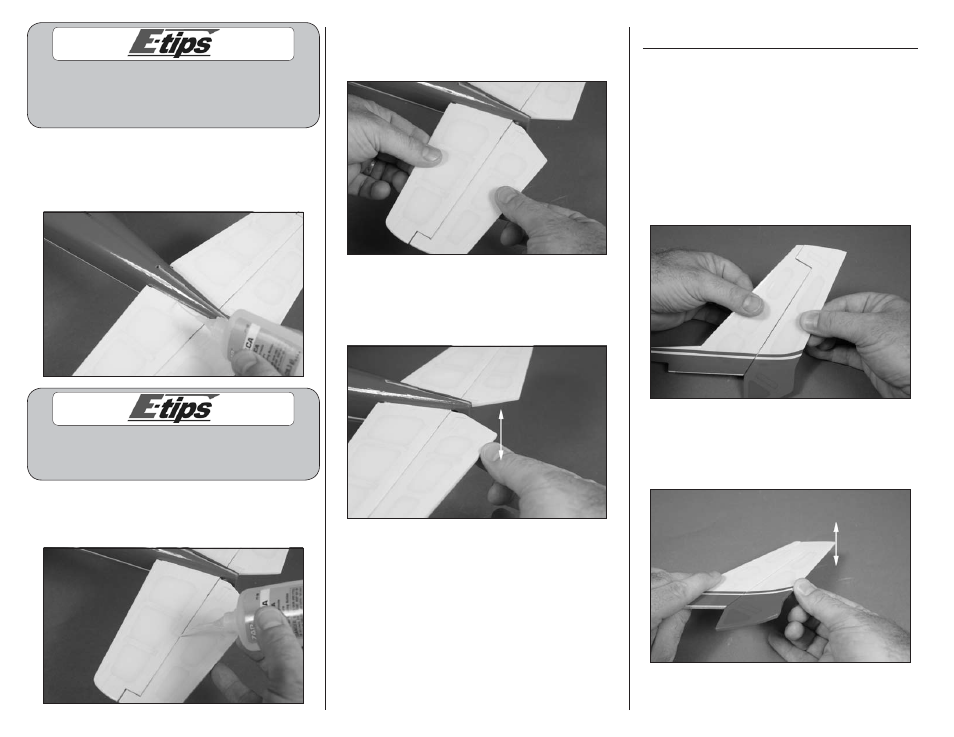
Do not use CA accelerator when gluing the
stabilizer to the fuselage. The CA must be
allowed to soak into the fuselage and stabilizer
for the best bond between the two surfaces.
15. Recheck the alignment between the wing and
stabilizer. Wick thin CA into the joint between the
stabilizer and fuselage. Allow the CA to fully cure
before proceeding.
Do not use CA accelerator when gluing the hinges.
The CA must be allowed to soak into the hinge for the
best bond between the hinge and surrounding wood.
16. Saturate each hinge with thin CA. Apply CA to
both the top and bottom of the hinge. Allow the CA to
fully cure before proceeding.
17. Check that the hinges are secure by gently pulling
on the control surface. If not, apply thin CA to any
hinges that are not glued and recheck.
18. Move the control surface through its range of
motion several times to break in the hinges. This
will reduce the initial load on the servo during
your first flights.
19. Remove the wing from the fuselage at this time.
Vertical Stabilizer Installation
Required parts
Fuselage assembly Vertical fin
Required Tools and Adhesives
Thin CA
Hobby knife with #11 blade
Felt-tipped pen
Square
Paper towels
Rubbing alcohol
1. Check that the hinges are secure by gently pulling
on the control surface. If not, apply thin CA to any
hinges that are not glued and recheck.
2. Move the control surface through its range of
motion several times to break in the hinges. This
will reduce the initial load on the servo during
your first flights.