Sensor configuration sensor configuration, Step 3 – Banner PresencePLUS BCR 1.3 Series User Manual
Page 6
6
P/N 118000 rev. D
Banner Engineering Corp.
•
Minneapolis, MN U.S.A.
www.bannerengineering.com • Tel: 763.544.3164
sensor
configuration
sensor
configuration
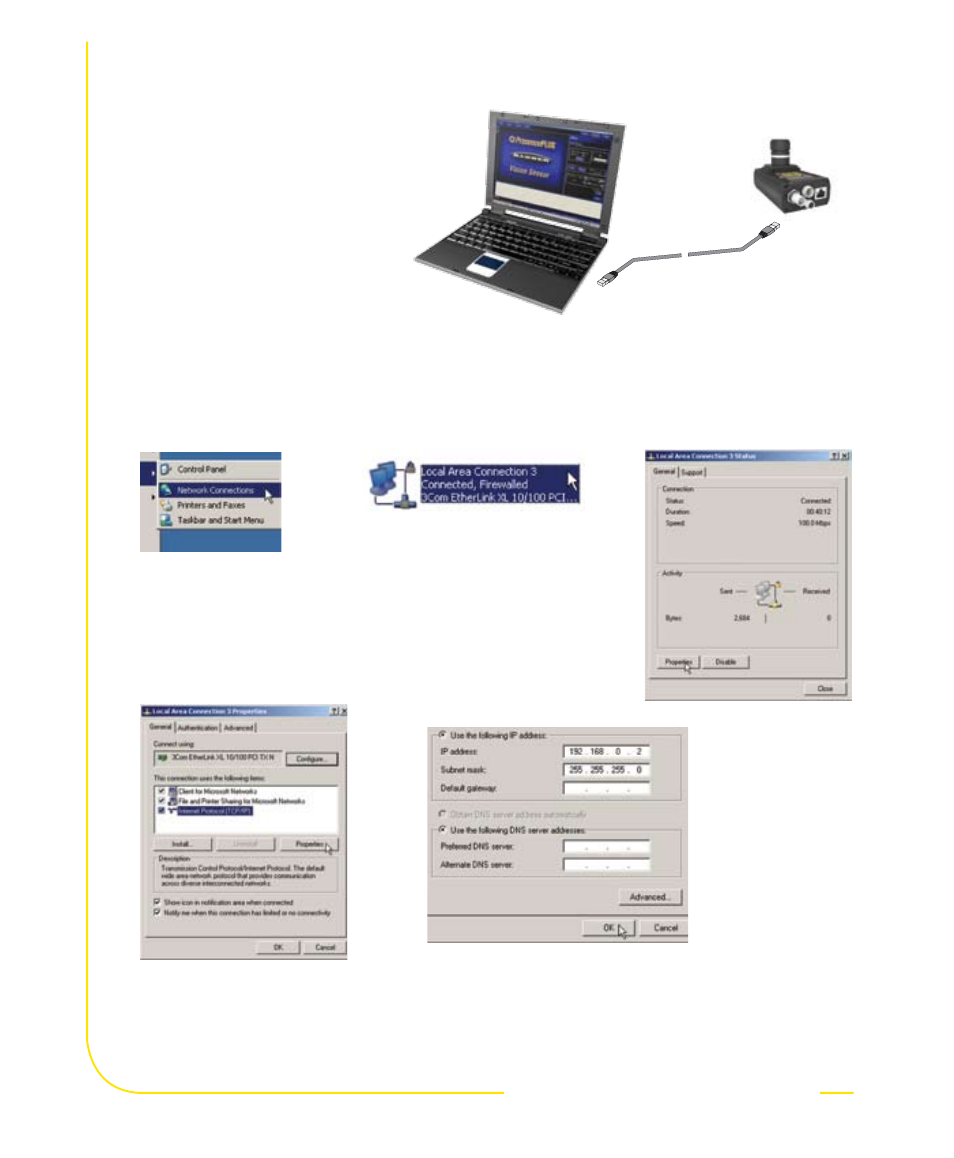
Typical IP Address:
192.168.0.2
step 3
step 3
PC Configuration
1. Ethernet communication, configure the
IP address of your computer.
a. Select Start
> Settings
> Network
Connections.
b. Double-click the Local
Area Connection used by
PresencePLUS.
c. Click the Properties
button.
Write down the existing address of your PC before changing it: _ _ _ • _ _ _ • _ _ _ • _ _ _
To change the IP address of your PC, do the following:
The following screen captures are from Windows XP. For earlier Windows versions, see Banner’s Supplemental
Information at
http://info.bannersalesforce.com/xpedio/groups/public/documents/trainingjobaid/vr_01_00_e.pdf.pdf
Sensor
Default IP Address
192.168.0.1
d. Highlight Internet Protocol
TCP/IP, and click the
Properties button.
e. Choose Use the following IP address, and:
• Change the IP address to 192.168.0.2
• Change the Subnet mask to 255.255.255.0
• Click the OK button.