How do i use snap and grid – Rockwell Automation Arena Basic Edition Users Guide User Manual
Page 15
2
•
G
ETTING
S
TARTED
9
•
•
•
• •
2 • Getti
ng Star
ted
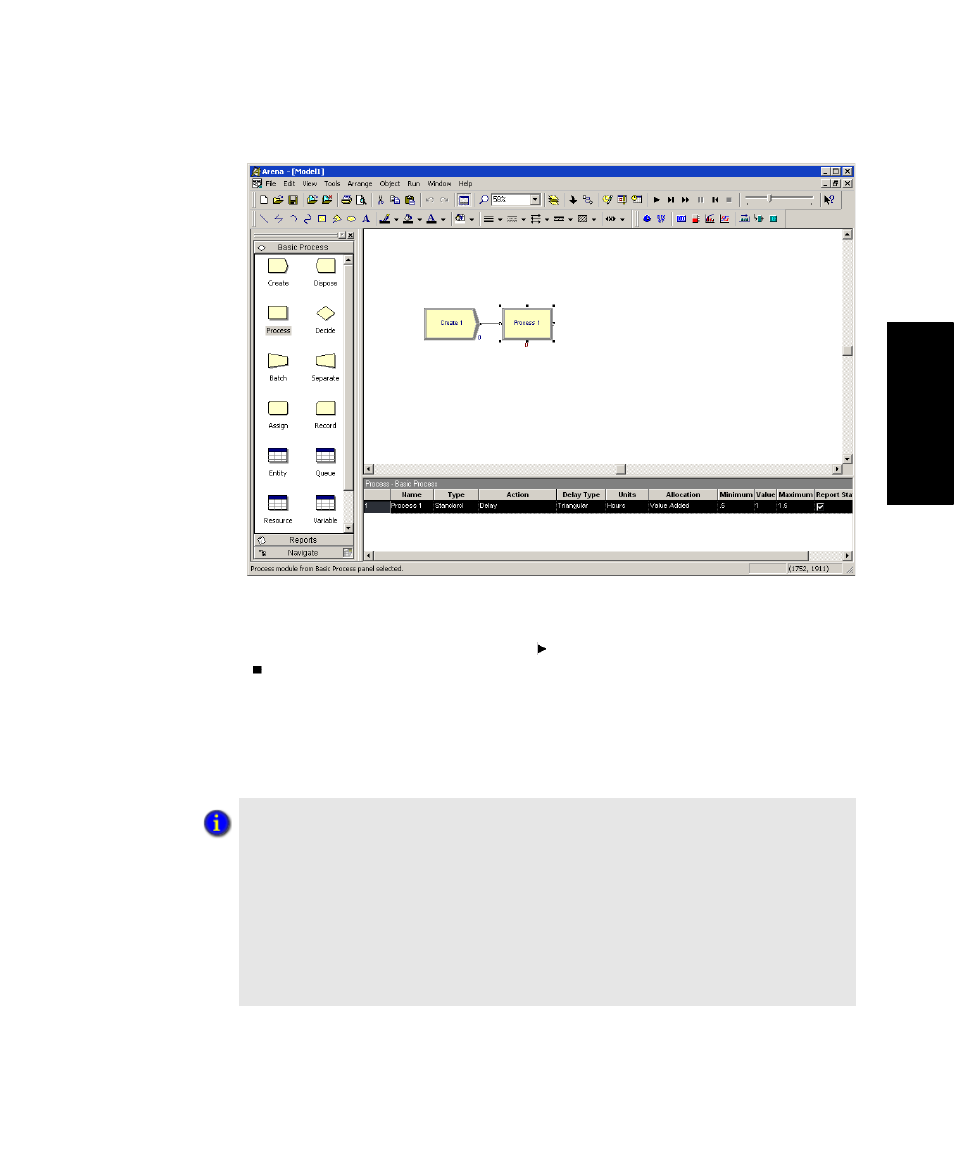
Note: If no connection appears between Create and Process, click the Object > Connect menu
item or the Connect toolbar button to draw a connection. Your cursor will change to a cross hair.
Start the connection by clicking the exit point ( ) of the Create module, then click the entry point
( ) of the Process module to complete the connection. If you need to make multiple connec-
tions, simply double-click the Connect button or select Object > Connect twice (the Connect
button will remain depressed to indicate it is in multi-connect mode). Then draw as many connec-
tions as desired. A valid connection target (e.g., entry point, exit point, or operand object) is now
highlighted during a connection session if the pointer is hovered over it. To end the multi-connec-
tion session, click again on the Connect option, press Esc, or right-click.
How do I use Snap and Grid?
If your flowchart shapes aren’t lining up properly, you can use Arena’s snap and grid
features to straighten them out. First, check the Snap option on the View menu so that
newly placed shapes will be positioned at regular snap points. To realign the shapes
you’ve already placed, select the main module shapes (the yellow boxes) by holding the
Ctrl key and clicking on each shape. Then, click the Arrange > Snap to Grid menu
option to adjust their positions to align with grid points.
You can display the grid by checking the Grid option on the View menu. Both snap and
grid are turned off by clicking on the menu option again, turning off the check box.