Stainless Works Chevy Trailblazer SS 2006-09 Headers User Manual
Page 3
WWW.STAINLESSWORKS.NET
800-878-3635
FAX: 440-543-9183
4. Reinstall 18 mm bolt and reinstall front drive shaft. Install crossmember (located
behind steering rack) with the 15 mm bolts
5. For the remaining steps, we recommend test fitting all pipes together, then applying a
coating of high temp RTV to the inside of all expansion joints, then doing the final
assembly. The high temp RTV will allow for much easier disassembly in the future,
and also ensures a leak proof seal.
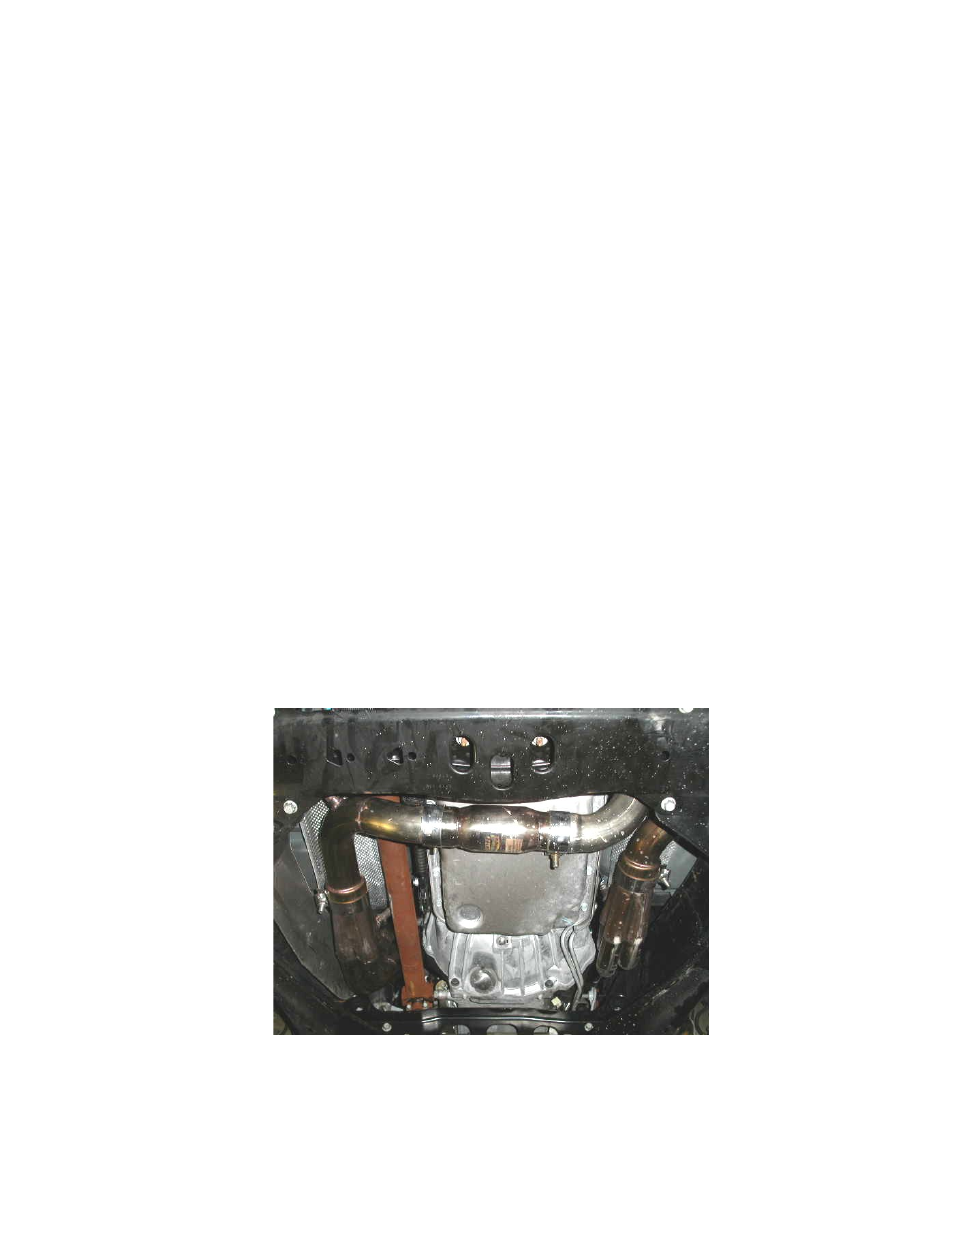
6. Slide a 3” clamp onto left side header, and install left header lead pipe. Do not
tighten clamp. Install 2 ½” clamp onto front of catalytic converter, and slide catalytic
converter and pipe that goes up over cross-member. Leave loose all lead pipes until
y-pipe is assembled.
7. Install right pipe on header with 3” clamp-do not tighten clamp. Slide (2) 2 ½”
clamps onto y pipe stubs, and install Y-pipe, O2 bungs facing up. Bolt Y-pipe to
original exhaust, make sure you have good clearance on all pipes and tighten clamps.
Install O2 sensor extensions on rear O2 sensors.
8. Lower the vehicle.
9. Reinstall plugs, wires, dipstick and washer reservoir, air box and engine cover.
NOTE: On lower rear section of front fender wells there are rubber flaps that make
getting to rear spark plugs much easier.
10. Check all fasteners for proper torque (see your factory assembly manual for proper
torque specs). Make sure to have adequate clearance around all exhaust pipes and
drive car for 10-20 miles at legal speeds. Re-torque fasteners after heat cycling to
allow for expansion.